
Growing carrots at home might seem daunting, but trust me, it’s easier than you think! Forget those bland, store-bought carrots – imagine biting into a sweet, crisp carrot you nurtured from seed to harvest, right in your own backyard. For centuries, cultures around the globe have cultivated carrots, from their ancient purple and white varieties to the vibrant orange ones we know and love today. This humble root vegetable has been a staple food source and even held medicinal significance in some traditions.
But why bother growing your own? Well, besides the unparalleled flavor, growing carrots at home allows you to control exactly what goes into your food – no mystery pesticides or herbicides here! Plus, it’s incredibly rewarding to watch those tiny seeds transform into delicious, crunchy snacks. In this article, I’m going to share some simple, DIY tricks and hacks that will help you achieve a bountiful carrot harvest, even if you’re a complete beginner. Get ready to get your hands dirty and discover the joy of homegrown goodness!
Growing Malabar Spinach Indoors: A Complete DIY Guide
Hey there, fellow plant enthusiasts! Ever wanted to grow your own delicious and nutritious Malabar spinach, but live in a climate that’s not exactly tropical? Or maybe you just prefer the convenience of having fresh greens right at your fingertips, year-round? Well, you’re in luck! I’m going to walk you through everything you need to know to successfully grow Malabar spinach indoors. It’s easier than you might think, and the reward of fresh, homegrown greens is totally worth it.
What is Malabar Spinach Anyway?
Before we dive in, let’s quickly cover what Malabar spinach actually is. Despite its name, it’s not true spinach. It’s a vining plant, *Basella alba* or *Basella rubra*, with thick, succulent leaves that have a mild, slightly peppery flavor. It thrives in warm weather and is packed with vitamins and minerals. Plus, it’s incredibly versatile in the kitchen – you can use it in salads, stir-fries, soups, and more!
Choosing the Right Variety
While both *Basella alba* (green-stemmed) and *Basella rubra* (red-stemmed) are great choices, the *Basella rubra* is often preferred for its ornamental value as well as its delicious leaves. The red stems add a beautiful pop of color to your indoor garden. I personally love growing both!
Getting Started: What You’ll Need
Here’s a list of everything you’ll need to embark on your indoor Malabar spinach growing adventure:
* **Malabar Spinach Seeds or Cuttings:** You can purchase seeds online or at a local garden center. Alternatively, if you know someone who already grows Malabar spinach, ask for a cutting!
* **Potting Mix:** Use a well-draining potting mix. A mix specifically formulated for vegetables is ideal.
* **Pots:** Choose pots that are at least 6-8 inches in diameter. Remember, Malabar spinach is a vine, so you’ll eventually need a larger pot. I recommend starting with a smaller pot and transplanting later.
* **Grow Lights (Optional but Recommended):** While Malabar spinach loves sunlight, indoor conditions often don’t provide enough. Grow lights will ensure your plants get the light they need to thrive.
* **Trellis or Support Structure:** Since Malabar spinach is a vine, it needs something to climb on. A small trellis, bamboo stakes, or even a sturdy tomato cage will work.
* **Watering Can or Spray Bottle:** For watering your plants.
* **Fertilizer:** A balanced liquid fertilizer will help your plants grow strong and healthy.
* **Spray Bottle (for Humidity):** Malabar spinach enjoys humidity.
* **Warm Location:** Malabar spinach loves warm temperatures.
Step-by-Step Guide to Growing Malabar Spinach Indoors
Okay, let’s get our hands dirty! Here’s a detailed, step-by-step guide to growing Malabar spinach indoors:
Section 1: Starting from Seeds
1. **Soaking the Seeds (Optional but Recommended):** Malabar spinach seeds have a tough outer coating, so soaking them in warm water for 24-48 hours before planting can significantly improve germination rates. I usually put them in a small bowl of water and leave them on my kitchen counter.
2. **Preparing the Pots:** Fill your pots with the well-draining potting mix, leaving about an inch of space at the top.
3. **Sowing the Seeds:** Sow the seeds about ½ inch deep and 1-2 inches apart. If you’re using a smaller pot, you can plant 2-3 seeds per pot and thin them out later if needed.
4. **Watering:** Gently water the soil until it’s evenly moist but not soggy.
5. **Creating a Humid Environment:** Cover the pots with plastic wrap or a clear plastic bag to create a humid environment. This will help the seeds germinate.
6. **Finding a Warm Spot:** Place the pots in a warm location, ideally between 70-80°F (21-27°C). A heat mat can be helpful if your home is cooler.
7. **Waiting for Germination:** Germination typically takes 7-21 days. Keep the soil moist and check regularly. Once the seedlings emerge, remove the plastic wrap.
8. **Providing Light:** Once the seedlings have sprouted, place them under grow lights or in a sunny window that receives at least 6 hours of direct sunlight per day. If using a window, rotate the pots regularly to ensure even growth.
9. **Thinning Seedlings (If Necessary):** If you planted multiple seeds per pot, thin them out to the strongest seedling once they have a few sets of true leaves.
Section 2: Starting from Cuttings
This is a faster way to get started if you have access to a mature Malabar spinach plant.
1. **Taking the Cutting:** Choose a healthy stem that’s about 4-6 inches long. Cut it just below a node (the point where leaves grow from the stem).
2. **Removing Lower Leaves:** Remove the leaves from the bottom 2 inches of the cutting.
3. **Rooting in Water (Optional):** You can root the cutting in water before planting it in soil. Place the cutting in a glass of water, making sure the bottom nodes are submerged. Change the water every few days. Roots should start to appear within a week or two.
4. **Planting the Cutting:** Whether you rooted it in water or not, plant the cutting directly into a pot filled with well-draining potting mix.
5. **Watering:** Water the soil gently until it’s moist.
6. **Creating a Humid Environment:** Cover the pot with plastic wrap or a clear plastic bag to create a humid environment.
7. **Finding a Warm Spot:** Place the pot in a warm location with indirect light.
8. **Waiting for Roots to Develop:** It usually takes about 1-2 weeks for the cutting to develop roots. You’ll know it’s rooted when you see new growth.
9. **Providing Light:** Once the cutting has rooted, gradually introduce it to more light, either under grow lights or in a sunny window.
Section 3: Ongoing Care
Now that your Malabar spinach is growing, here’s how to keep it happy and healthy:
1. **Watering:** Water regularly, keeping the soil consistently moist but not soggy. Check the soil moisture by sticking your finger about an inch into the soil. If it feels dry, it’s time to water.
2. **Fertilizing:** Fertilize every 2-3 weeks with a balanced liquid fertilizer, following the instructions on the label.
3. **Providing Support:** As your Malabar spinach grows, it will need support to climb. Install a trellis, bamboo stakes, or a tomato cage in the pot. Gently guide the vines onto the support structure.
4. **Pruning:** Prune regularly to encourage bushier growth and prevent the plant from becoming too leggy. Pinch off the tips of the vines to promote branching.
5. **Humidity:** Malabar spinach loves humidity. If your indoor environment is dry, mist the plants regularly with a spray bottle or place a tray of water near the plants. You can also use a humidifier.
6. **Pest Control:** Keep an eye out for pests like aphids, spider mites, and whiteflies. If you spot any pests, treat them with insecticidal soap or neem oil.
7. **Temperature:** Maintain a warm temperature, ideally between 70-80°F (21-27°C). Avoid exposing the plants to cold drafts.
8. **Repotting:** As your Malabar spinach grows, it will eventually need to be repotted into a larger container. Choose a pot that’s at least 12 inches in diameter.
Harvesting Your Malabar Spinach
The best part! You can start harvesting your Malabar spinach leaves once the plant is established and has plenty of foliage. Simply snip off the leaves as needed, leaving at least a few leaves on each stem to encourage continued growth. Regular harvesting will also help to keep the plant bushy and productive. I usually harvest the larger, more mature leaves first.
Troubleshooting
Here are a few common problems you might encounter and how to fix them:
* **Yellowing Leaves:** This could be a sign of overwatering, underwatering, or nutrient deficiency. Check the soil moisture and adjust your watering accordingly. Fertilize regularly.
* **Leggy Growth:** This is usually caused by insufficient light. Provide more light, either by moving the plant to a sunnier location or using grow lights.
* **Pest Infestation:** Treat pests with insecticidal soap or neem oil.
* **Slow Growth:** This could be due to a variety of factors, including insufficient light, poor soil, or lack of nutrients. Make sure your plants are getting enough light, water, and fertilizer.
Enjoy Your Homegrown Greens!
Growing Malabar spinach indoors is a rewarding
Conclusion
So, there you have it! Growing carrots at home, while it might seem daunting at first, is an incredibly rewarding experience that brings the vibrant flavors of your garden directly to your table. We’ve covered everything from seed selection to harvesting, highlighting the key steps to ensure a bountiful crop of these crunchy, sweet root vegetables.
But why should you bother with the effort? Beyond the sheer joy of nurturing life from a tiny seed, growing your own carrots offers a multitude of benefits. First and foremost, you have complete control over the growing process. You can choose organic methods, avoiding harmful pesticides and herbicides, ensuring that your family consumes only the healthiest produce. Secondly, homegrown carrots boast a flavor profile that far surpasses anything you can find in a grocery store. The freshness and sweetness are simply unmatched. Finally, it’s a fantastic way to connect with nature, reduce your carbon footprint, and even save money in the long run.
This DIY trick of growing carrots at home is more than just a gardening project; it’s an investment in your health, your well-being, and the environment.
Don’t be afraid to experiment! Try different carrot varieties to discover your favorites. Nantes carrots are known for their cylindrical shape and sweet flavor, while Chantenay carrots are shorter and sturdier, perfect for heavier soils. Rainbow carrots, with their vibrant hues of purple, yellow, and white, add a splash of color to your garden and your plate.
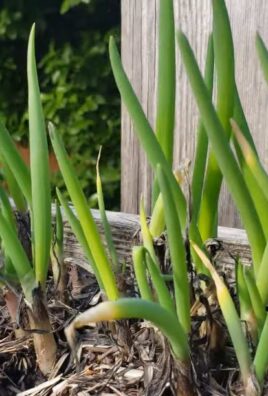
Consider companion planting to further enhance your carrot-growing success. Onions and garlic deter carrot root flies, while rosemary and sage can improve the flavor of your carrots. Marigolds are also excellent companions, repelling nematodes and other pests.
For those with limited space, container gardening is a fantastic option. Choose a deep container (at least 12 inches) and use a well-draining potting mix. Dwarf carrot varieties are particularly well-suited for containers.
And if you’re feeling adventurous, why not try growing carrots indoors during the winter months? With the right lighting and temperature, you can enjoy fresh, homegrown carrots year-round.
We wholeheartedly encourage you to give this DIY trick a try. It’s a simple, yet profound way to connect with nature, nourish your body, and experience the satisfaction of growing your own food. Once you taste the difference between a store-bought carrot and a freshly harvested one from your garden, you’ll never look back.
So, grab your seeds, prepare your soil, and get ready to embark on a rewarding gardening adventure. We’re confident that you’ll be amazed by the results.
Don’t forget to share your experiences with us! We’d love to hear about your successes, your challenges, and any tips or tricks you’ve discovered along the way. Share your photos and stories on social media using [Your Hashtag] and let’s inspire others to embrace the joy of growing their own carrots. Happy gardening!
Frequently Asked Questions (FAQ)
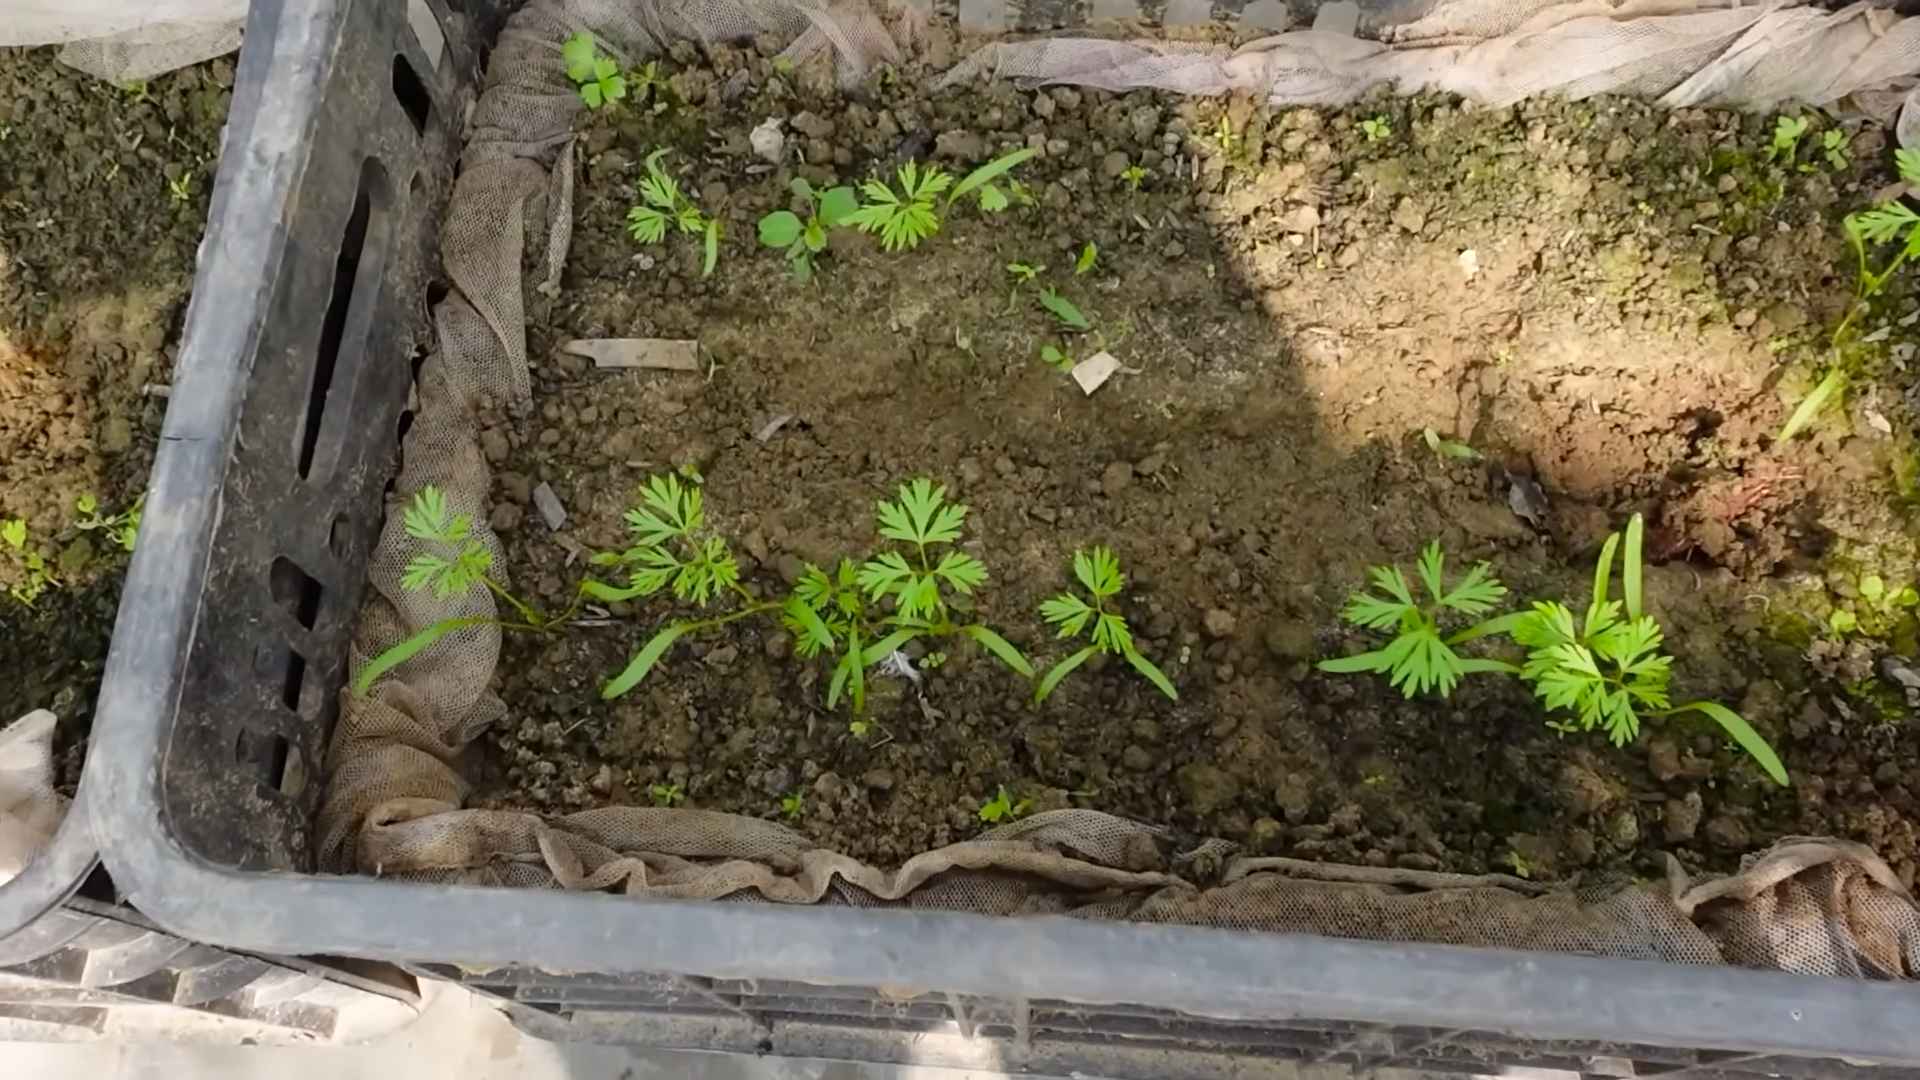
What is the best time of year to plant carrots?
The best time to plant carrots depends on your climate. In general, carrots are a cool-season crop and thrive in temperatures between 60°F and 70°F (15°C and 21°C). For most regions, this means planting in early spring or late summer for a fall harvest. In warmer climates, you can plant carrots throughout the fall and winter. Avoid planting during the hottest months of summer, as high temperatures can cause the roots to become bitter and stunted. Check your local planting calendar for specific dates tailored to your region’s climate. Successive planting every 2-3 weeks will ensure a continuous harvest throughout the growing season.
What kind of soil is best for growing carrots?
Carrots need loose, well-drained soil to develop properly. Rocky or compacted soil can cause the roots to become misshapen or stunted. The ideal soil for carrots is sandy loam, which is a mixture of sand, silt, and clay. This type of soil provides good drainage while still retaining enough moisture for the plants to thrive. Before planting, amend your soil with compost or other organic matter to improve its structure and fertility. Avoid using fresh manure, as it can cause the roots to fork. The soil pH should be between 6.0 and 6.8 for optimal growth.
How often should I water my carrot plants?
Carrots need consistent moisture to develop properly. Water deeply and regularly, especially during dry periods. Aim to keep the soil consistently moist but not waterlogged. Overwatering can lead to root rot, while underwatering can cause the roots to become tough and bitter. A good rule of thumb is to water when the top inch of soil feels dry to the touch. Mulching around your carrot plants can help to retain moisture and suppress weeds. Consider using a soaker hose or drip irrigation to deliver water directly to the roots, minimizing water waste and reducing the risk of fungal diseases.
Why are my carrots forking or splitting?
Forking or splitting carrots can be caused by several factors, including rocky soil, compacted soil, and uneven watering. As mentioned earlier, carrots need loose, well-drained soil to develop properly. If the soil is too compacted or contains rocks, the roots will struggle to grow straight and may fork or split. Uneven watering can also cause the roots to crack or split, as the plants expand and contract with fluctuations in moisture levels. To prevent forking or splitting, prepare your soil carefully before planting, removing any rocks or debris and amending with compost or other organic matter. Water deeply and regularly, ensuring that the soil remains consistently moist.
How do I prevent pests and diseases from affecting my carrot crop?
Several pests and diseases can affect carrot crops, including carrot root flies, aphids, and fungal diseases. Carrot root flies are a common pest that lays their eggs near the base of the plants. The larvae then burrow into the roots, causing damage and making them unmarketable. To prevent carrot root flies, use row covers to protect your plants, and practice crop rotation. Aphids can also be a problem, sucking the sap from the leaves and weakening the plants. Control aphids by spraying them with insecticidal soap or neem oil. Fungal diseases, such as leaf blight, can also affect carrots, causing the leaves to turn yellow and brown. Prevent fungal diseases by providing good air circulation, avoiding overhead watering, and using disease-resistant varieties. Companion planting with onions or garlic can also help to deter pests.
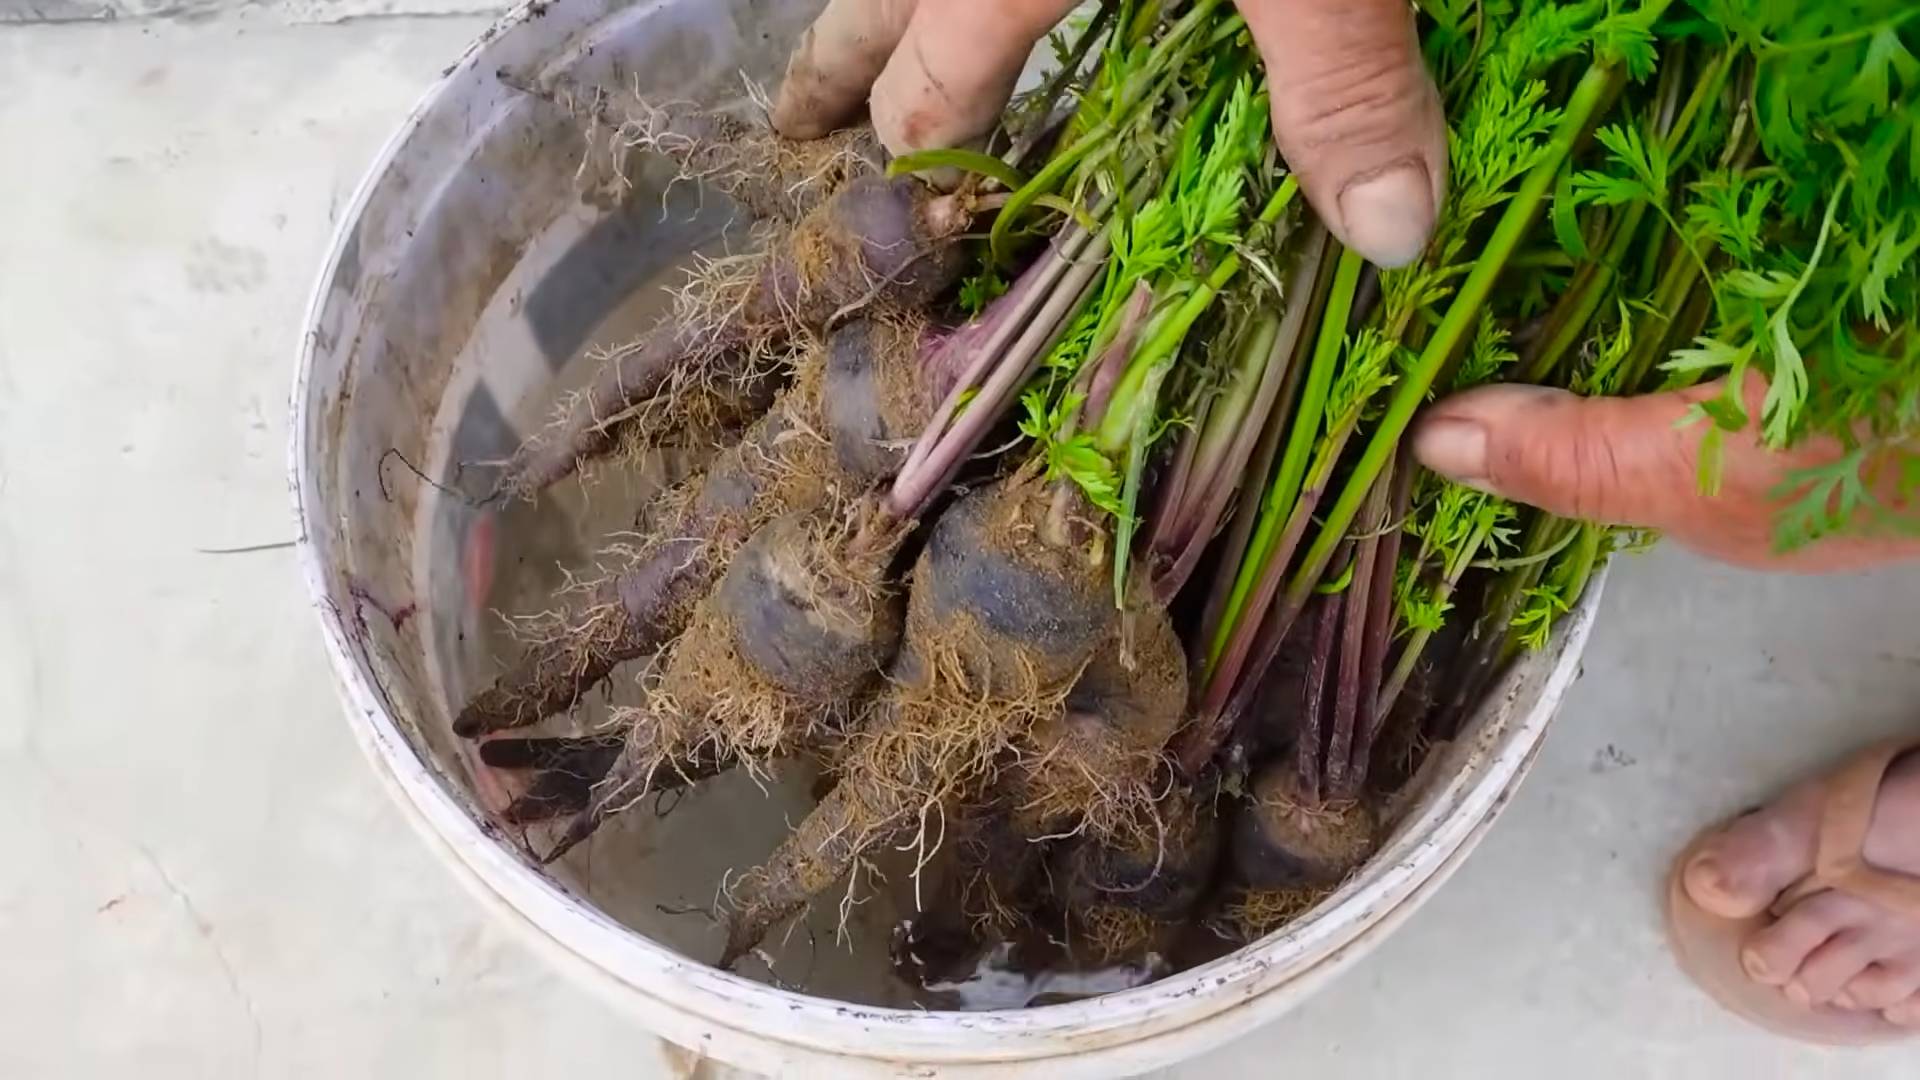
When are carrots ready to harvest?
Carrots are typically ready to harvest 60-80 days after planting, depending on the variety. The best way to determine if your carrots are ready is to check the size of the roots. Gently brush away the soil around the base of the plants to expose the tops of the carrots. If they are the size you desire, you can harvest them. You can also harvest carrots at a smaller size for baby carrots. To harvest, loosen the soil around the carrots with a garden fork and gently pull them out of the ground. If the soil is dry, water the area before harvesting to make it easier to pull the carrots.
Can I grow carrots in containers?
Yes, you can absolutely grow carrots in containers! This is a great option for those with limited space or poor soil conditions. Choose a deep container (at least 12 inches) to accommodate the length of the carrot roots. Use a well-draining potting mix and ensure that the container has drainage holes. Dwarf carrot varieties are particularly well-suited for containers. Water regularly and fertilize every few weeks with a balanced fertilizer. Place the container in a sunny location that receives at least 6 hours of sunlight per day.
How do I store my harvested carrots?
To store your harvested carrots, first remove any excess soil and trim the tops, leaving about an inch of stem. Do not wash the carrots before storing them, as this can promote rot. Store the carrots in a cool, dark, and humid place, such as a refrigerator or root cellar. You can store them in a plastic bag or container with a damp paper towel to help maintain humidity. Carrots can typically be stored for several weeks or even months under the right conditions. You can also freeze carrots for longer-term storage. Blanch them in boiling water for a few minutes, then cool them in ice water before freezing.
Leave a Comment