
Growing Carrots in Bags: Imagine harvesting a vibrant bunch of sweet, crunchy carrots right from your balcony or patio! Forget the sprawling garden plot; I’m here to show you how to cultivate these root vegetables in the most unexpected of places – bags! For centuries, carrots have been a staple in diets worldwide, from the vibrant orange varieties we know today to their purple and yellow ancestors enjoyed by the Romans. But you don’t need a sprawling farm to enjoy the fruits (or rather, roots!) of your labor.
In today’s fast-paced world, many of us lack the space or time for traditional gardening. That’s where this DIY trick comes in. Growing Carrots in Bags is a game-changer for urban dwellers, apartment residents, and anyone with limited gardening space. It’s a simple, cost-effective, and incredibly rewarding way to enjoy fresh, homegrown produce. I’ll guide you through each step, from choosing the right bag and soil to watering and harvesting your delicious, homegrown carrots. Get ready to experience the joy of gardening, no matter how small your space!

Growing Carrots in Bags: A Gardener’s Guide
Hey there, fellow gardening enthusiasts! Are you dreaming of fresh, crunchy carrots but short on garden space? Or maybe your soil is just too rocky or clay-heavy for these root veggies to thrive? Well, I’ve got a fantastic solution for you: growing carrots in bags! It’s a surprisingly easy and rewarding way to enjoy homegrown carrots, even if you only have a balcony or patio. Let’s dive in!
Why Grow Carrots in Bags?
Before we get started, let’s quickly touch on why this method is so great:
* Space-Saving: Perfect for small spaces like balconies, patios, or even a sunny windowsill.
* Soil Control: You get to choose the perfect soil mix, ensuring optimal growing conditions.
* Pest Control: Easier to protect your carrots from soil-borne pests and diseases.
* Easy Harvesting: No more struggling to dig carrots out of hard-packed soil!
* Extend the Season: You can move the bags indoors or to a sheltered location to protect them from frost, extending your harvest.
What You’ll Need
Gathering your supplies is the first step to success. Here’s what you’ll need to get started:
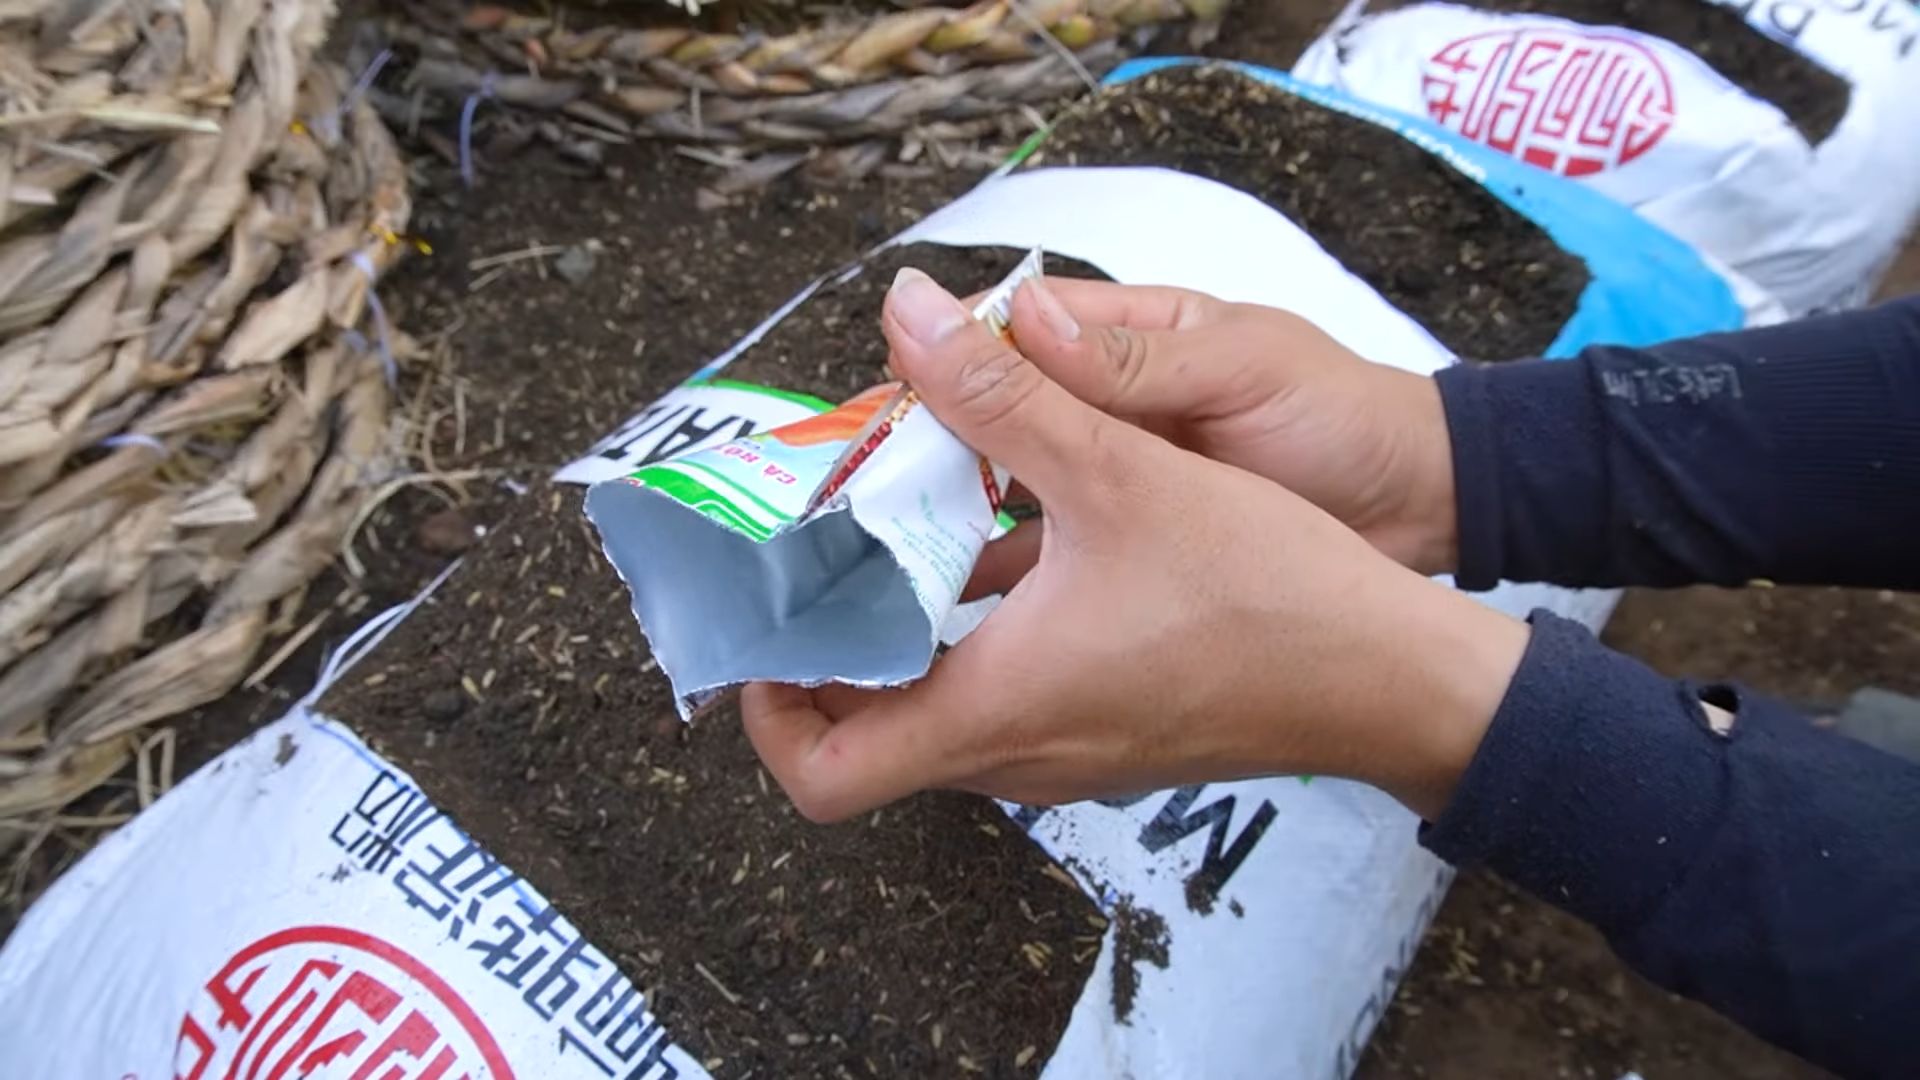
* Bags: Choose sturdy, dark-colored bags. I recommend using grow bags (fabric pots) because they allow for better drainage and aeration. You can also use heavy-duty plastic bags, but make sure to poke drainage holes in the bottom. The size of the bag depends on the carrot variety you choose. For shorter varieties like ‘Thumbelina’ or ‘Parisian’, a 10-gallon bag will work. For longer varieties like ‘Nantes’ or ‘Danvers’, go for a 15-20 gallon bag.
* Potting Mix: This is crucial! Carrots need loose, well-draining soil. A mix of equal parts compost, peat moss (or coco coir), and perlite or vermiculite is ideal. Avoid using garden soil, as it’s often too heavy and can cause stunted or misshapen carrots.
* Carrot Seeds: Choose a variety that suits your taste and the size of your bags. As mentioned earlier, shorter varieties are great for smaller bags.
* Watering Can or Hose: For gentle watering.
* Fertilizer: A balanced, slow-release fertilizer or liquid fertilizer formulated for vegetables.
* Optional: Horticultural sand to mix into the soil for even better drainage.
Step-by-Step Instructions: Planting Your Carrots
Now for the fun part! Let’s get those carrot seeds in the ground (or, in this case, the bag).
1. Prepare the Bags: If you’re using plastic bags, poke several drainage holes in the bottom. This is super important to prevent waterlogging, which can rot your carrots.
2. Fill the Bags with Potting Mix: Fill the bags almost to the top with your prepared potting mix. Leave a couple of inches of space at the top for watering. Gently pat down the soil to remove any large air pockets.
3. Water the Soil: Thoroughly water the soil until it’s evenly moist but not soggy. This will help the seeds germinate.
4. Sow the Seeds: Carrot seeds are tiny, so it’s easy to sow them too thickly. To avoid overcrowding, I like to mix the seeds with a bit of sand before sowing. This helps to space them out more evenly. Sprinkle the seeds thinly over the surface of the soil. Aim for about 1/2 inch spacing between seeds.
5. Cover the Seeds: Lightly cover the seeds with a thin layer (about 1/4 inch) of potting mix or vermiculite. This will help to keep the seeds moist and protect them from birds.
6. Water Gently: Water the soil again very gently, using a watering can with a rose attachment or a hose with a gentle spray nozzle. Be careful not to dislodge the seeds.
7. Label the Bags: Don’t forget to label your bags with the carrot variety and the date you planted them. This will help you keep track of your progress.
8. Place in a Sunny Location: Carrots need at least 6-8 hours of sunlight per day to thrive. Place your bags in a sunny spot where they will receive plenty of light.
Caring for Your Carrots
Once your carrots are planted, it’s important to provide them with the right care to ensure a bountiful harvest.
1. Watering: Keep the soil consistently moist, but not waterlogged. Water deeply whenever the top inch of soil feels dry to the touch. Avoid overhead watering, as this can promote fungal diseases. Instead, water at the base of the plants.
2. Thinning: This is a crucial step! If you don’t thin your carrots, they will be overcrowded and won’t develop properly. Once the seedlings are about 2 inches tall, thin them to about 1-2 inches apart. You can use small scissors to snip off the unwanted seedlings at the soil line. Don’t pull them out, as this can disturb the roots of the remaining plants. A second thinning may be needed when the carrots are a bit larger, leaving about 3-4 inches between plants.
3. Fertilizing: Carrots are not heavy feeders, but they will benefit from regular fertilization. Apply a balanced, slow-release fertilizer at planting time, following the instructions on the package. You can also supplement with a liquid fertilizer every 2-3 weeks.
4. Weeding: Keep the bags free of weeds, as they can compete with the carrots for nutrients and water. Gently pull out any weeds that appear, being careful not to disturb the carrot roots.
5. Pest and Disease Control: Carrots are generally pest-resistant, but they can be susceptible to certain problems, such as carrot rust flies and nematodes. To prevent these problems, use a good quality potting mix and practice crop rotation. If you notice any signs of pests or diseases, treat them promptly with an appropriate organic insecticide or fungicide.
6. Sunlight: Ensure your bags remain in a sunny location. If you notice the plants are leaning towards the sun, rotate the bags regularly to ensure even growth.
Harvesting Your Carrots
The moment you’ve been waiting for! Harvesting your homegrown carrots is incredibly satisfying.
1. Check for Maturity: Carrots are typically ready to harvest 60-80 days after planting, depending on the variety. Check the seed packet for specific maturity dates. You can also gently brush away some of the soil around the top of the carrots to check their size.
2. Harvesting: To harvest, gently loosen the soil around the carrots with a trowel or hand fork. Then, grasp the carrot greens firmly at the base and pull straight up. If the carrots are difficult to pull, you may need to loosen the soil further.
3. Cleaning: Brush off any excess soil from the carrots. You can wash them with water if desired.
4. Storage: Store your harvested carrots in the refrigerator in a plastic bag or container. They will keep for several weeks.
Tips for Success
Here are a few extra tips to help you grow the best carrots possible in bags:
* Choose the Right Bag: As I mentioned earlier, grow bags are ideal because they allow for better drainage and aeration. But if you’re using plastic bags, make sure they are sturdy and have plenty of drainage holes.
* Use High-Quality Potting Mix: Don’t skimp on the potting mix! It’s the foundation of your carrot garden. A well-draining, nutrient-rich mix is essential for healthy growth.
* Water Consistently: Carrots need consistent moisture to thrive. Check the soil regularly and water whenever it feels dry to the touch.
* Thin Early and Often: Thinning is crucial for preventing overcrowding and ensuring that your carrots have enough space to develop.
* Protect from Pests: Keep an eye out for pests and diseases, and take action promptly if you notice any problems.
* Succession Planting: To enjoy a continuous harvest of carrots, sow seeds every few weeks. This is called succession planting.
Troubleshooting
Even with the best care, you might encounter some challenges along the way. Here are a few common problems and how to solve them:
* Stunted Growth: This could be due to poor soil, lack of nutrients, or overcrowding. Make sure you’re using a good quality potting mix, fertilizing regularly, and thinning your carrots properly.
* Forked or Misshapen Carrots: This is often caused by rocky or compacted soil. Make sure your potting mix is loose and well-draining.
* Cracked Carrots: This can be caused by inconsistent watering. Try to keep the soil consistently moist, especially during hot weather.
* Pests and Diseases: As
Conclusion
So, there you have it! Growing carrots in bags is not just a gardening trend; it’s a game-changer for anyone who loves fresh, homegrown produce, regardless of their space limitations or soil quality. We’ve explored the simple steps, the benefits, and the potential pitfalls, and hopefully, we’ve convinced you that this method is well worth trying.
Why is this a must-try? Because it democratizes carrot cultivation. No longer are delicious, crunchy carrots the exclusive domain of those with sprawling gardens and perfect soil. Apartment dwellers, balcony gardeners, and even those with challenging clay soil can now enjoy the satisfaction of harvesting their own vibrant orange treasures. Imagine the pride of serving a salad featuring carrots you nurtured from seed to table, knowing exactly where they came from and what went into their growth.
Beyond the practical advantages, growing carrots in bags offers a unique connection to nature. It’s a therapeutic activity, a chance to slow down, get your hands dirty (or not, if you use gloves!), and witness the miracle of life unfolding before your eyes. It’s also a fantastic educational opportunity, especially for children, teaching them about plant life cycles, responsibility, and the rewards of patience.
But don’t stop there! Experimentation is key to unlocking the full potential of this method. Consider trying different varieties of carrots. Shorter, round varieties like ‘Parisian’ or ‘Thumbelina’ are particularly well-suited for container growing, but don’t be afraid to experiment with longer types as well, ensuring you choose a deep enough bag.
You can also play around with the soil mix. While the recommended blend of potting mix, compost, and sand works wonders, you might find that adding a touch of perlite or vermiculite improves drainage and aeration even further. Consider adding slow-release fertilizer granules to the soil mix at planting time to provide a steady stream of nutrients throughout the growing season.
Another exciting variation is companion planting. Try interplanting your carrots with herbs like rosemary or sage, which are said to deter carrot root flies. Marigolds are also a great choice, as they attract beneficial insects that prey on pests.
And finally, don’t forget about succession planting. Sow a new batch of carrot seeds every few weeks to ensure a continuous harvest throughout the growing season. This way, you’ll always have fresh carrots on hand for salads, snacks, and cooking.
We wholeheartedly encourage you to give growing carrots in bags a try. It’s an easy, rewarding, and surprisingly versatile method that can bring the joy of homegrown produce to anyone, anywhere. Once you’ve experienced the satisfaction of harvesting your own bag-grown carrots, we’re confident you’ll be hooked.
So, grab some bags, soil, and seeds, and get planting! And most importantly, don’t forget to share your experiences with us. We’d love to hear about your successes, your challenges, and any tips or tricks you discover along the way. Share your photos, your stories, and your questions in the comments below. Let’s build a community of bag-growing carrot enthusiasts and inspire others to join the fun! Happy gardening!
Frequently Asked Questions (FAQ)
What kind of bags are best for growing carrots?
The ideal bags for growing carrots are sturdy, dark-colored grow bags made from fabric or plastic. Fabric grow bags are preferable because they allow for better drainage and aeration, preventing the soil from becoming waterlogged and promoting healthy root growth. Choose bags that are at least 12 inches deep, and preferably 18-24 inches, especially if you plan to grow longer carrot varieties. The width of the bag will depend on how many carrots you want to grow per bag, but a diameter of 12-18 inches is generally sufficient. Avoid using thin plastic bags, as they can easily tear and don’t provide adequate drainage. Reusable shopping bags can work in a pinch, but make sure they are strong and have drainage holes.
How often should I water my carrots growing in bags?
Watering frequency depends on several factors, including the weather, the type of soil mix you’re using, and the size of the bag. Generally, you should water your carrots whenever the top inch of soil feels dry to the touch. During hot, dry weather, this may mean watering daily, while in cooler, wetter weather, you may only need to water every few days. When you water, water deeply, ensuring that the entire soil mass is thoroughly moistened. Avoid overwatering, as this can lead to root rot. A good way to check if you’re watering correctly is to observe the drainage. Water should drain freely from the bottom of the bag. If water is pooling on the surface or the soil is constantly soggy, you’re likely overwatering.
What kind of soil mix should I use for growing carrots in bags?
The best soil mix for growing carrots in bags is a well-draining, nutrient-rich blend. A good starting point is a mix of equal parts potting mix, compost, and sand. The potting mix provides a light and airy base, the compost adds essential nutrients, and the sand improves drainage. Avoid using garden soil, as it can be too heavy and compacted, hindering root growth. You can also add perlite or vermiculite to the mix to further improve drainage and aeration. Before planting, amend the soil with a slow-release fertilizer to provide a steady supply of nutrients throughout the growing season.
How much sunlight do carrots need when grown in bags?
Carrots need at least 6-8 hours of direct sunlight per day to thrive. Choose a location for your bags that receives plenty of sunlight throughout the day. If you live in a particularly hot climate, you may need to provide some afternoon shade to prevent the soil from drying out too quickly. If you don’t have a sunny spot, you can supplement with grow lights. Position the grow lights a few inches above the plants and provide 12-14 hours of light per day.
What are some common problems when growing carrots in bags and how can I prevent them?
Some common problems when growing carrots in bags include poor germination, stunted growth, forked roots, and pest infestations. To prevent poor germination, use fresh seeds and keep the soil consistently moist until the seedlings emerge. Stunted growth can be caused by nutrient deficiencies, so make sure to amend the soil with fertilizer and water regularly. Forked roots are often caused by rocks or other obstructions in the soil, so use a well-sifted soil mix and remove any debris. Pest infestations can be prevented by using insect netting, companion planting, and regularly inspecting your plants for signs of pests. Carrot root flies are a common pest, and their larvae can tunnel into the roots, causing damage. Cover the bags with fine mesh netting to prevent the flies from laying their eggs.
Can I grow carrots in bags indoors?
Yes, you can grow carrots in bags indoors, but you’ll need to provide adequate light. A sunny windowsill may not be enough, so you’ll likely need to supplement with grow lights. Choose a full-spectrum grow light and position it a few inches above the plants. Provide 12-14 hours of light per day. Also, make sure to provide good ventilation to prevent fungal diseases.
How long does it take for carrots to mature when grown in bags?
The time it takes for carrots to mature depends on the variety and the growing conditions. Generally, carrots take 60-80 days to mature. Check the seed packet for specific information on the variety you’re growing. You can start harvesting carrots when they reach the desired size. To harvest, gently loosen the soil around the carrot and pull it out by the greens.
Can I reuse the soil in the bags for growing carrots again?
While you can technically reuse the soil, it’s generally recommended to use fresh soil for each planting. Reused soil may be depleted of nutrients and may harbor pests or diseases. If you do reuse the soil, amend it with fresh compost and fertilizer to replenish the nutrients. You can also sterilize the soil by baking it in the oven at 180 degrees Fahrenheit for 30 minutes to kill any pests or diseases. However, using fresh soil is the best way to ensure healthy carrot growth.
Leave a Comment