
Growing dill indoors might seem like a challenge, especially if you’re used to seeing it flourish in sprawling outdoor gardens. But trust me, bringing this fragrant herb inside is totally achievable, and I’m here to show you how! For centuries, dill has been more than just a culinary delight. Ancient Egyptians used it for medicinal purposes, and Romans believed it brought good fortune. Today, while we might not be warding off evil spirits with it, dill remains a staple in kitchens worldwide, adding a fresh, tangy kick to everything from pickles to salads.
Why should you bother growing dill indoors? Well, imagine having fresh dill readily available, regardless of the season. No more last-minute grocery store runs or settling for dried herbs that lack that vibrant flavor. Plus, it’s incredibly rewarding to nurture your own little herb garden, adding a touch of green to your home and a boost to your cooking. This DIY guide is packed with simple tricks and hacks that will transform even the most novice gardener into an indoor dill-growing pro. Get ready to enjoy the freshest, most flavorful dill, right from your windowsill!
Growing Dill Indoors: A Beginner’s Guide to Fresh Herbs Year-Round
Hey there, fellow herb enthusiasts! Ever dreamt of having fresh, fragrant dill right at your fingertips, even when the snow is piling up outside? Well, dream no more! Growing dill indoors is surprisingly easy, and I’m here to walk you through every step of the process. Get ready to enjoy the delightful taste of homegrown dill in your favorite recipes all year long!
Choosing the Right Dill Variety
Not all dill is created equal, especially when it comes to indoor growing. Some varieties are simply better suited for containers and limited space. Here are a few of my favorites:
* Dwarf Dill: As the name suggests, this variety stays compact, making it perfect for smaller pots and indoor environments. It’s also quick to mature, so you’ll be harvesting fresh dill in no time!
* Fernleaf Dill: Another excellent choice for indoor growing, Fernleaf dill is known for its bushy growth habit and flavorful leaves. It’s also relatively slow to bolt (go to seed), which means you’ll have a longer harvest period.
* Bouquet Dill: While it can grow a bit taller than the other two, Bouquet dill is still manageable indoors, especially if you provide support. It’s prized for its abundant foliage and strong dill flavor.
What You’ll Need: Gathering Your Supplies
Before we dive into the planting process, let’s make sure you have everything you need. Here’s a checklist of essential supplies:
* Dill Seeds: Choose a variety that’s well-suited for indoor growing, as mentioned above. You can find dill seeds at most garden centers or online retailers.
* Potting Mix: Use a high-quality, well-draining potting mix. Avoid using garden soil, as it can become compacted and doesn’t provide adequate drainage for container gardening. I personally love using a mix that contains peat moss, perlite, and vermiculite.
* Container: Select a pot that’s at least 6 inches deep and wide. Dill has a taproot, so it needs enough space to grow. Make sure the pot has drainage holes to prevent waterlogging.
* Grow Lights (Optional but Recommended): While dill can grow indoors with natural sunlight, it often benefits from supplemental lighting, especially during the winter months. A simple fluorescent grow light or LED grow light will do the trick.
* Watering Can or Spray Bottle: You’ll need a way to water your dill seedlings gently.
* Small Shovel or Trowel: For filling the pot with potting mix and transplanting seedlings (if necessary).
* Plant Labels: To keep track of what you’re growing, especially if you’re planting multiple herbs.
Planting Your Dill Seeds: A Step-by-Step Guide
Now for the fun part – planting your dill seeds! Follow these steps for a successful start:
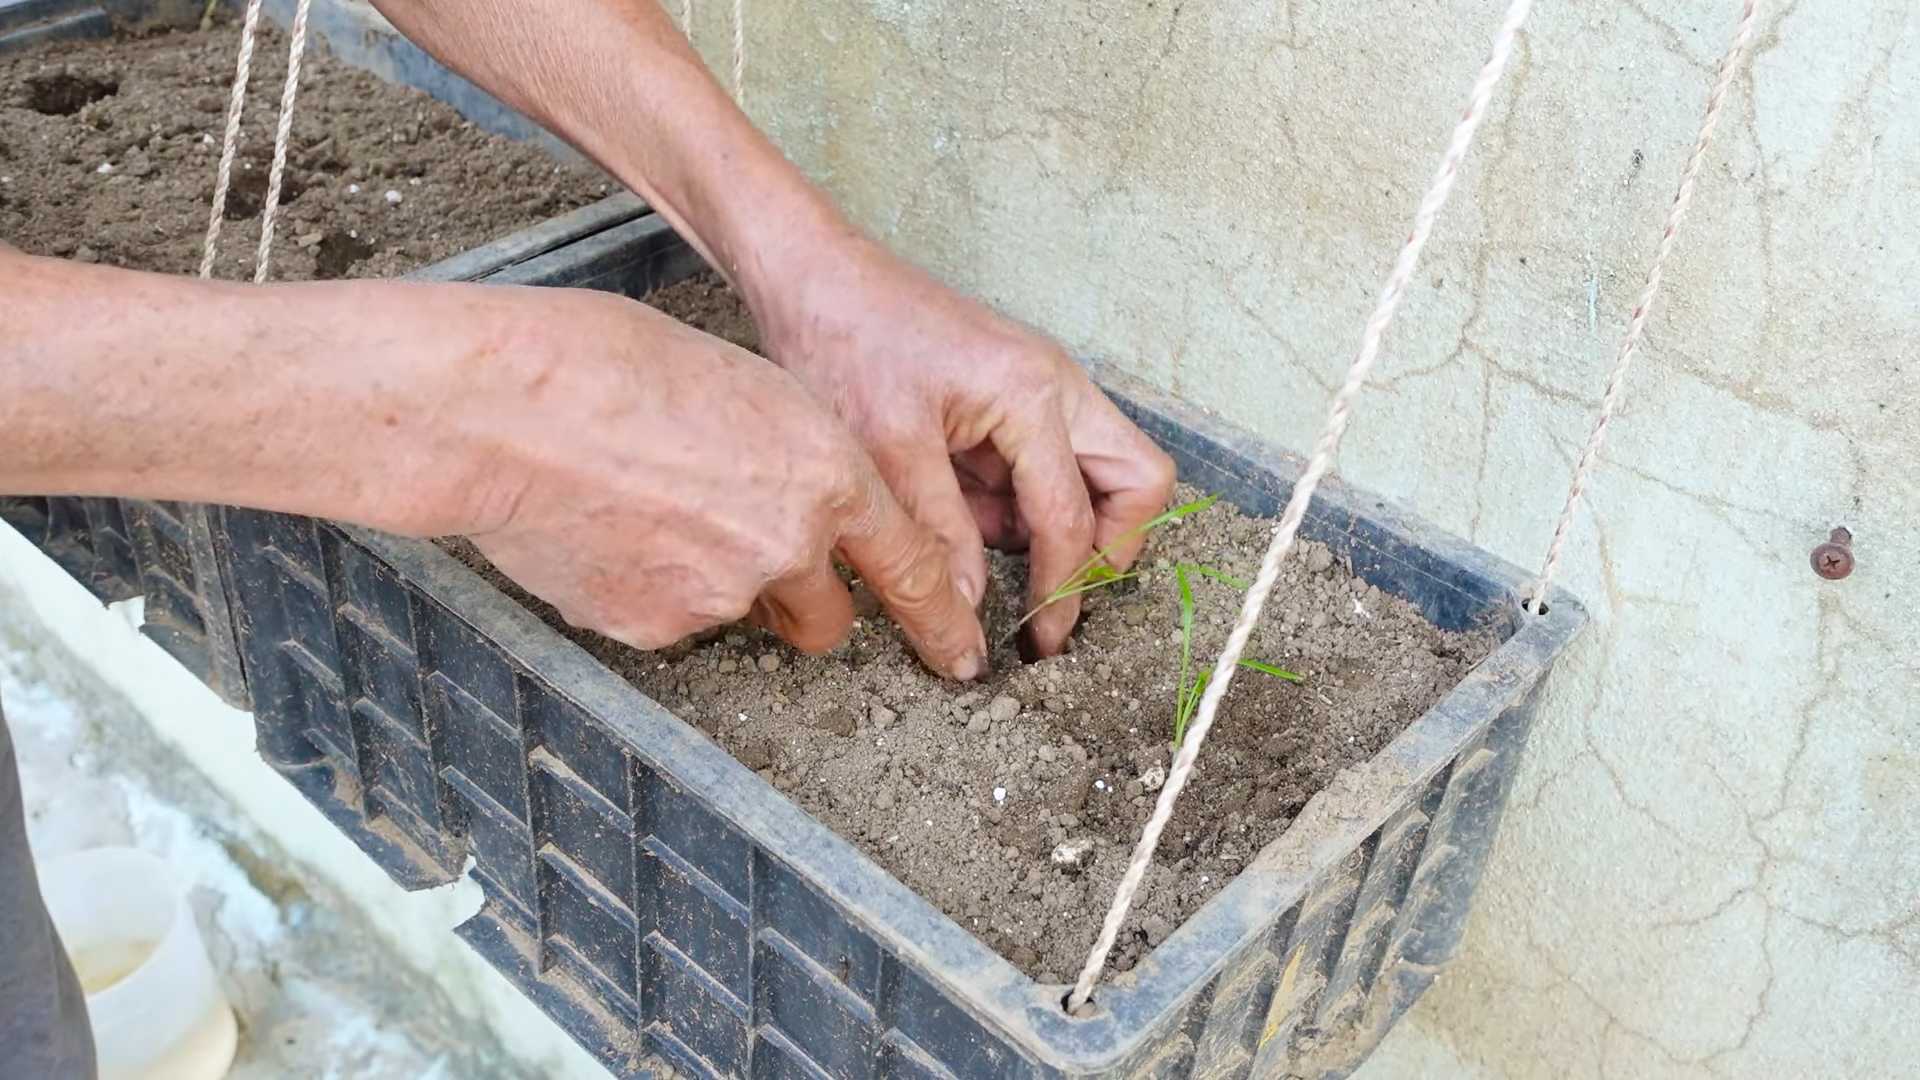
1. Prepare the Pot: Fill your chosen container with potting mix, leaving about an inch of space at the top. Gently pat down the soil to remove any air pockets.
2. Sow the Seeds: Sprinkle the dill seeds evenly over the surface of the soil. You can sow them quite densely, as you can always thin them out later.
3. Cover the Seeds: Lightly cover the seeds with a thin layer of potting mix, about 1/4 inch deep.
4. Water Gently: Use a watering can or spray bottle to moisten the soil thoroughly. Be careful not to dislodge the seeds.
5. Provide Warmth: Dill seeds germinate best in warm temperatures (around 70-75°F). You can place the pot on a heat mat or in a warm location to speed up germination.
6. Cover with Plastic Wrap (Optional): To create a humid environment, you can cover the pot with plastic wrap. This will help retain moisture and promote germination. Be sure to remove the plastic wrap once the seedlings emerge.
7. Wait for Germination: Dill seeds typically germinate within 7-14 days. Be patient and keep the soil consistently moist.
Caring for Your Dill Seedlings: Nurturing Growth
Once your dill seedlings have emerged, it’s time to provide them with the care they need to thrive. Here’s what you need to do:
1. Provide Adequate Light: Dill needs at least 6 hours of sunlight per day. If you’re growing dill indoors, you’ll likely need to supplement with grow lights. Position the grow lights about 6-12 inches above the seedlings.
2. Water Regularly: Keep the soil consistently moist, but not waterlogged. Water when the top inch of soil feels dry to the touch. Avoid overwatering, as this can lead to root rot.
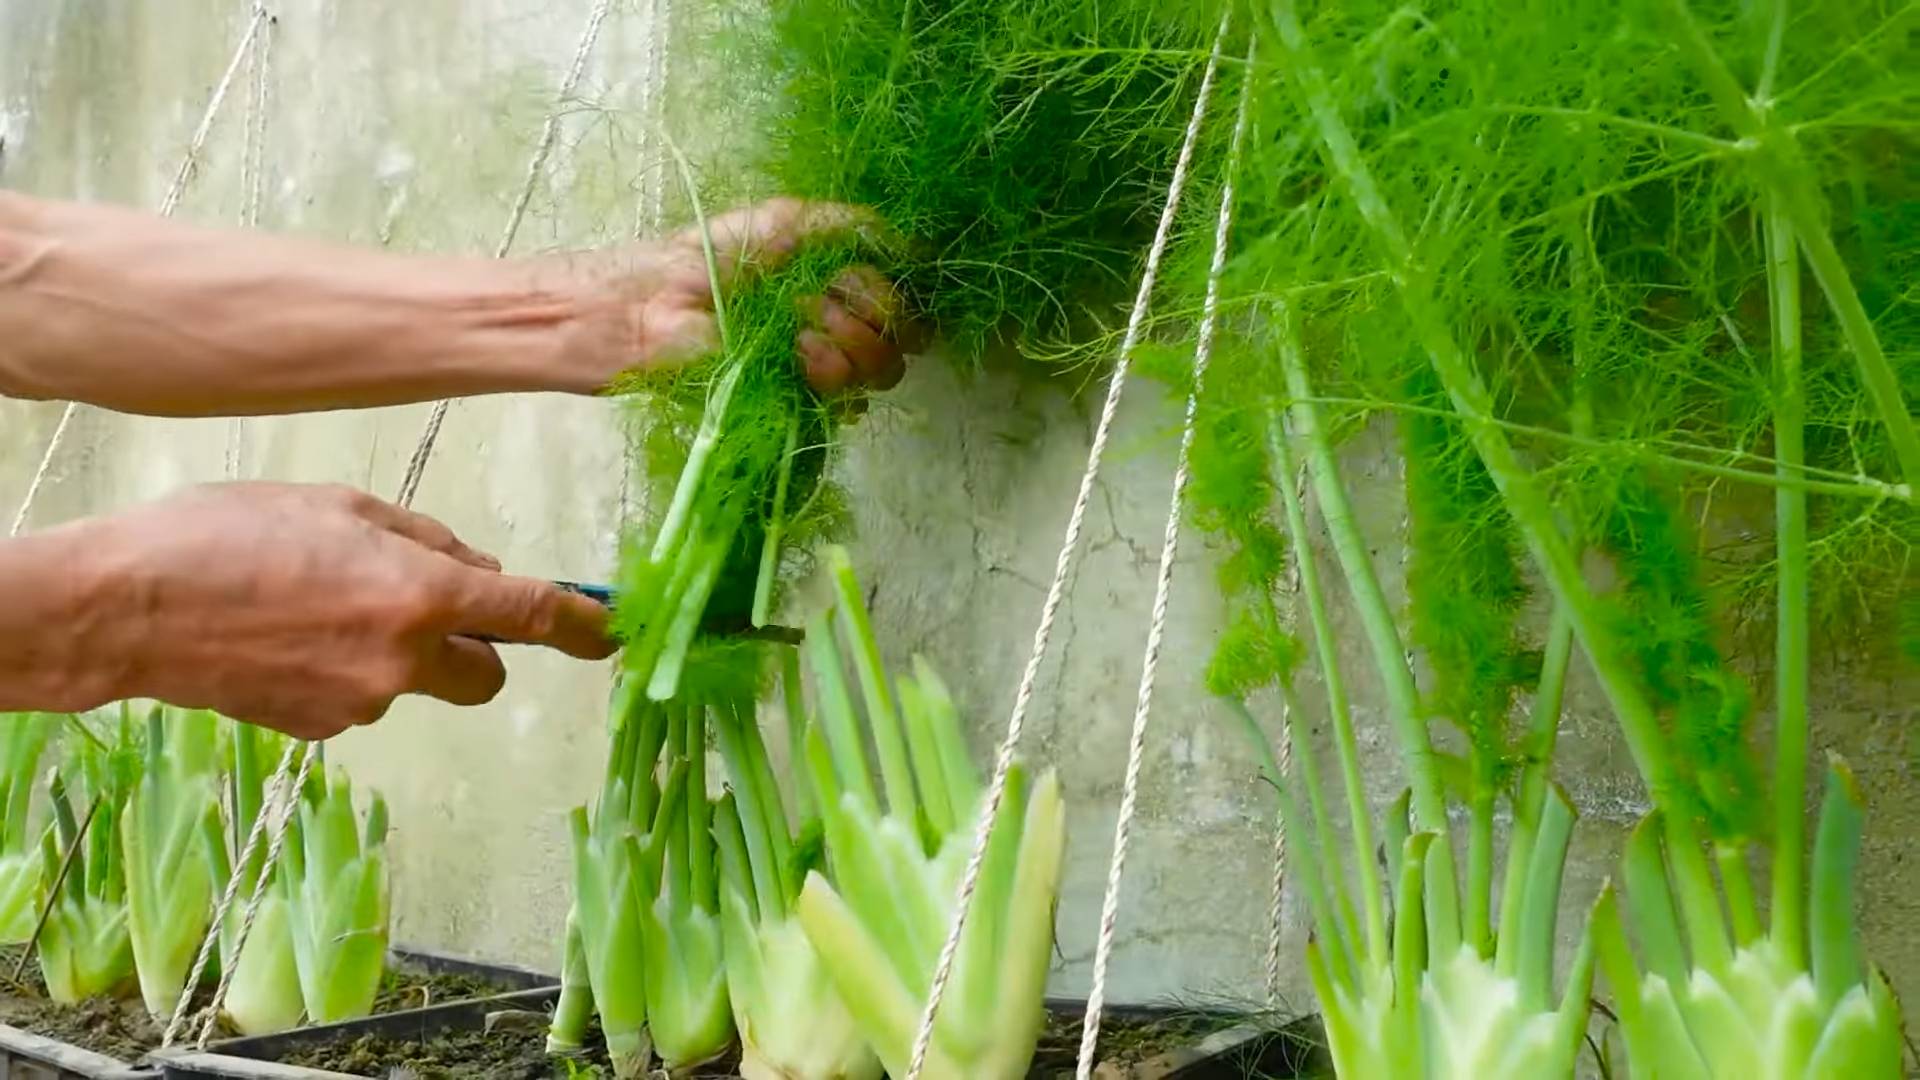
3. Thin the Seedlings: Once the seedlings are a few inches tall, thin them out to provide adequate spacing. Aim for about 2-3 inches between plants. You can use small scissors to snip off the weaker seedlings at the base. Don’t pull them out, as this can disturb the roots of the remaining plants.
4. Fertilize Sparingly: Dill doesn’t need a lot of fertilizer. You can feed your dill plants with a diluted liquid fertilizer every few weeks. Choose a fertilizer that’s balanced and formulated for herbs.
5. Provide Support (If Needed): If you’re growing a taller variety of dill, such as Bouquet dill, you may need to provide support to prevent the plants from flopping over. You can use small stakes or a tomato cage.
6. Pinch Back for Bushier Growth: To encourage bushier growth, pinch back the tips of the stems when the plants are about 6 inches tall. This will promote branching and increase your harvest.
Harvesting Your Dill: Enjoying the Fruits (or Herbs!) of Your Labor
The best part of growing dill indoors is, of course, harvesting your fresh herbs! Here’s how to do it:
1. Harvest When Mature: You can start harvesting dill leaves when the plants are about 6-8 inches tall.
2. Cut the Stems: Use scissors or pruning shears to cut the stems just above a leaf node. This will encourage new growth.
3. Harvest Regularly: The more you harvest, the more the plant will produce. Harvest dill regularly to keep it from bolting (going to seed).
4. Use Fresh or Dried: You can use dill fresh in your favorite recipes, or you can dry it for later use. To dry dill, hang the stems upside down in a cool, dry place until they are completely dry. You can also use a dehydrator.
Troubleshooting Common Dill Problems
Even with the best care, you may encounter some problems when growing dill indoors. Here are a few common issues and how to address them:
* Yellowing Leaves: This can be caused by overwatering, underwatering, or nutrient deficiencies. Check the soil moisture and adjust your watering accordingly. If the leaves are yellowing due to nutrient deficiencies, fertilize with a balanced fertilizer.
* Leggy Growth: This is usually caused by insufficient light. Make sure your dill plants are getting enough sunlight or supplemental grow lights.
* Pests: Dill can be susceptible to pests such as aphids and spider mites. Inspect your plants regularly and treat any infestations promptly. You can use insecticidal soap or neem oil to control pests.
* Bolting: Bolting is when the dill plant starts to produce flowers and seeds. This can happen when the plant is stressed or when the weather is too hot. To prevent bolting, keep the soil consistently moist, provide adequate light, and harvest regularly.
Extending Your Dill Harvest
Want to keep your dill harvest going for as long as possible? Here are a few tips:
* Succession Planting: Sow new dill seeds every few weeks to ensure a continuous supply of fresh herbs.
* Pinch Off Flower Buds: If you see any flower buds forming, pinch them off to prevent the plant from bolting.
* Provide Adequate Light and Water: Dill needs plenty of light and water to thrive. Make sure your plants are getting enough of both.
* Consider Overwintering: In some climates, you can overwinter dill indoors. Cut the plants back to a few inches above the soil and provide them with adequate light and water. They may go dormant during the winter, but they should start growing again in the spring.
Growing dill indoors is a rewarding experience that allows you to enjoy fresh herbs year-round. With a little care and attention, you can have a thriving dill plant that provides you with a continuous supply of flavorful leaves. Happy gardening!
Conclusion
So, there you have it! Growing dill indoors isn’t just a whimsical idea for herb enthusiasts; it’s a practical, rewarding, and surprisingly simple way to have fresh, flavorful dill at your fingertips year-round. Forget those sad, wilted bunches from the grocery store – imagine the vibrant, aromatic dill you can snip directly from your windowsill to elevate your culinary creations.
This DIY trick is a must-try for several compelling reasons. First, it offers unparalleled freshness. The flavor of homegrown dill is noticeably brighter and more intense than anything you can buy pre-packaged. Second, it’s incredibly convenient. No more last-minute trips to the store when you realize you’re out of dill for your favorite recipe. Third, it’s cost-effective. A single packet of dill seeds can yield a continuous supply of fresh herbs for months, saving you money in the long run. Finally, it’s deeply satisfying. There’s something truly special about nurturing a plant from seed to harvest, and the delicious results are the perfect reward for your efforts.
But the beauty of growing dill indoors lies in its adaptability. Feel free to experiment with different varieties of dill to discover your personal favorite. ‘Bouquet’ dill is a popular choice for its abundant foliage, while ‘Dukat’ dill is known for its exceptionally strong flavor. You can also try succession planting, sowing new seeds every few weeks, to ensure a continuous harvest throughout the year. Consider using different types of containers, from terracotta pots to self-watering planters, to find what works best for your space and lifestyle. And don’t be afraid to get creative with your placement – a sunny windowsill in the kitchen is ideal, but a grow light can also provide the necessary illumination if natural light is limited.
Growing dill indoors is more than just a gardening project; it’s an investment in flavor, convenience, and a touch of green in your home. We wholeheartedly encourage you to give it a try. The process is straightforward, the rewards are plentiful, and the satisfaction of harvesting your own fresh dill is simply unmatched.
We’re confident that you’ll be amazed by how easy and enjoyable it is to grow your own dill indoors. But don’t just take our word for it – experience the magic for yourself! Once you’ve embarked on your indoor dill-growing adventure, we’d love to hear about your experiences. Share your tips, tricks, and triumphs in the comments below. Let us know what varieties you’re growing, what challenges you’ve encountered, and what delicious dishes you’re creating with your homegrown dill. Your insights will not only inspire other readers but also help us all learn and grow together as a community of indoor gardeners. So, grab your seeds, potting mix, and a sunny spot, and get ready to enjoy the fresh, vibrant flavor of homegrown dill all year round!
Frequently Asked Questions (FAQ)
1. What is the best time of year to start growing dill indoors?
The beauty of growing dill indoors is that you can start it any time of year! Unlike outdoor gardening, you’re not limited by seasonal weather conditions. As long as you can provide adequate light, warmth, and moisture, your dill will thrive regardless of the time of year. However, if you’re starting from seed, it’s generally recommended to start in early spring or late winter to give your plants a head start before the warmer months arrive. This allows them to establish a strong root system and produce abundant foliage. But again, don’t let the calendar hold you back – you can successfully grow dill indoors year-round with the right conditions.
2. How much sunlight does indoor dill need?
Dill thrives in bright, sunny locations. Ideally, your indoor dill plants should receive at least 6-8 hours of direct sunlight per day. A south-facing windowsill is often the best option, as it typically provides the most sunlight throughout the day. However, if you don’t have a south-facing window, an east- or west-facing window can also work, as long as your plants receive sufficient sunlight. If you’re struggling to provide enough natural light, consider using a grow light. Grow lights can supplement natural light and ensure that your dill plants receive the energy they need to grow and flourish. LED grow lights are a popular choice because they are energy-efficient and produce very little heat.
3. What type of soil is best for growing dill indoors?
Dill prefers well-draining soil that is rich in organic matter. A good potting mix specifically formulated for herbs or vegetables is an excellent choice. Avoid using garden soil, as it can be too heavy and may not drain properly, leading to root rot. You can also amend your potting mix with compost or other organic matter to improve its fertility and drainage. Make sure the soil is loose and airy to allow the roots to breathe and grow freely. A slightly acidic to neutral pH (around 6.0 to 7.0) is ideal for dill.
4. How often should I water my indoor dill plants?
Water your dill plants regularly, but avoid overwatering. The soil should be kept consistently moist, but not soggy. Allow the top inch of soil to dry out slightly between waterings. When you water, water deeply, ensuring that the water reaches the roots. Avoid getting the foliage wet, as this can increase the risk of fungal diseases. The frequency of watering will depend on several factors, including the size of your pot, the type of soil, and the temperature and humidity of your environment. Check the soil moisture regularly and adjust your watering schedule accordingly.
5. How do I harvest dill from my indoor plants?
You can start harvesting dill leaves as soon as the plants are about 6-8 inches tall. Simply snip off the leaves with scissors or your fingers. Start by harvesting the outer leaves first, as this will encourage the plant to produce more new growth. You can harvest dill leaves continuously throughout the growing season. If you want to harvest dill seeds, allow the plants to flower and the seed heads to dry on the plant. Once the seed heads are dry and brown, you can cut them off and collect the seeds.
6. What are some common problems when growing dill indoors, and how can I fix them?
Some common problems when growing dill indoors include aphids, spider mites, and fungal diseases. Aphids and spider mites are small pests that can suck the sap from your plants, causing them to become weak and stunted. You can control these pests by spraying your plants with insecticidal soap or neem oil. Fungal diseases, such as powdery mildew, can occur if the plants are kept too moist or if there is poor air circulation. To prevent fungal diseases, avoid overwatering, provide good air circulation, and remove any infected leaves. You can also treat fungal diseases with a fungicide. Another common problem is leggy growth, which occurs when the plants don’t receive enough light. To prevent leggy growth, make sure your plants are getting at least 6-8 hours of direct sunlight per day or supplement with a grow light.
7. Can I grow dill from cuttings instead of seeds?
While it’s more common to grow dill from seeds, you can propagate dill from cuttings, although it’s not as reliable. Take a cutting from a healthy, mature plant, making sure it has at least a few leaves. Remove the lower leaves and place the cutting in a glass of water. Change the water every few days. After a few weeks, the cutting should develop roots. Once the roots are about an inch long, you can transplant the cutting into a pot filled with potting mix. Keep the soil moist and provide plenty of light.
8. How do I encourage my dill plant to produce more leaves?
To encourage your dill plant to produce more leaves, make sure it’s getting enough light, water, and nutrients. Fertilize your plant regularly with a balanced liquid fertilizer. Pinch off the flower buds as soon as they appear, as this will encourage the plant to focus its energy on producing more leaves. Harvest the leaves regularly, as this will also stimulate new growth.
9. Can I transplant my indoor dill plant outdoors?
Yes, you can transplant your indoor dill plant outdoors, but it’s important to do it gradually to avoid shocking the plant. Start by hardening off the plant, which means gradually exposing it to outdoor conditions over a period of a week or two. Place the plant outdoors in a sheltered location for a few hours each day, gradually increasing the amount of time it spends outdoors. Once the plant is acclimated to outdoor conditions, you can transplant it into your garden. Choose a sunny location with well-draining soil. Water the plant thoroughly after transplanting.
10. Is growing dill indoors worth the effort?
Absolutely! Growing dill indoors is a rewarding and worthwhile endeavor. It provides you with a continuous supply of fresh, flavorful dill, saves you money on groceries, and adds a touch of green to your home. The process is relatively easy, and the benefits are numerous. So, if you’re looking for a fun and practical gardening project, give growing dill indoors a try. You won’t be disappointed!
Leave a Comment