
Growing Taro Indoors might seem like an exotic challenge, but trust me, it’s a rewarding adventure you can embark on right in your home! For centuries, taro has been a staple food in many cultures, particularly in the Pacific Islands and Asia. Imagine bringing a piece of that rich history and vibrant culture into your living space.
But why should you even consider growing taro indoors? Well, beyond its cultural significance, taro is a stunning plant with large, heart-shaped leaves that can add a touch of the tropics to any room. Plus, in many regions, outdoor growing isn’t feasible due to climate restrictions. That’s where this DIY guide comes in! I’m going to share some simple yet effective tricks and hacks that will help you successfully cultivate this beautiful plant, even if you don’t have a green thumb.
This article is your go-to resource for demystifying the process of growing taro indoors. We’ll cover everything from selecting the right variety and preparing the perfect potting mix to providing adequate light and humidity. Get ready to transform your home into a lush, green oasis and impress your friends with your newfound gardening skills!
Growing Taro Indoors: A Tropical Escape in Your Home
Hey plant lovers! Ever dreamt of having a little slice of the tropics right in your living room? Well, you can! Today, I’m going to walk you through how to grow taro indoors. Taro, with its gorgeous, elephant ear-like leaves, is surprisingly easy to cultivate indoors with a little know-how. Get ready to bring some lush, green vibes into your home!
Choosing Your Taro Variety
Before we dive in, let’s talk taro varieties. While you can technically grow any taro variety indoors, some are better suited than others. Look for smaller, more compact varieties that won’t outgrow your space too quickly. Here are a few good options:
- ‘Black Magic’ Taro: This one boasts stunning, almost black foliage, adding a dramatic touch to any room.
- ‘Illustris’ Taro: Known for its unique green leaves with dark purple veins, ‘Illustris’ is a real showstopper.
- ‘Elena’ Taro: A more compact variety with vibrant green leaves, perfect for smaller spaces.
- ‘Mojito’ Taro: This variety has speckled green leaves that resemble a mojito drink.
What You’ll Need
Okay, gather your supplies! Here’s what you’ll need to get started:
- Taro Corm or Seedling: You can find these at your local nursery or online. A corm is essentially the underground stem of the taro plant.
- Pot: Choose a pot that’s at least 12 inches in diameter to give your taro plant plenty of room to grow. Make sure it has drainage holes!
- Well-Draining Potting Mix: Taro loves moisture, but it doesn’t like to sit in soggy soil. A well-draining mix is crucial. I recommend a mix of potting soil, perlite, and coco coir.
- Water: Tap water is fine, but letting it sit out for 24 hours to allow chlorine to evaporate is even better.
- Fertilizer: A balanced liquid fertilizer will help your taro thrive.
- Spray Bottle: For misting the leaves to increase humidity.
- Grow Light (Optional): If you don’t have a bright, sunny spot, a grow light can be a lifesaver.
Planting Your Taro
Alright, let’s get our hands dirty! Here’s how to plant your taro:
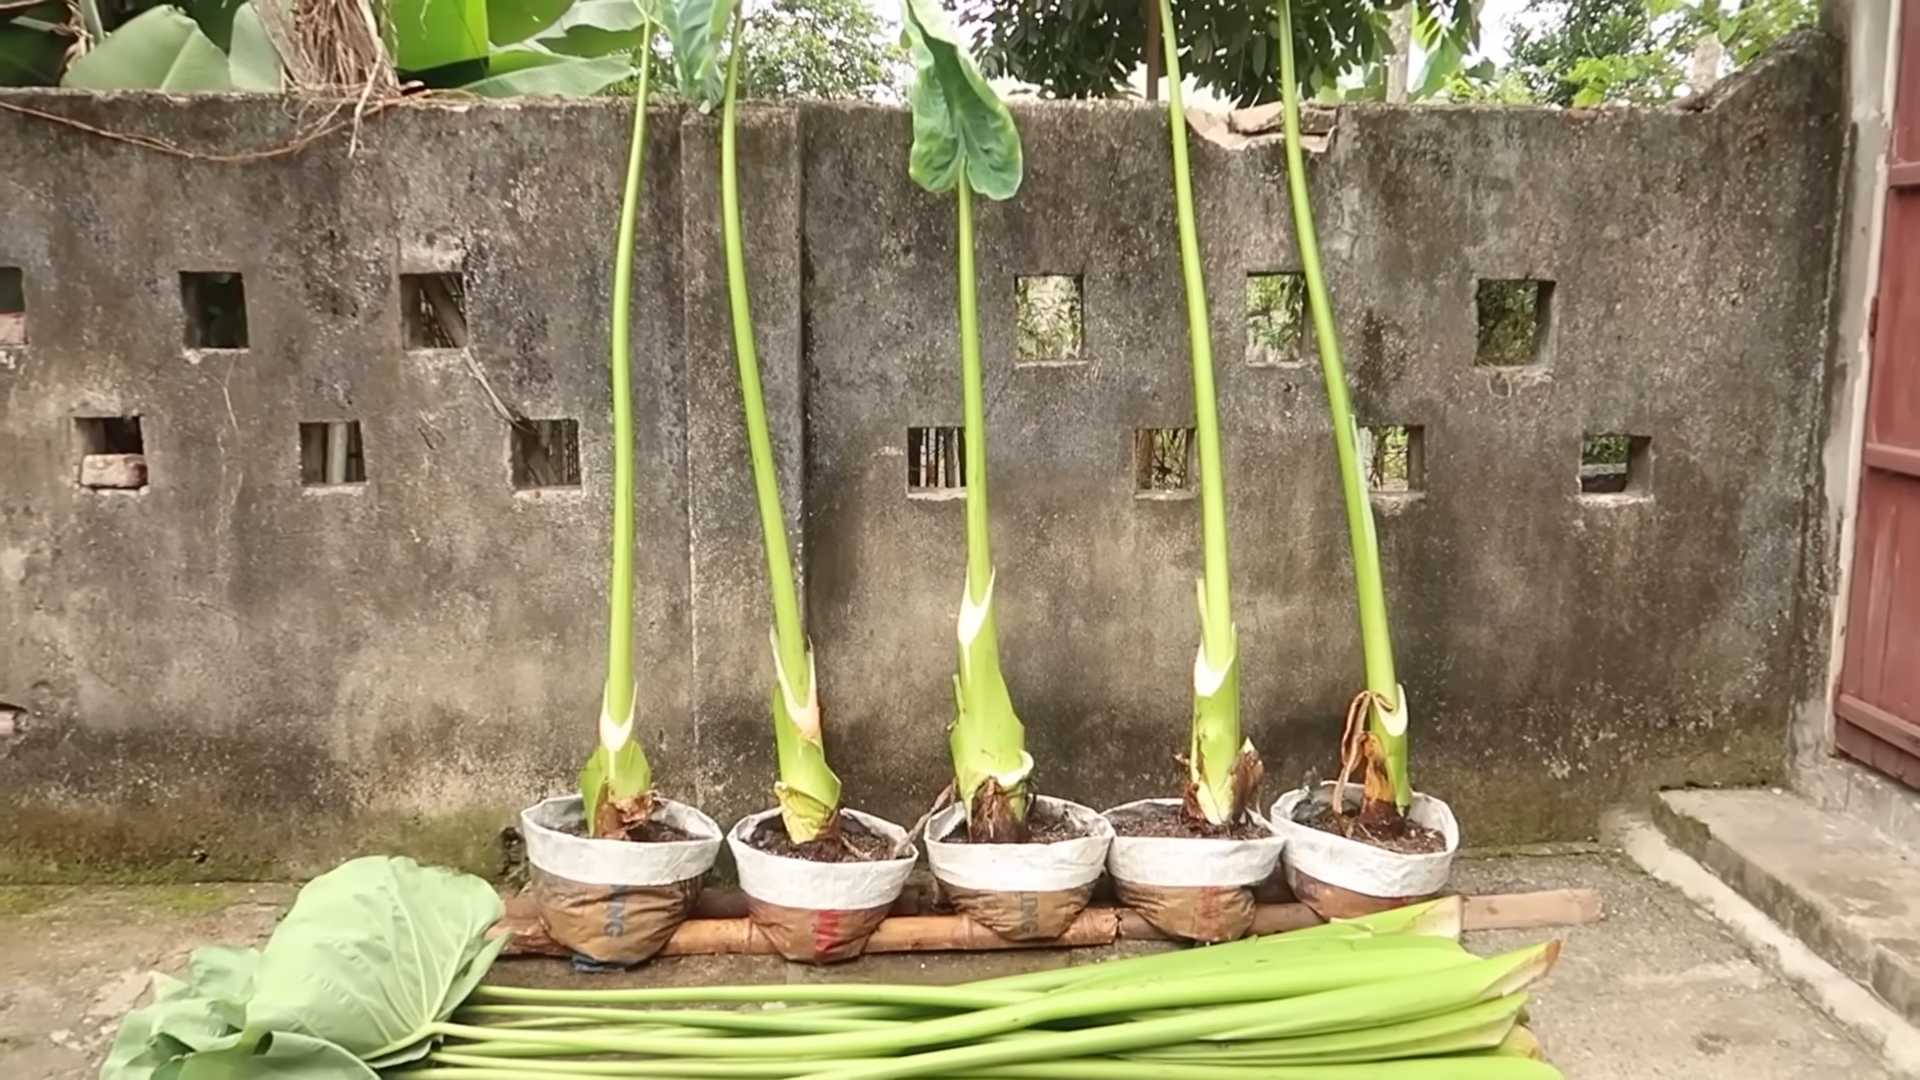
- Prepare the Pot: Fill your pot about two-thirds full with your well-draining potting mix.
- Plant the Corm or Seedling: If you’re planting a corm, place it horizontally on top of the soil, with the “eye” (the small bud where the plant will sprout) facing upwards. Cover the corm with about 2 inches of soil. If you’re planting a seedling, gently remove it from its nursery pot and place it in the center of your pot.
- Fill the Pot: Add more potting mix around the corm or seedling, leaving about an inch of space at the top of the pot.
- Water Thoroughly: Water the soil until it’s evenly moist, but not soggy. You should see water draining out of the drainage holes.
- Find the Right Spot: Place your taro plant in a warm, bright location. Taro loves bright, indirect sunlight. An east-facing window is ideal. If you don’t have enough natural light, supplement with a grow light.
Caring for Your Indoor Taro
Now that your taro is planted, let’s talk about how to keep it happy and healthy.
Watering
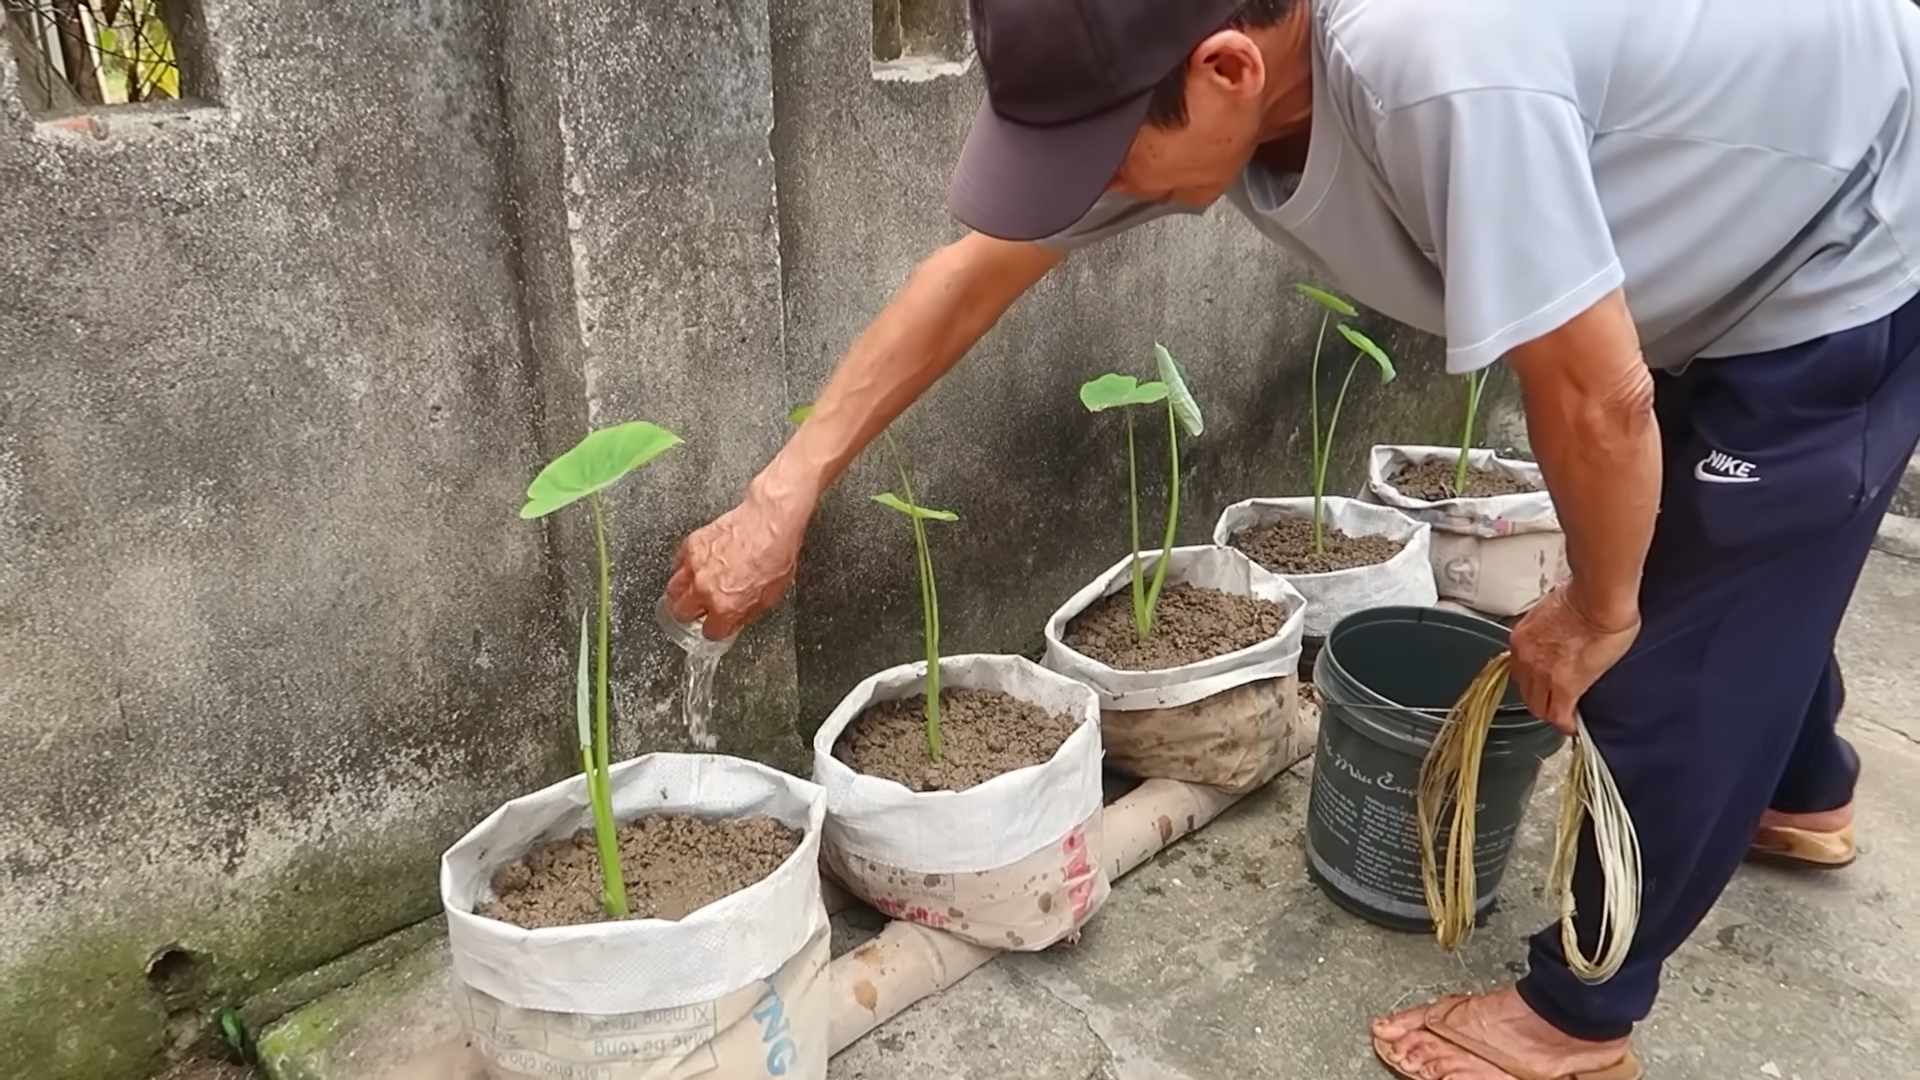
Taro loves moisture, so you’ll need to water it regularly. Here’s the key:
- Keep the Soil Moist: The soil should always be slightly moist to the touch. Check the soil moisture every day or two, and water when the top inch of soil feels dry.
- Don’t Overwater: While taro loves moisture, it doesn’t like to sit in soggy soil. Overwatering can lead to root rot. Make sure your pot has good drainage.
- Watering Frequency: The frequency of watering will depend on the temperature, humidity, and light levels in your home. In general, you’ll probably need to water your taro plant every 2-3 days.
Humidity
Taro is a tropical plant, so it thrives in high humidity. Here’s how to increase the humidity around your plant:
- Misting: Mist your taro plant’s leaves regularly with a spray bottle. This will help to increase the humidity around the plant.
- Humidity Tray: Place your taro plant on a humidity tray. A humidity tray is simply a tray filled with pebbles and water. As the water evaporates, it will increase the humidity around the plant.
- Humidifier: If you live in a dry climate, you may want to consider using a humidifier to increase the humidity in your home.
Fertilizing
Taro is a heavy feeder, so you’ll need to fertilize it regularly.
- Fertilizer Type: Use a balanced liquid fertilizer, such as a 20-20-20 fertilizer.
- Fertilizing Frequency: Fertilize your taro plant every 2-4 weeks during the growing season (spring and summer).
- Dilution: Dilute the fertilizer to half strength to avoid burning the roots.
Light
Taro needs bright, indirect sunlight to thrive.
- Ideal Location: An east-facing window is ideal.
- Avoid Direct Sunlight: Avoid placing your taro plant in direct sunlight, as this can scorch the leaves.
- Grow Light: If you don’t have enough natural light, supplement with a grow light.
Temperature
Taro prefers warm temperatures.
- Ideal Temperature: The ideal temperature for taro is between 65°F and 85°F (18°C and 29°C).
- Avoid Cold Drafts: Avoid placing your taro plant in cold drafts, as this can damage the leaves.
Pruning
Pruning isn’t usually necessary for taro, but you can remove any dead or damaged leaves.
- Remove Dead Leaves: Use clean, sharp scissors or pruning shears to remove any dead or damaged leaves.
- Encourage Bushier Growth: You can also prune the plant to encourage bushier growth. Simply cut back the stems to the desired length.
Repotting
You’ll need to repot your taro plant every year or two, as it outgrows its pot.
- When to Repot: Repot your taro plant when the roots start to circle the bottom of the pot.
- Pot Size: Choose a pot that’s one size larger than the current pot.
- Repotting Process: Gently remove the taro plant from its pot and loosen the roots. Place the plant in the new pot and fill with fresh potting mix. Water thoroughly.
Dealing with Pests and Diseases
Like any plant, taro can be susceptible to pests and diseases. Here are a few common problems and how to deal with them:
- Spider Mites: These tiny pests can suck the sap from your taro plant’s leaves, causing them to turn yellow and stippled. To get rid of spider mites, spray your plant with insecticidal soap or neem oil.
- Mealybugs: These white, cottony pests can also suck the sap from your taro plant’s leaves. To get rid of mealybugs, dab them with a cotton swab dipped in rubbing alcohol.
- Root Rot: This fungal disease can occur if your taro plant is overwatered. To prevent root rot, make sure your pot has good drainage and don’t overwater your plant. If your plant does develop root rot, you’ll need to repot it in fresh potting mix and remove any affected roots.
Troubleshooting
Sometimes, even with the best care, your taro plant might encounter some issues. Here are a few common problems and their solutions:
- Yellowing Leaves: This could be a sign of overwatering, underwatering, or nutrient deficiency. Check the soil moisture and adjust your watering accordingly. If the soil is consistently moist, you might be overwatering. If the soil is dry, you might be underwatering. If you’re fertilizing regularly, the yellowing could be due to a nutrient deficiency. Try using
Conclusion
So, there you have it! Growing taro indoors might seem like a tropical dream reserved for expert gardeners, but as you’ve discovered, it’s surprisingly achievable with a little know-how and dedication. This DIY trick for cultivating your own taro offers a unique opportunity to connect with nature, even within the confines of your home. Forget those bland, store-bought vegetables; imagine harvesting your own fresh, organically grown taro, bursting with flavor and packed with nutrients.
But why is this DIY approach a must-try? Firstly, it’s incredibly rewarding. Nurturing a plant from a simple corm to a thriving, leafy specimen is a deeply satisfying experience. Secondly, you gain complete control over the growing environment, ensuring your taro is free from harmful pesticides and chemicals. This is especially important if you plan to consume the taro leaves or corms. Thirdly, growing taro indoors adds a touch of exotic beauty to your living space. The large, heart-shaped leaves create a lush, tropical ambiance that can transform any room into a tranquil oasis.
Beyond the basic method, there’s ample room for experimentation and personalization. Consider trying different varieties of taro to discover your favorite flavor profile. Some varieties are better suited for leaf consumption, while others are prized for their corms. You could also explore different potting mixes to optimize drainage and nutrient availability. For instance, adding perlite or vermiculite to your potting mix can improve aeration and prevent waterlogging. Another variation involves using a self-watering pot to simplify the watering process and ensure consistent moisture levels. If you’re feeling adventurous, you can even try propagating taro from stem cuttings, although this method requires more patience and attention.
Don’t be afraid to experiment with lighting conditions as well. While taro thrives in bright, indirect light, you might find that supplementing with artificial grow lights during the darker months of the year can boost growth and leaf production. Observe your plant closely and adjust the lighting accordingly. If the leaves appear pale or leggy, it’s a sign that they’re not getting enough light.
We wholeheartedly encourage you to embark on this exciting journey of growing taro indoors. It’s a fantastic way to learn about plant care, connect with nature, and enjoy the fruits (or rather, roots and leaves) of your labor. Remember to be patient and observant, and don’t be discouraged by occasional setbacks. Every plant is unique, and it takes time to understand its specific needs.
Most importantly, we want to hear about your experiences! Share your successes, challenges, and tips with us and fellow gardening enthusiasts. Post photos of your thriving taro plants on social media using #IndoorTaro or tag us in your posts. Let’s create a community of indoor taro growers and inspire others to embrace this rewarding DIY project. Your insights and experiences can help others overcome challenges and achieve success in growing their own taro indoors. So, grab a taro corm, prepare your potting mix, and get ready to experience the joy of growing your own tropical treasure!
FAQ
What are the most common problems when growing taro indoors, and how can I fix them?
The most common issues include yellowing leaves, stunted growth, and root rot. Yellowing leaves can indicate overwatering, underwatering, or nutrient deficiencies. Check the soil moisture and adjust your watering schedule accordingly. If the soil is consistently wet, reduce watering frequency. If the soil is dry, water more often. You can also try fertilizing with a balanced liquid fertilizer to address potential nutrient deficiencies. Stunted growth can be caused by insufficient light, poor soil quality, or pests. Ensure your taro plant receives adequate bright, indirect light. Repot the plant in fresh, well-draining potting mix if the soil is compacted or depleted of nutrients. Inspect the plant regularly for pests such as aphids or spider mites and treat them with insecticidal soap or neem oil. Root rot is a serious problem caused by overwatering and poor drainage. If you suspect root rot, carefully remove the plant from its pot and inspect the roots. Trim away any mushy, brown roots and repot the plant in fresh, well-draining potting mix.
How often should I water my indoor taro plant?
Watering frequency depends on several factors, including the size of the pot, the type of potting mix, the temperature, and the humidity. As a general rule, water your taro plant when the top inch of soil feels dry to the touch. Avoid overwatering, as this can lead to root rot. During the growing season (spring and summer), you may need to water more frequently than during the dormant season (fall and winter). Check the soil moisture regularly and adjust your watering schedule accordingly. Using a moisture meter can be helpful in determining when to water.
What kind of fertilizer should I use for my indoor taro plant?
A balanced liquid fertilizer with an NPK ratio of 10-10-10 or 20-20-20 is suitable for indoor taro plants. Dilute the fertilizer according to the manufacturer’s instructions and apply it every 2-4 weeks during the growing season. Avoid over-fertilizing, as this can burn the roots. You can also supplement with organic fertilizers such as compost tea or worm castings. These provide a slow-release source of nutrients and improve soil health.
Is it safe to eat taro leaves and corms grown indoors?
Yes, taro leaves and corms grown indoors are generally safe to eat, provided they are properly prepared. Taro contains calcium oxalate crystals, which can cause irritation and discomfort if ingested raw. To remove these crystals, the leaves and corms must be cooked thoroughly. Boiling, steaming, or baking are all effective methods of cooking taro. Discard the cooking water after boiling to further reduce the oxalate content. It’s also important to ensure that your taro plant is free from pesticides and other harmful chemicals before consuming it.
How much light does my indoor taro plant need?
Taro plants thrive in bright, indirect light. Avoid placing them in direct sunlight, as this can scorch the leaves. A location near an east-facing or west-facing window is ideal. If you don’t have access to sufficient natural light, you can supplement with artificial grow lights. Fluorescent or LED grow lights are effective options. Position the grow lights a few inches above the plant and keep them on for 12-16 hours per day.
Can I grow taro in water only?
While taro can be initially sprouted in water, it’s not ideal for long-term growth. Taro plants require nutrients and support that are best provided by a potting mix. However, you can start the corm in water until it develops roots and then transplant it into a pot with well-draining potting mix.
How do I propagate taro indoors?
The easiest way to propagate taro indoors is by dividing the corms. When repotting your taro plant, you may notice that it has produced multiple corms. Carefully separate these corms and plant them in individual pots. You can also propagate taro from stem cuttings, but this method is more challenging. Take a cutting from a healthy stem with at least one node (the point where a leaf emerges). Place the cutting in water until it develops roots and then transplant it into a pot with well-draining potting mix.
What kind of pot should I use for my indoor taro plant?
Choose a pot that is large enough to accommodate the root system of your taro plant. A pot that is at least 12 inches in diameter is a good starting point. Ensure that the pot has drainage holes to prevent waterlogging. Terracotta pots are a good option, as they allow for better air circulation and drainage. You can also use plastic pots, but be sure to monitor the soil moisture carefully to avoid overwatering.
How do I deal with pests on my indoor taro plant?
Inspect your taro plant regularly for pests such as aphids, spider mites, and mealybugs. If you find any pests, treat them with insecticidal soap or neem oil. These are natural and effective options that are safe for indoor use. You can also try wiping the leaves with a damp cloth to remove pests manually. For severe infestations, you may need to use a stronger insecticide, but be sure to follow the manufacturer’s instructions carefully.
My taro plant is not growing. What could be the reason?
Several factors can contribute to stunted growth in taro plants. Insufficient light, poor soil quality, overwatering, underwatering, nutrient deficiencies, and pests are all potential causes. Evaluate each of these factors and address any issues accordingly. Ensure your plant is receiving adequate light, is planted in well-draining potting mix, is watered appropriately, is fertilized regularly, and is free from pests. If you’ve addressed all of these factors and your plant is still not growing, it may be dormant. Reduce watering and fertilization during the dormant season and wait for new growth to emerge in the spring.
Leave a Comment