
Housekeeping Hacks That Work: Are you tired of spending your precious weekends scrubbing and cleaning, only to feel like you’re fighting a never-ending battle against dust and grime? I know I am! For centuries, keeping a tidy home has been a cornerstone of civilized life, from the ancient Roman’s meticulous mosaics to the Victorian era’s obsession with spotless parlors. But let’s be honest, in today’s busy world, who has time for all that fuss?
That’s where these amazing housekeeping hacks that work come in! This isn’t your grandma’s guide to spring cleaning (though, respect to grandma!). We’re talking about clever, efficient, and often surprising ways to tackle household chores with minimal effort. Imagine reclaiming your weekends, spending more time with loved ones, or simply relaxing with a good book instead of battling stubborn stains.
These DIY tricks are essential because they offer practical solutions to everyday problems. They save you time, money, and energy, allowing you to focus on what truly matters. Plus, many of these hacks utilize items you already have around the house, making them eco-friendly and budget-conscious. So, get ready to transform your cleaning routine and discover the joy of a sparkling home without the stress!

DIY Drain Cleaner: Unleash the Power of Harpic (Safely!)
Okay, so clogged drains. We’ve all been there. That slow-draining sink, the gurgling shower – it’s a household nightmare. And while there are tons of commercial drain cleaners out there, sometimes you just want a quick fix using things you already have at home. That’s where this DIY drain cleaner using Harpic comes in!
Important Safety Note: Harpic is a powerful chemical. Always wear gloves and eye protection when working with it. Ensure adequate ventilation. Never mix Harpic with bleach or other cleaning products, as this can create dangerous fumes. If you’re unsure about anything, it’s always best to call a professional plumber. This guide is for minor clogs only. For severe blockages, a professional is recommended.
Understanding the Ingredients
Before we dive in, let’s talk about why this works. Harpic, designed for toilet cleaning, contains hydrochloric acid, which can help dissolve organic matter like hair, grease, and soap scum that often cause drain clogs. Baking soda and vinegar create a fizzing action that helps to dislodge debris. Hot water helps to flush everything away.
What You’ll Need:
* Harpic toilet cleaner (original formula is best)
* Baking soda
* White vinegar
* Boiling water
* Rubber gloves
* Eye protection (goggles or safety glasses)
* A measuring cup or scoop
* A funnel (optional, but helpful)
* An old toothbrush or scrub brush (for cleaning the drain opening)
Step-by-Step Instructions:
1. Prepare the Area: Put on your rubber gloves and eye protection. Clear the area around the drain. Remove any standing water from the sink or tub. This is crucial for the ingredients to work effectively.
2. Clean the Drain Opening: Use an old toothbrush or scrub brush to clean around the drain opening. Remove any visible hair or debris. This will help the drain cleaner penetrate the clog more easily.
3. Pour in the Baking Soda: Measure out about 1/2 cup of baking soda and carefully pour it down the drain. A funnel can be helpful here to avoid spills. Try to get as much of the baking soda down the drain as possible.
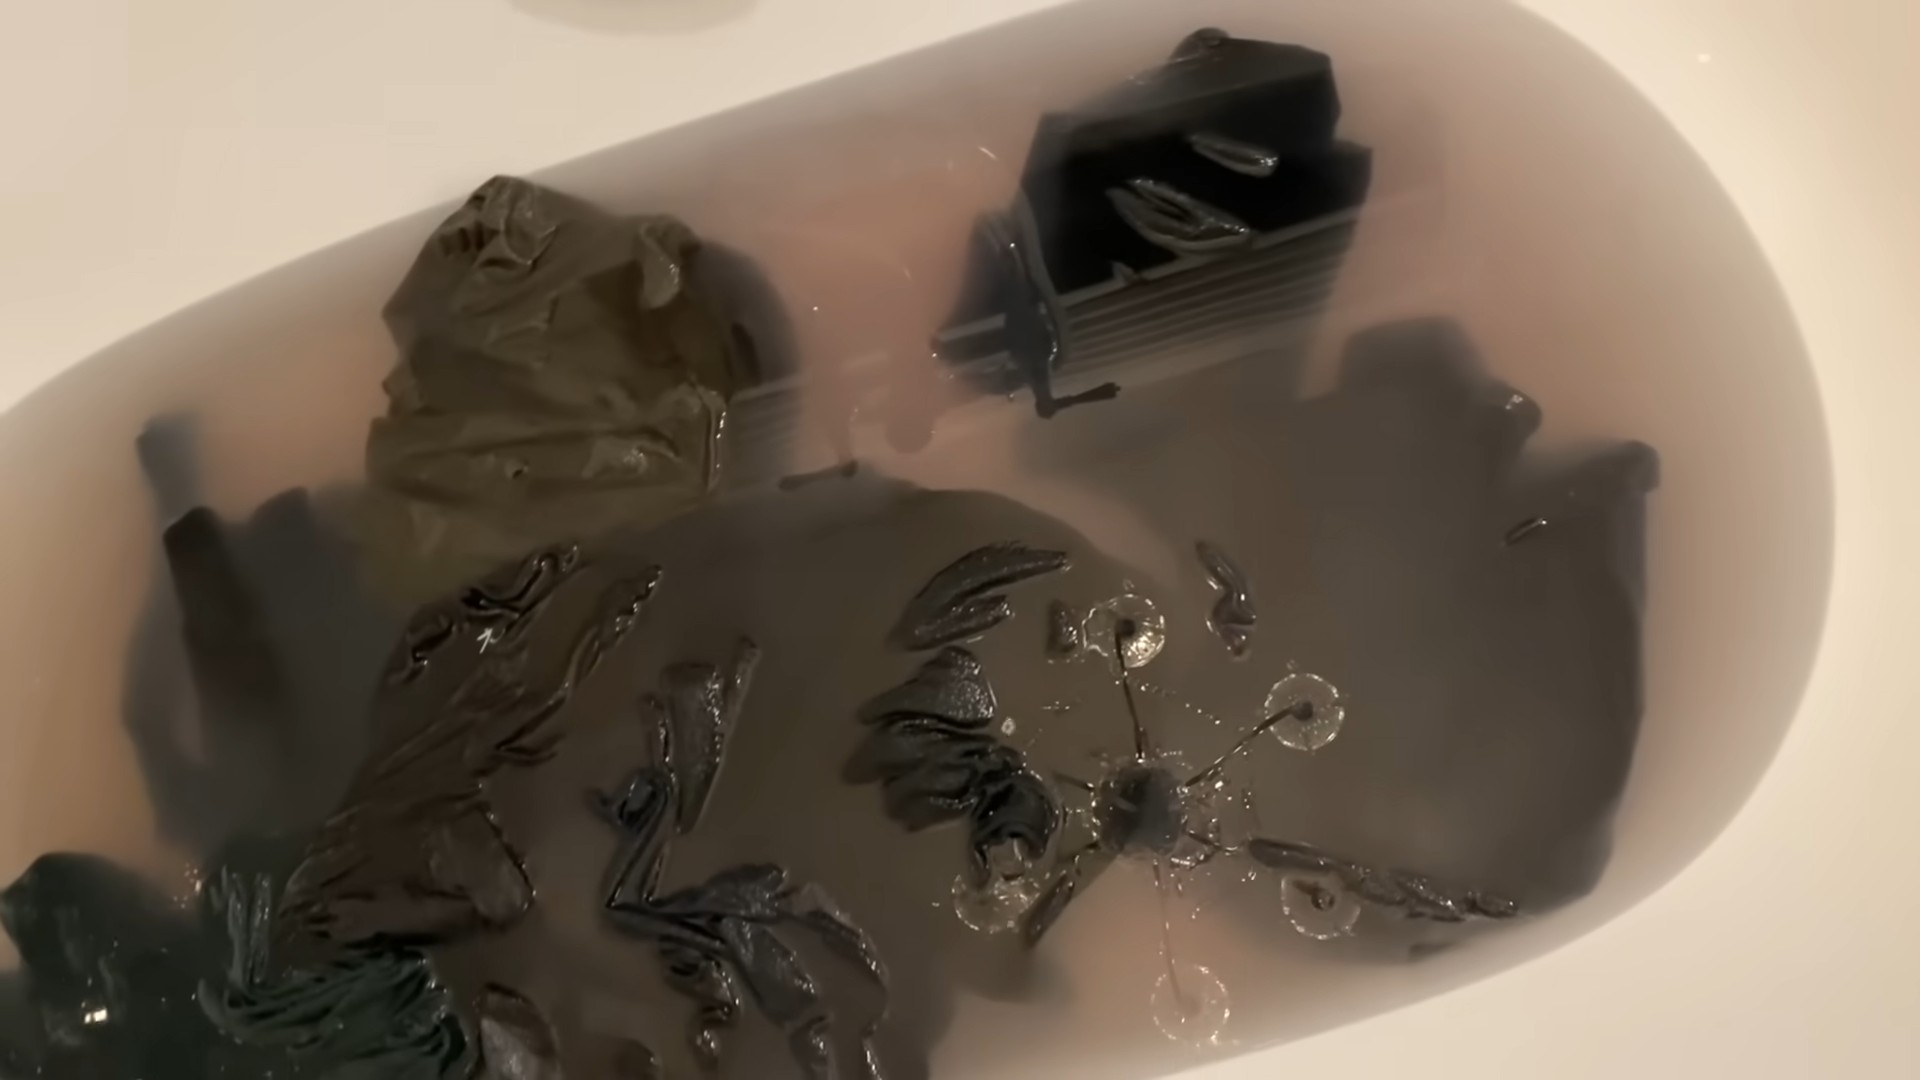
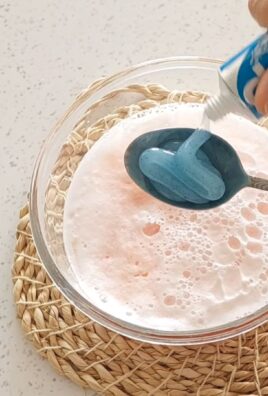
4. Add the Vinegar: Next, pour about 1 cup of white vinegar down the drain. You’ll immediately notice a fizzing reaction. This is the baking soda and vinegar reacting, creating carbon dioxide gas, which helps to loosen the clog.
5. Let it Fizz: Let the baking soda and vinegar mixture fizz for about 25-30 minutes. This allows the reaction to work its magic and break down the clog. You might hear some gurgling sounds – that’s a good sign!
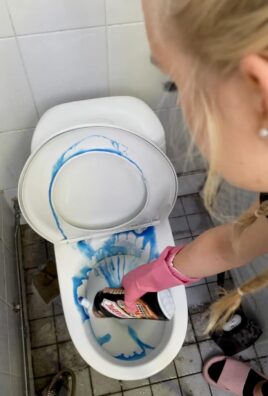
6. The Harpic Power-Up (Handle with Care!): Now comes the Harpic. Carefully pour about 1/4 cup (no more!) of Harpic toilet cleaner down the drain. Remember, safety first! The Harpic will react with any remaining clog material and further break it down.
7. Wait Again: Let the Harpic sit in the drain for another 20-25 minutes. This gives it time to work its dissolving power. Do not leave it longer than this, as prolonged exposure to the drain pipes could cause damage.
8. Flush with Boiling Water: After the waiting period, carefully pour a kettle or pot of boiling water down the drain. The hot water will help to flush away the loosened debris and clear the drain. Be careful not to splash yourself with the boiling water.
9. Test the Drain: Turn on the faucet and see how the water drains. If it’s still draining slowly, repeat steps 3-8 one more time. For stubborn clogs, you might need to repeat the process a second time.
10. Final Flush: Once the drain is flowing freely, flush it with plenty of hot water for several minutes to ensure that all the debris and cleaning solution are completely washed away.
11. Clean Up: Thoroughly rinse the area around the drain with water. Dispose of your gloves and any used cleaning supplies properly. Wash your hands thoroughly with soap and water.
Dealing with Stubborn Clogs
Sometimes, a single application of this DIY drain cleaner isn’t enough to clear a particularly stubborn clog. Here are a few tips for dealing with those tough blockages:
* Repeat the Process: As mentioned earlier, you can repeat the entire process one or two more times. Just be sure to wait a few hours between applications to avoid damaging your pipes.
* Use a Plunger: After flushing with boiling water, try using a plunger to help dislodge the clog. The pressure from the plunger can help to break up the remaining debris.
* Try a Drain Snake: A drain snake (also known as a plumbing snake) is a flexible tool that you can insert into the drain to physically break up and remove clogs. You can find drain snakes at most hardware stores.
* Check the P-Trap: The P-trap is the curved section of pipe under your sink. It’s designed to trap debris and prevent sewer gases from entering your home. Sometimes, clogs can form in the P-trap. You can remove the P-trap and clean it out manually. Be sure to place a bucket underneath to catch any water.
Preventing Future Clogs
Prevention is always better than cure! Here are a few tips for preventing drain clogs in the future:
* Use Drain Screens: Install drain screens in your sinks and showers to catch hair and other debris before they go down the drain.
* Avoid Pouring Grease Down the Drain: Grease is a major culprit when it comes to drain clogs. Always dispose of grease in a separate container.
* Flush Regularly with Hot Water: Periodically flush your drains with hot water to help prevent the buildup of grease and soap scum.
* Don’t Overuse Garbage Disposals: Garbage disposals can contribute to drain clogs if they’re overused or if you put the wrong things down them. Avoid putting things like coffee grounds, eggshells, and fibrous vegetables down the garbage disposal.
* Consider Enzyme Drain Cleaners: Enzyme drain cleaners are a more natural and environmentally friendly option for preventing drain clogs. They use enzymes to break down organic matter.
Important Considerations:
* Pipe Material: While this method is generally safe for most PVC and metal pipes, it’s always a good idea to check your pipe material before using any drain cleaner. If you have older or more delicate pipes, you might want to consider a gentler alternative.
* Septic Systems: If you have a septic system, be cautious when using chemical drain cleaners. The chemicals can kill the beneficial bacteria in your septic tank, which can disrupt the system’s function. Consider using enzyme-based drain cleaners instead.
* Professional Help: If you’ve tried these DIY methods and your drain is still clogged, it’s time to call a professional plumber. They have the tools and expertise to diagnose and fix more serious drain problems.
Alternative DIY Drain Cleaner Recipes (If You’re Hesitant About Harpic)
If you’re not comfortable using Harpic, here are a couple of alternative DIY drain cleaner recipes you can try:
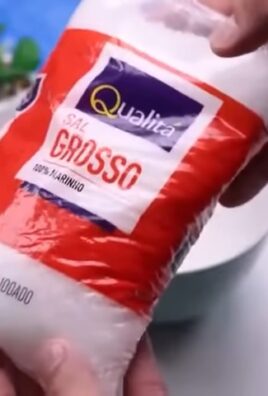
* Baking Soda and Salt: Mix equal parts baking soda and salt (about 1/2 cup each) and pour it down the drain. Follow with boiling water.
* Dish Soap and Hot Water: Pour a generous amount of dish soap down the drain, followed by boiling water. This can help to break down grease clogs.
Final Thoughts
While this DIY drain cleaner using Harpic can be a quick and effective solution for minor clogs, it’s important to use it safely and responsibly. Always wear gloves and eye protection, and never mix Harpic with other cleaning products. If you’re unsure about anything, it’s always best to consult a professional plumber. Remember, prevention is key to keeping your drains clear and flowing smoothly! Good luck, and happy unclogging!
Conclusion
So, there you have it! This simple yet incredibly effective DIY trick is a game-changer for anyone looking to streamline their housekeeping routine and achieve a sparkling clean home without breaking the bank or relying on harsh chemicals. We’ve shown you how to create a powerful, all-natural cleaning solution using ingredients you likely already have in your pantry. This isn’t just about saving money; it’s about creating a healthier living environment for you and your family.
Why is this a must-try? Because it’s efficient, eco-friendly, and incredibly versatile. From tackling stubborn grime in the kitchen to refreshing your bathroom surfaces, this DIY solution can handle it all. It’s a single recipe that replaces a multitude of store-bought cleaners, decluttering your cleaning cabinet and simplifying your life.
But the beauty of this DIY approach lies in its adaptability. Feel free to experiment with different essential oils to customize the scent and add extra cleaning power. For example, a few drops of tea tree oil can boost the solution’s antibacterial properties, making it ideal for disinfecting surfaces. Lavender oil adds a calming fragrance, perfect for cleaning bedrooms and creating a relaxing atmosphere. Lemon oil is a fantastic degreaser and leaves a fresh, citrusy scent.
Don’t be afraid to adjust the ratios of ingredients to suit your specific needs and preferences. If you’re dealing with particularly tough stains, you might want to increase the concentration of vinegar or baking soda. For delicate surfaces, dilute the solution further to prevent any potential damage. Always test the solution on an inconspicuous area first to ensure it doesn’t cause any discoloration or damage.
We’re confident that once you try this DIY housekeeping hack, you’ll be amazed by the results. It’s a simple, cost-effective, and environmentally friendly way to keep your home clean and fresh.
Now, it’s your turn! We encourage you to give this DIY trick a try and see the difference it can make in your home. Share your experiences with us in the comments below. We’d love to hear about your variations, successes, and any tips you discover along the way. Let’s build a community of savvy homeowners who are passionate about creating clean, healthy, and sustainable living spaces. Embrace the power of DIY and transform your housekeeping routine today! This is truly one of the best housekeeping hacks you’ll ever learn.
Frequently Asked Questions (FAQs)
What exactly are the ingredients needed for this DIY cleaning solution?
The basic recipe typically includes white vinegar, baking soda, water, and optionally, a few drops of your favorite essential oil for fragrance and added cleaning benefits. The specific ratios can vary depending on the intended use and the severity of the cleaning task. A common starting point is a 1:1 ratio of vinegar and water, with a tablespoon of baking soda added for extra scrubbing power.
Is this DIY cleaning solution safe for all surfaces?
While this solution is generally safe for most surfaces, it’s always a good idea to test it on an inconspicuous area first, especially on delicate materials like marble, granite, or wood. The acidity of vinegar can potentially damage certain surfaces over time. For these surfaces, a milder solution with a higher water-to-vinegar ratio is recommended. Avoid using it on porous surfaces that could absorb the solution and potentially stain.
Can I use this solution to clean my windows and mirrors?
Yes, this DIY cleaning solution can be used to clean windows and mirrors, but it’s important to dilute it properly to avoid streaks. A solution of equal parts white vinegar and water works well. Use a spray bottle to apply the solution and wipe it clean with a microfiber cloth for a streak-free finish. Avoid cleaning windows in direct sunlight, as the solution may dry too quickly and leave streaks.
How long can I store this DIY cleaning solution?
This DIY cleaning solution can be stored for several weeks in an airtight container. However, it’s best to use it within a month for optimal effectiveness. Over time, the baking soda may settle at the bottom of the container, so be sure to shake it well before each use. Store the solution in a cool, dark place to prevent the essential oils from degrading.
What essential oils are best to use in this DIY cleaning solution?
The best essential oils to use depend on your personal preferences and the desired cleaning benefits. Some popular choices include:
* **Lemon:** For its degreasing properties and fresh, citrusy scent.
* **Tea Tree:** For its antibacterial and antifungal properties.
* **Lavender:** For its calming fragrance and mild antiseptic properties.
* **Eucalyptus:** For its refreshing scent and ability to disinfect surfaces.
* **Peppermint:** For its invigorating scent and ability to repel insects.
Experiment with different combinations to find your favorite blend. Remember to use pure, therapeutic-grade essential oils for the best results.
Can I use this solution to clean my toilet?
Yes, this DIY cleaning solution can be used to clean your toilet. Pour a cup of the solution into the toilet bowl and let it sit for at least 30 minutes. Then, scrub the bowl with a toilet brush and flush. For stubborn stains, you can add a paste of baking soda and water to the affected areas and let it sit for a few hours before scrubbing.
Is this solution safe for pets and children?
This DIY cleaning solution is generally safer for pets and children than many commercial cleaners, as it doesn’t contain harsh chemicals. However, it’s still important to keep it out of reach of children and pets. Essential oils can be toxic to pets if ingested, so use them sparingly and avoid using them altogether if you have sensitive pets. Always supervise children when they are helping with cleaning tasks.
Can I use this solution to clean my oven?
Yes, you can use a variation of this solution to clean your oven. Make a paste of baking soda and water and spread it evenly over the interior surfaces of the oven, avoiding the heating elements. Let it sit overnight. The next day, spray the paste with a solution of equal parts white vinegar and water. The vinegar will react with the baking soda, creating a fizzing action that helps to loosen the grime. Wipe the oven clean with a damp cloth.
What if I don’t have vinegar? Can I substitute it with something else?
While vinegar is a key ingredient in this DIY cleaning solution due to its acidity and cleaning properties, you can try substituting it with lemon juice in a pinch. Lemon juice also has acidic properties and a pleasant scent. However, vinegar is generally more effective and less expensive.
How can I make this solution even more powerful for tough cleaning jobs?
For tougher cleaning jobs, you can add a small amount of borax to the solution. Borax is a natural mineral that acts as a powerful cleaning agent and disinfectant. However, borax can be irritating to the skin, so wear gloves when using it and avoid inhaling the dust. You can also try pre-treating stubborn stains with a paste of baking soda and water before applying the cleaning solution.
Leave a Comment