
High Yield Chili Peppers – that’s the dream, isn’t it? Imagine baskets overflowing with vibrant red, green, and yellow chilies, ready to spice up your meals and impress your friends. Forget those sad, lonely chili plants producing a measly handful of peppers. I’m here to tell you that a bountiful chili harvest is absolutely within your reach, even if you’re a beginner gardener!
For centuries, chili peppers have been more than just a culinary ingredient. From their origins in South America, where they were revered for their medicinal properties and even used in religious ceremonies, to their global spread thanks to explorers and traders, chilies have a rich and fascinating history. Today, they’re a staple in cuisines around the world, adding heat and flavor to everything from curries to salsas.
But why struggle with lackluster chili production when you can unlock the secrets to a thriving harvest? This DIY guide is packed with simple yet effective tricks and hacks that will transform your chili plants into prolific producers. We’ll cover everything from soil preparation and watering techniques to pest control and harvesting tips. So, if you’re ready to learn how to achieve high yield chili peppers and enjoy a season filled with spicy goodness, let’s dive in!
How to Grow a Bumper Crop of Chili Peppers: My DIY Secrets
Okay, chili pepper lovers, gather ’round! I’m going to share my tried-and-true methods for getting an absolutely insane yield of chili peppers from your garden. Forget those measly handfuls – we’re talking buckets overflowing with fiery goodness! This isn’t just about planting and hoping; it’s about understanding what these plants need and giving it to them in spades. Get ready to become a chili pepper growing guru!
Choosing the Right Chili Pepper Variety
Before we even think about soil, let’s talk peppers. Not all chili peppers are created equal, especially when it comes to yield. Some are naturally more prolific than others. Here’s what I look for:
* Consider your climate: Some varieties thrive in hot, humid conditions, while others prefer cooler, drier climates. Research which peppers are best suited to your region.
* Think about your heat preference: Do you want mild, medium, or scorching hot peppers? This will narrow down your choices considerably.
* Look for “high-yielding” varieties: Seed catalogs and online resources often highlight peppers known for their abundant harvests. Some of my personal favorites include:
* Jalapeños: Reliable and productive, perfect for beginners.
* Serranos: Another great option for a good yield and a decent kick.
* Thai Chili Peppers: These little guys pack a punch and produce like crazy.
* Cayenne Peppers: Classic and versatile, with a consistently high yield.
* Habaneros: If you’re brave enough, habaneros can be surprisingly productive.
* Read reviews: See what other gardeners are saying about the yield and overall performance of different varieties.
Getting Started: Seed Starting or Buying Transplants
You have two main options: starting your own seeds indoors or buying transplants from a nursery. I usually start my own seeds because it gives me more control over the process and allows me to grow varieties that might not be available locally.
Starting Seeds Indoors (My Preferred Method)
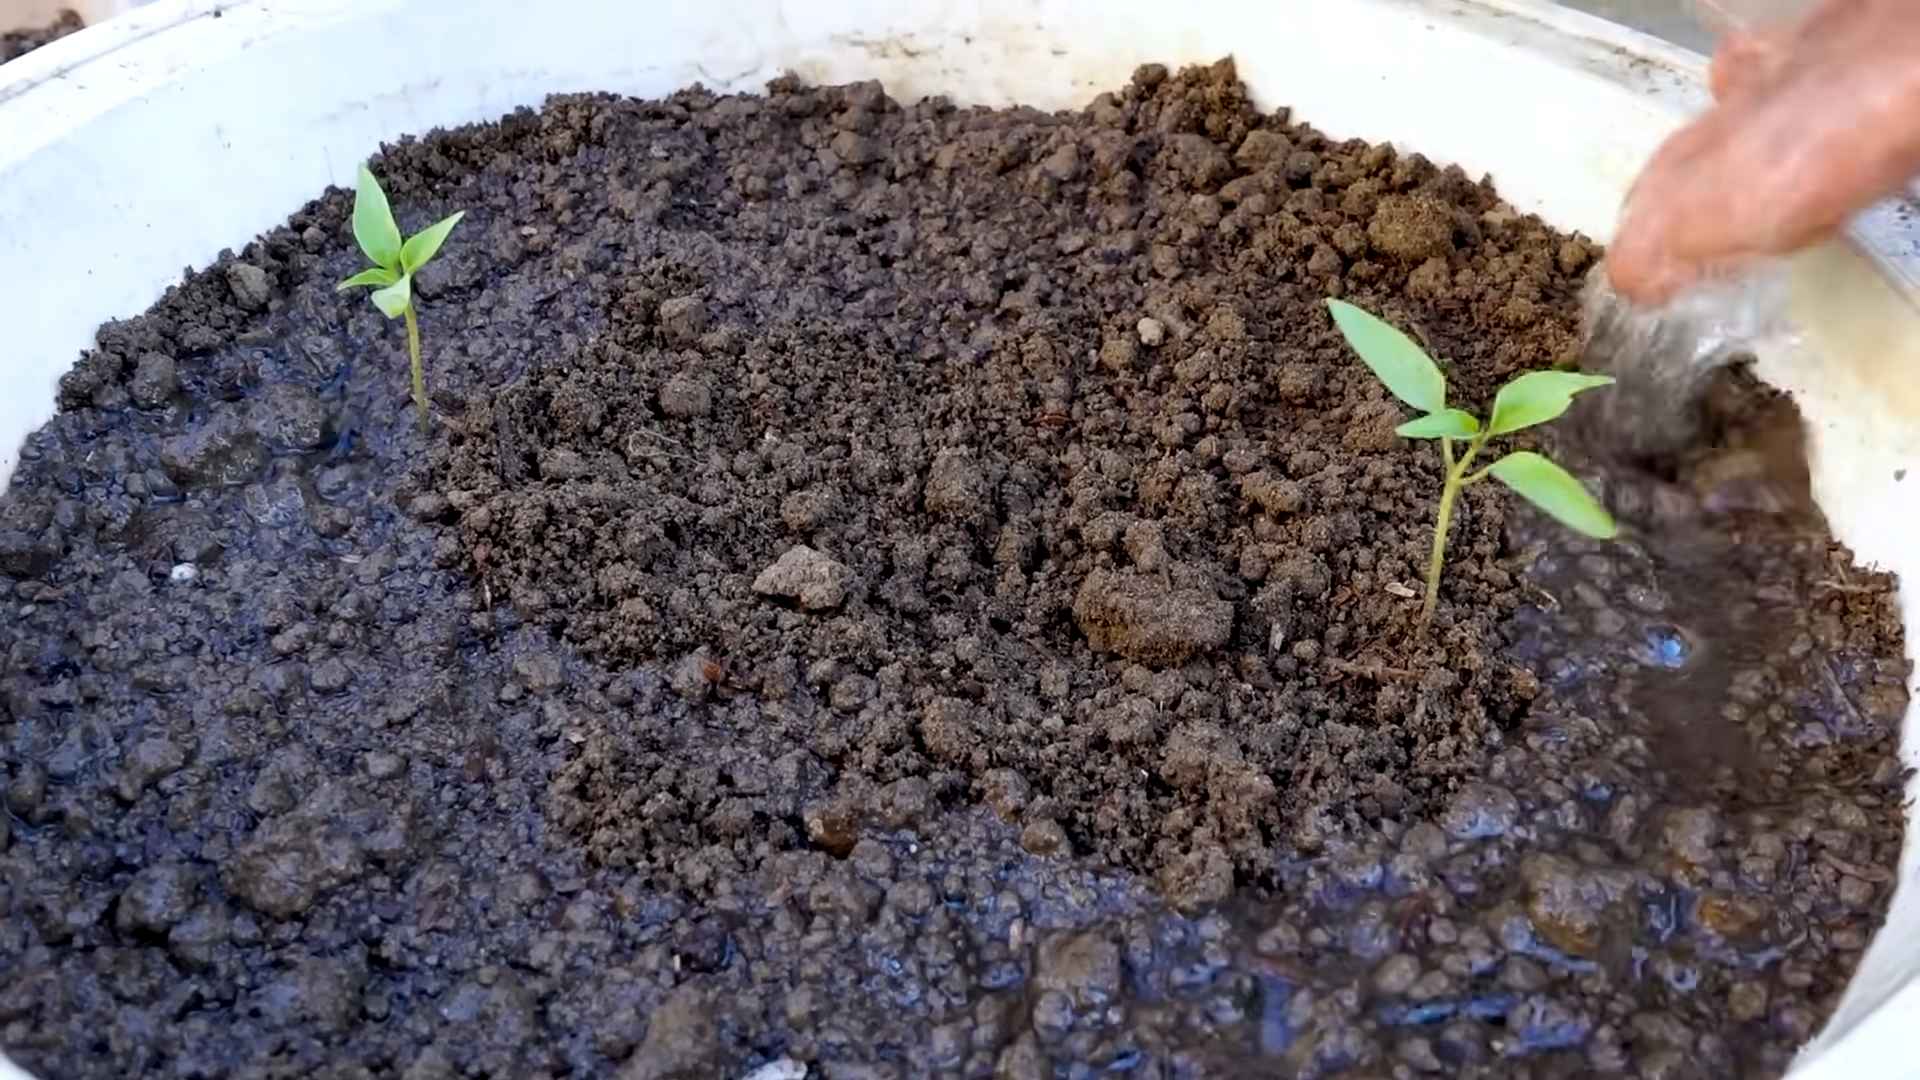
This is how I get a head start on the growing season and ensure I have healthy, robust seedlings.
1. Gather your supplies: You’ll need:
* Seed starting trays or small pots
* Seed starting mix (a light, sterile mix is crucial)
* A heat mat (optional, but highly recommended)
* A grow light (essential for strong seedlings)
* A spray bottle
* Your chosen chili pepper seeds
2. Sow the seeds: Moisten the seed starting mix and fill your trays or pots. Sow the seeds about ¼ inch deep, and gently cover them with more mix.
3. Provide warmth and moisture: Place the trays on a heat mat and mist them with water. Cover the trays with a humidity dome or plastic wrap to retain moisture.
4. Wait for germination: Chili pepper seeds can take anywhere from 7 to 21 days to germinate, depending on the variety and temperature. Keep the soil consistently moist but not soggy.
5. Provide light: Once the seedlings emerge, remove the humidity dome and place them under a grow light. Keep the light on for 14-16 hours a day.
6. Water carefully: Water the seedlings from the bottom to avoid damping off (a fungal disease that can kill young seedlings).
7. Thin the seedlings: If you sowed multiple seeds in each cell, thin them out to one seedling per cell once they have their first true leaves (the leaves that appear after the initial seed leaves).
8. Harden off the seedlings: Before transplanting the seedlings outdoors, you need to harden them off. This means gradually exposing them to outdoor conditions over a period of 7-10 days. Start by placing them in a sheltered spot for an hour or two each day, gradually increasing the amount of time they spend outdoors.
Buying Transplants
If you don’t have the time or space to start your own seeds, buying transplants is a perfectly fine option. Just make sure to choose healthy-looking plants with sturdy stems and no signs of pests or diseases.
Preparing the Soil: The Foundation for Success
Chili peppers are heavy feeders, meaning they need a lot of nutrients to produce a bountiful harvest. Proper soil preparation is absolutely essential.
1. Choose a sunny location: Chili peppers need at least 6-8 hours of direct sunlight per day.
2. Test your soil: A soil test will tell you the pH and nutrient levels of your soil. Chili peppers prefer a slightly acidic soil pH of around 6.0-6.8.
3. Amend the soil: Based on your soil test results, amend the soil with compost, aged manure, or other organic matter. This will improve drainage, aeration, and nutrient content. I personally love using a mix of composted chicken manure and worm castings.
4. Add fertilizer: Incorporate a slow-release fertilizer into the soil before planting. Look for a fertilizer that is high in phosphorus (the middle number on the fertilizer label), as this promotes root development and flowering. Bone meal is a great natural source of phosphorus.
5. Ensure good drainage: Chili peppers don’t like to sit in soggy soil. If your soil is heavy clay, consider adding sand or perlite to improve drainage. Raised beds are also a great option.
Planting Your Chili Peppers
Now for the fun part!
1. Wait for warm weather: Don’t plant your chili peppers outdoors until the danger of frost has passed and the soil has warmed up to at least 60°F (15°C).
2. Dig holes: Dig holes that are slightly larger than the root balls of your seedlings or transplants.
3. Plant the peppers: Gently remove the peppers from their containers and place them in the holes. Make sure the top of the root ball is level with the surrounding soil.
4. Space them properly: Space your chili peppers according to the variety. Generally, smaller varieties can be spaced 12-18 inches apart, while larger varieties need 24-36 inches of space.
5. Water thoroughly: Water the newly planted peppers thoroughly to help them settle in.
6. Mulch: Apply a layer of mulch around the plants to help retain moisture, suppress weeds, and regulate soil temperature. I like to use straw or shredded leaves.
Watering and Fertilizing: Keeping Your Peppers Happy
Consistent watering and fertilization are crucial for maximizing chili pepper yield.
1. Water deeply and regularly: Water your chili peppers deeply whenever the top inch of soil feels dry. Avoid overhead watering, as this can promote fungal diseases. Drip irrigation or soaker hoses are ideal.
2. Fertilize regularly: Feed your chili peppers every 2-3 weeks with a balanced liquid fertilizer. I like to use a fertilizer that is slightly higher in phosphorus and potassium (the last number on the fertilizer label) during the flowering and fruiting stages. Fish emulsion and seaweed extract are also great natural fertilizers.
3. Watch for signs of nutrient deficiencies: Yellowing leaves, stunted growth, or blossom end rot can all be signs of nutrient deficiencies. Adjust your fertilization accordingly.
Pruning and Support: Encouraging Bushier Growth and Heavier Yields
Pruning and providing support can significantly increase your chili pepper yield.
1. Prune early: When the plants are young, pinch off the growing tips to encourage branching. This will result in bushier plants with more flowering sites.
2. Remove suckers: Suckers are small shoots that grow from the base of the plant. Remove them to direct the plant’s energy towards fruit production.
3. Provide support: As the plants grow and the peppers start to weigh them down, provide support with stakes, cages, or trellises. This will prevent the branches from breaking and ensure that the peppers get plenty of sunlight.
Pest and Disease Control: Protecting Your Precious Peppers
Pests and diseases can wreak havoc on your chili pepper crop. Here’s how to keep them at bay:
1. Inspect your plants regularly: Check your plants regularly for signs of pests or diseases. The earlier you catch a problem, the easier it will be to control.
2. Use organic pest control methods: If you find pests, try using organic pest control methods first. Insecticidal soap, neem oil, and diatomaceous earth are all effective options.
3. Prevent fungal diseases: To prevent fungal diseases, avoid overhead watering, provide good air circulation, and apply a fungicide if necessary.
4. Remove diseased plants: If a plant becomes severely diseased, remove it from the garden to prevent the disease from spreading to other plants.
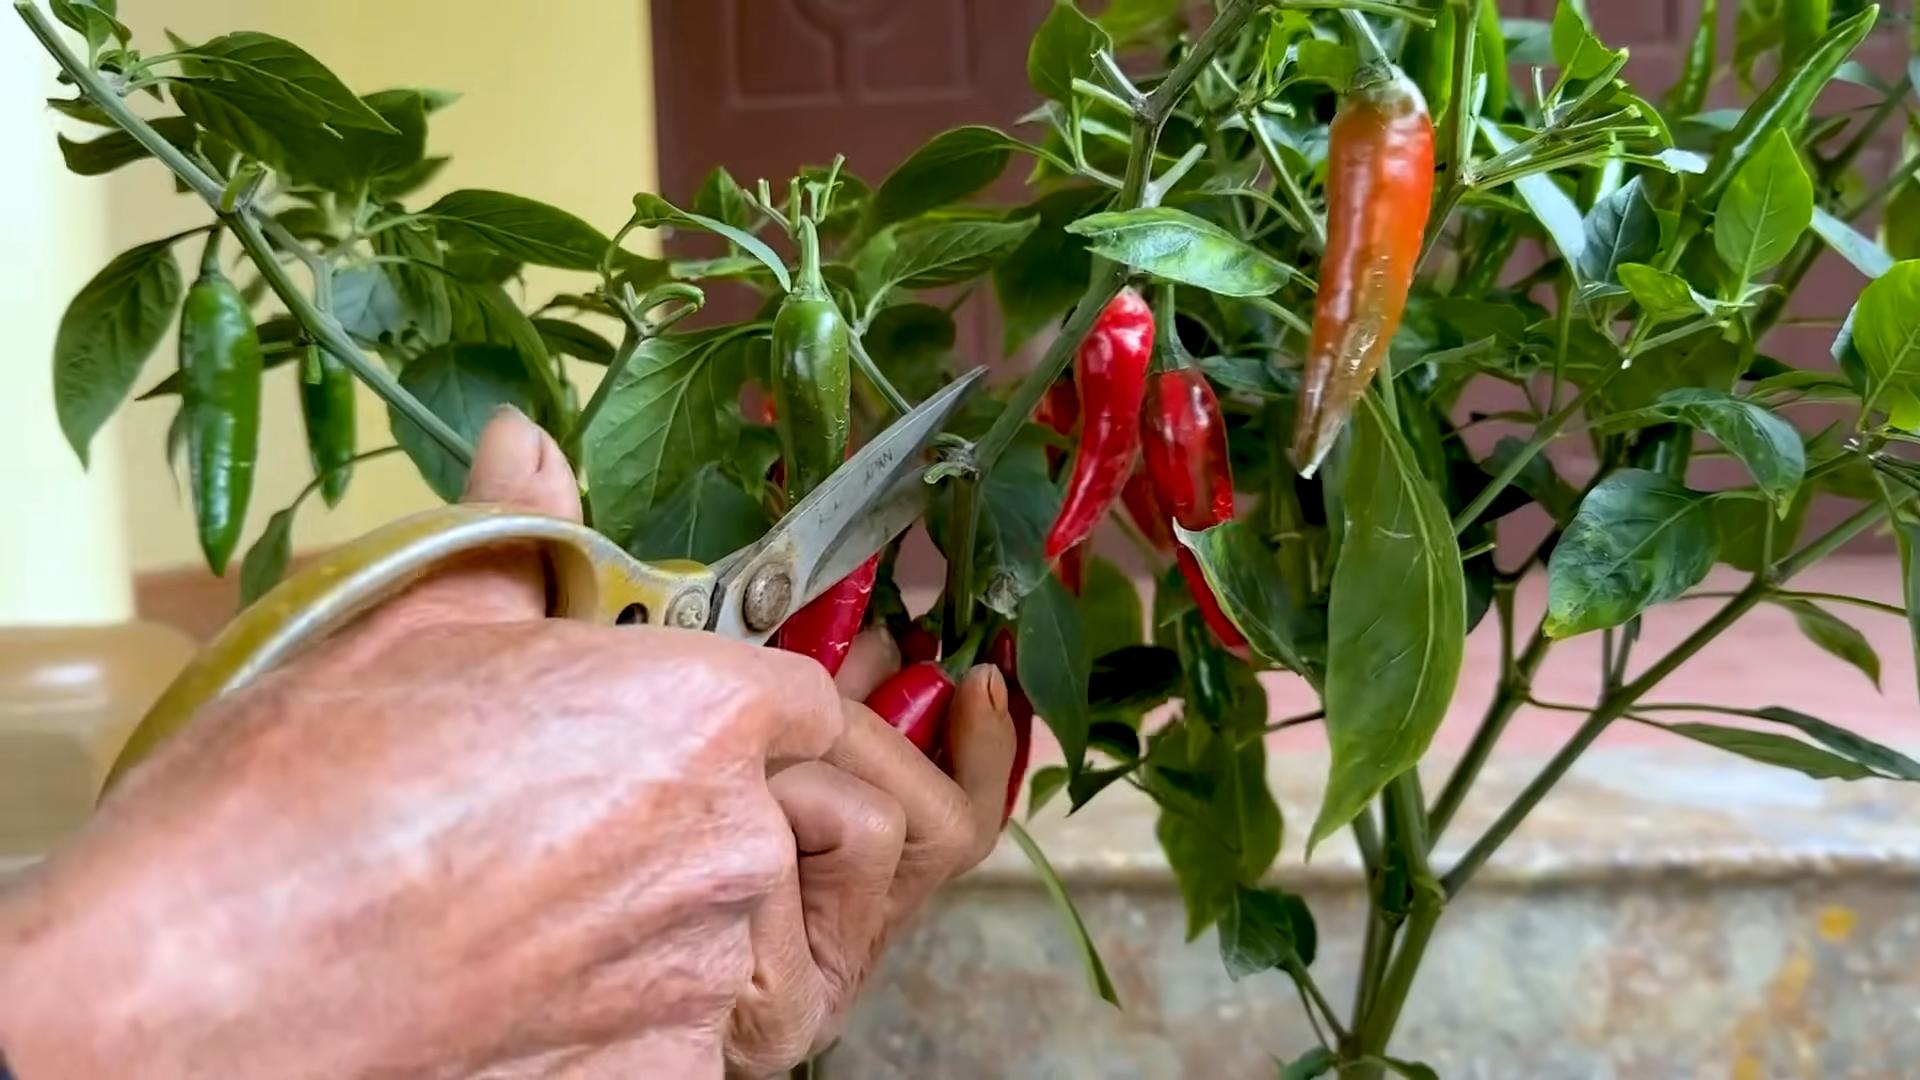
Harvesting Your Chili Peppers: The Moment of Truth!
The moment you’ve been waiting for!
1. Harvest when ripe: Chili peppers are typically ready to harvest when they have reached their mature color and size.
Conclusion
So, there you have it! Unlocking the secret to high yield chili peppers isn’t about expensive fertilizers or complicated gardening techniques. It’s about understanding the plant’s needs and providing a simple, targeted boost right where it matters. This DIY trick, focusing on calcium and magnesium supplementation, is a game-changer for anyone looking to maximize their chili pepper harvest.
Why is this a must-try? Because it’s effective, affordable, and incredibly easy to implement. You’re likely already throwing away the key ingredient – eggshells! Instead of contributing to landfill waste, you’re transforming them into a potent fertilizer that directly addresses a common nutrient deficiency in chili pepper plants. This translates to stronger plants, more blossoms, and ultimately, a significantly larger yield of those fiery peppers you crave.
But don’t just take our word for it. The beauty of this DIY method lies in its adaptability. Feel free to experiment with variations. For instance, if you’re growing in particularly acidic soil, adding a small amount of wood ash to your eggshell mixture can further help to balance the pH and provide additional potassium. You can also adjust the frequency of application based on your plant’s needs and the specific growing conditions in your area. Observe your plants closely – are they showing signs of blossom end rot (a telltale sign of calcium deficiency)? If so, increase the frequency of your eggshell tea application.
Consider supplementing this DIY trick with other organic gardening practices. Companion planting, for example, can attract beneficial insects that will help to control pests and further boost your chili pepper yield. Marigolds are a popular choice for planting alongside chili peppers, as they repel nematodes and other harmful insects. Regular watering and proper sunlight are, of course, essential for healthy plant growth.
We’re confident that this simple DIY trick will revolutionize your chili pepper growing experience. It’s a sustainable, cost-effective way to achieve a bountiful harvest of flavorful peppers. So, gather your eggshells, brew your tea, and get ready to be amazed by the results.
Now, it’s your turn! We encourage you to try this DIY trick and share your experiences with us. Did you notice a significant increase in your chili pepper yield? Did you experiment with any variations? What challenges did you encounter, and how did you overcome them? Your feedback is invaluable and will help other gardeners to achieve success with this method. Share your photos, tips, and stories in the comments section below. Let’s build a community of chili pepper enthusiasts who are passionate about sustainable gardening practices and maximizing their harvests! We can’t wait to hear about your success stories and learn from your experiences. Happy growing!
Frequently Asked Questions (FAQ)
What exactly does this DIY trick do for my chili pepper plants?
This DIY trick primarily addresses calcium and magnesium deficiencies in chili pepper plants. Eggshells are a rich source of calcium carbonate, which, when properly prepared, becomes bioavailable to the plants. Calcium is crucial for cell wall development, strong stems, and the prevention of blossom end rot, a common problem in chili peppers. Magnesium, often found in Epsom salts (magnesium sulfate), is essential for chlorophyll production, which is vital for photosynthesis and overall plant health. By providing these essential nutrients, this DIY method promotes stronger, healthier plants that are better able to produce a high yield of chili peppers.
How often should I apply the eggshell tea to my chili pepper plants?
The frequency of application depends on several factors, including the age of your plants, the type of soil you’re using, and the overall growing conditions. As a general guideline, you can start by applying the eggshell tea every two to three weeks. However, it’s crucial to observe your plants closely for any signs of nutrient deficiency, such as blossom end rot or yellowing leaves. If you notice these symptoms, you may need to increase the frequency of application to once a week. In well-draining, nutrient-rich soil, you might be able to reduce the frequency to once a month. Remember, it’s always better to err on the side of caution and monitor your plants closely.
Can I use this DIY trick on other plants besides chili peppers?
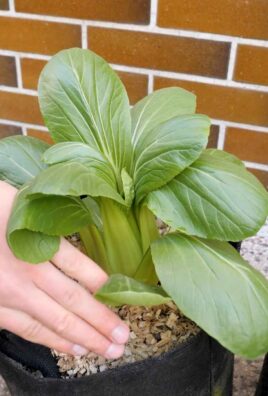
Yes, this DIY trick can be beneficial for other plants that require calcium and magnesium, such as tomatoes, peppers (bell peppers, etc), and eggplants. These plants are all susceptible to blossom end rot and can benefit from the calcium boost provided by eggshells. However, it’s important to note that different plants have different nutrient requirements, so you may need to adjust the frequency and concentration of the eggshell tea accordingly. For example, leafy greens generally don’t require as much calcium as fruiting vegetables. Always research the specific needs of your plants before applying any fertilizer.
What if I don’t have enough eggshells to make the tea?
Don’t worry! You can start collecting eggshells well in advance of the growing season. Simply rinse the eggshells after use and allow them to dry completely. Store them in an airtight container until you have enough to make the tea. You can also ask friends and family to save their eggshells for you. Alternatively, you can purchase calcium supplements specifically designed for plants from your local garden center. However, the eggshell method is a more sustainable and cost-effective option.
Is it necessary to bake the eggshells before using them?
Baking the eggshells is not strictly necessary, but it is highly recommended. Baking helps to kill any bacteria that may be present on the eggshells, reducing the risk of introducing harmful pathogens to your soil. It also makes the eggshells more brittle, making them easier to crush and grind into a fine powder. This increases the surface area of the eggshells, allowing them to break down more quickly and release their nutrients into the soil.
Can I use this DIY trick in hydroponic systems?
While the principles of providing calcium and magnesium remain the same, using this specific DIY eggshell tea directly in a hydroponic system is not recommended. The particulate matter in the tea can clog the system’s pumps and filters. Instead, consider using commercially available hydroponic nutrients that are specifically formulated to provide the necessary nutrients in a readily available form. You can also research calcium and magnesium supplements that are suitable for hydroponic use.
What are the signs of calcium deficiency in chili pepper plants?
The most common sign of calcium deficiency in chili pepper plants is blossom end rot, which appears as a dark, sunken spot on the blossom end of the fruit. Other signs may include stunted growth, yellowing leaves, and weak stems. If you notice any of these symptoms, it’s important to address the calcium deficiency as soon as possible to prevent further damage to your plants.
Can I use Epsom salts alone to increase my chili pepper yield?
While Epsom salts (magnesium sulfate) can provide a beneficial boost of magnesium, they should not be used as a sole fertilizer. Chili pepper plants require a variety of nutrients, including nitrogen, phosphorus, and potassium, in addition to calcium and magnesium. Using Epsom salts alone can lead to nutrient imbalances and may not result in a significant increase in yield. It’s best to use Epsom salts as a supplement to a balanced fertilizer program.
How do I know if my soil is acidic?
You can test your soil pH using a soil testing kit, which is available at most garden centers. The ideal pH for chili pepper plants is between 6.0 and 6.8. If your soil pH is below 6.0, it is considered acidic. Adding wood ash to your eggshell mixture can help to raise the pH of acidic soil.
What other tips can I use to increase my chili pepper yield?
In addition to this DIY trick, there are several other things you can do to increase your chili pepper yield. These include:
* Providing adequate sunlight (at least 6-8 hours per day).
* Watering regularly, especially during hot, dry weather.
* Fertilizing with a balanced fertilizer throughout the growing season.
* Pruning your plants to encourage branching and fruit production.
* Protecting your plants from pests and diseases.
* Choosing high-yielding varieties of chili peppers.
* Companion planting with beneficial plants like basil or marigolds.
Leave a Comment