
Hydrogen Peroxide Grout Cleaning: Are you tired of staring at dingy, discolored grout lines that seem impossible to clean? I know I have been! It’s amazing how quickly grout can go from pristine to practically prehistoric, making your entire kitchen or bathroom look older than it actually is. But don’t despair! Before you reach for harsh chemicals or consider the back-breaking task of re-grouting, let’s explore a simple, effective, and surprisingly affordable solution: hydrogen peroxide.
Grout cleaning has been a household challenge for generations. From ancient Roman mosaics to modern tile installations, keeping those spaces between tiles sparkling has always been a priority. While our ancestors relied on elbow grease and natural remedies, we now have the power of science on our side. And that’s where hydrogen peroxide grout cleaning comes in.
Why is this DIY trick so essential? Because a clean home is a happy home! Grimy grout not only looks unappealing, but it can also harbor mold and bacteria, impacting your indoor air quality and potentially your health. This DIY method is a fantastic alternative to harsh chemical cleaners, which can be harmful to you, your family, and the environment. Plus, it’s incredibly easy and cost-effective. I’m going to show you exactly how to use hydrogen peroxide to restore your grout to its former glory, saving you time, money, and a whole lot of scrubbing!
DIY Grout Cleaning with Hydrogen Peroxide: A Sparkling Solution!
Hey there, fellow DIY enthusiasts! Are you tired of staring at dingy, discolored grout lines? I know I was! No matter how much I scrubbed, those stubborn stains just wouldn’t budge. That’s when I discovered the magic of hydrogen peroxide. It’s a safe, effective, and surprisingly affordable way to bring your grout back to life. And trust me, the results are seriously satisfying!
This guide will walk you through everything you need to know to clean your grout with hydrogen peroxide, from gathering your supplies to achieving that sparkling clean finish. Let’s get started!
What You’ll Need: The Supply List
Before we dive in, let’s make sure you have everything you need. This will save you time and frustration later on. Here’s my go-to list:
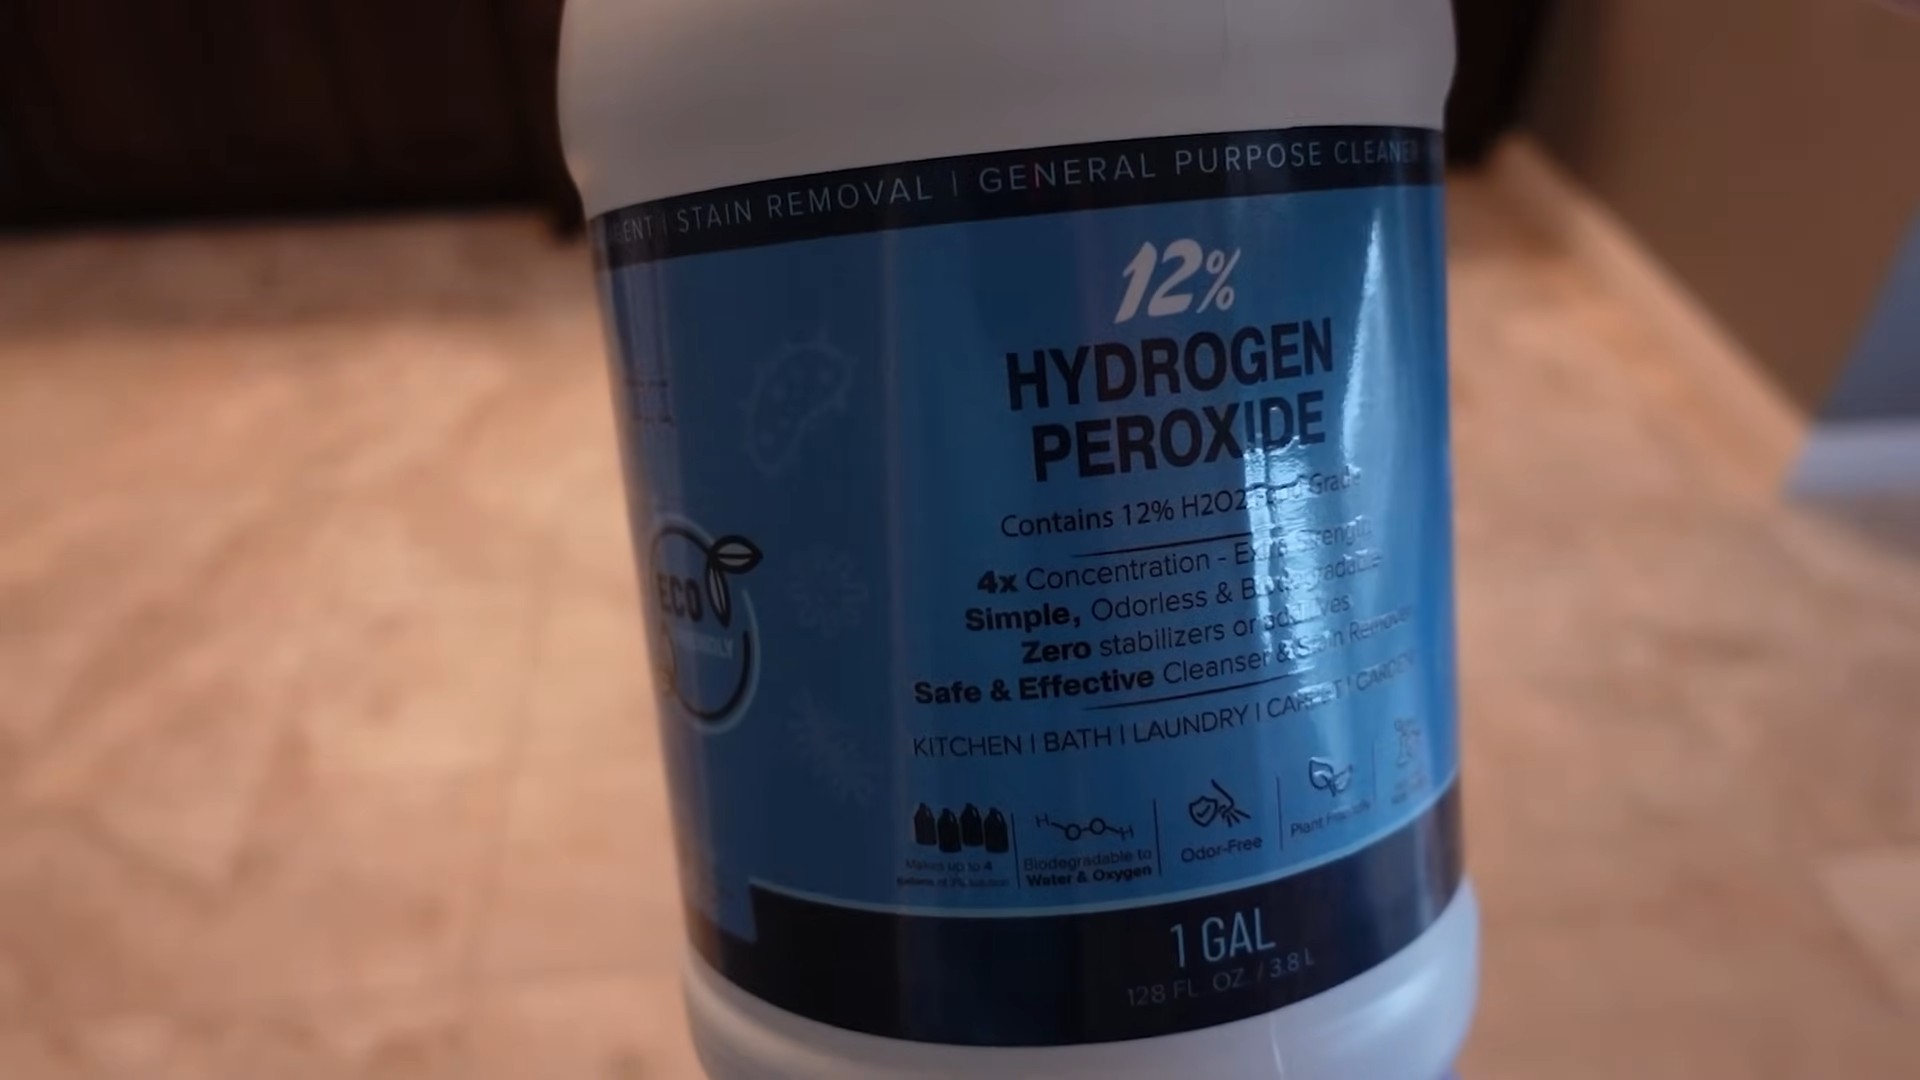
* Hydrogen Peroxide (3%): This is the standard concentration you’ll find at most drugstores. It’s gentle enough for most grout types but still packs a punch when it comes to cleaning.
* Spray Bottle: A clean spray bottle is essential for applying the hydrogen peroxide evenly.
* Old Toothbrush or Grout Brush: An old toothbrush works great for smaller areas, while a grout brush is ideal for larger surfaces.
* Baking Soda (Optional): For extra stubborn stains, baking soda can be mixed with hydrogen peroxide to create a powerful cleaning paste.
* Dish Soap (Optional): A few drops of dish soap can help to loosen dirt and grime.
* Clean Cloth or Sponge: For wiping away the cleaning solution and any residue.
* Gloves: Protecting your hands is always a good idea, especially when working with cleaning solutions.
* Eye Protection (Optional): While hydrogen peroxide is generally safe, it’s best to avoid getting it in your eyes.
* Small Bowl (If using baking soda): For mixing the baking soda and hydrogen peroxide.
* Paper Towels: For quick cleanups and drying.
* Vacuum Cleaner (Optional): To remove loose debris before cleaning.
Step-by-Step Guide: Cleaning Your Grout
Alright, let’s get down to the nitty-gritty! Here’s how I clean my grout using hydrogen peroxide:
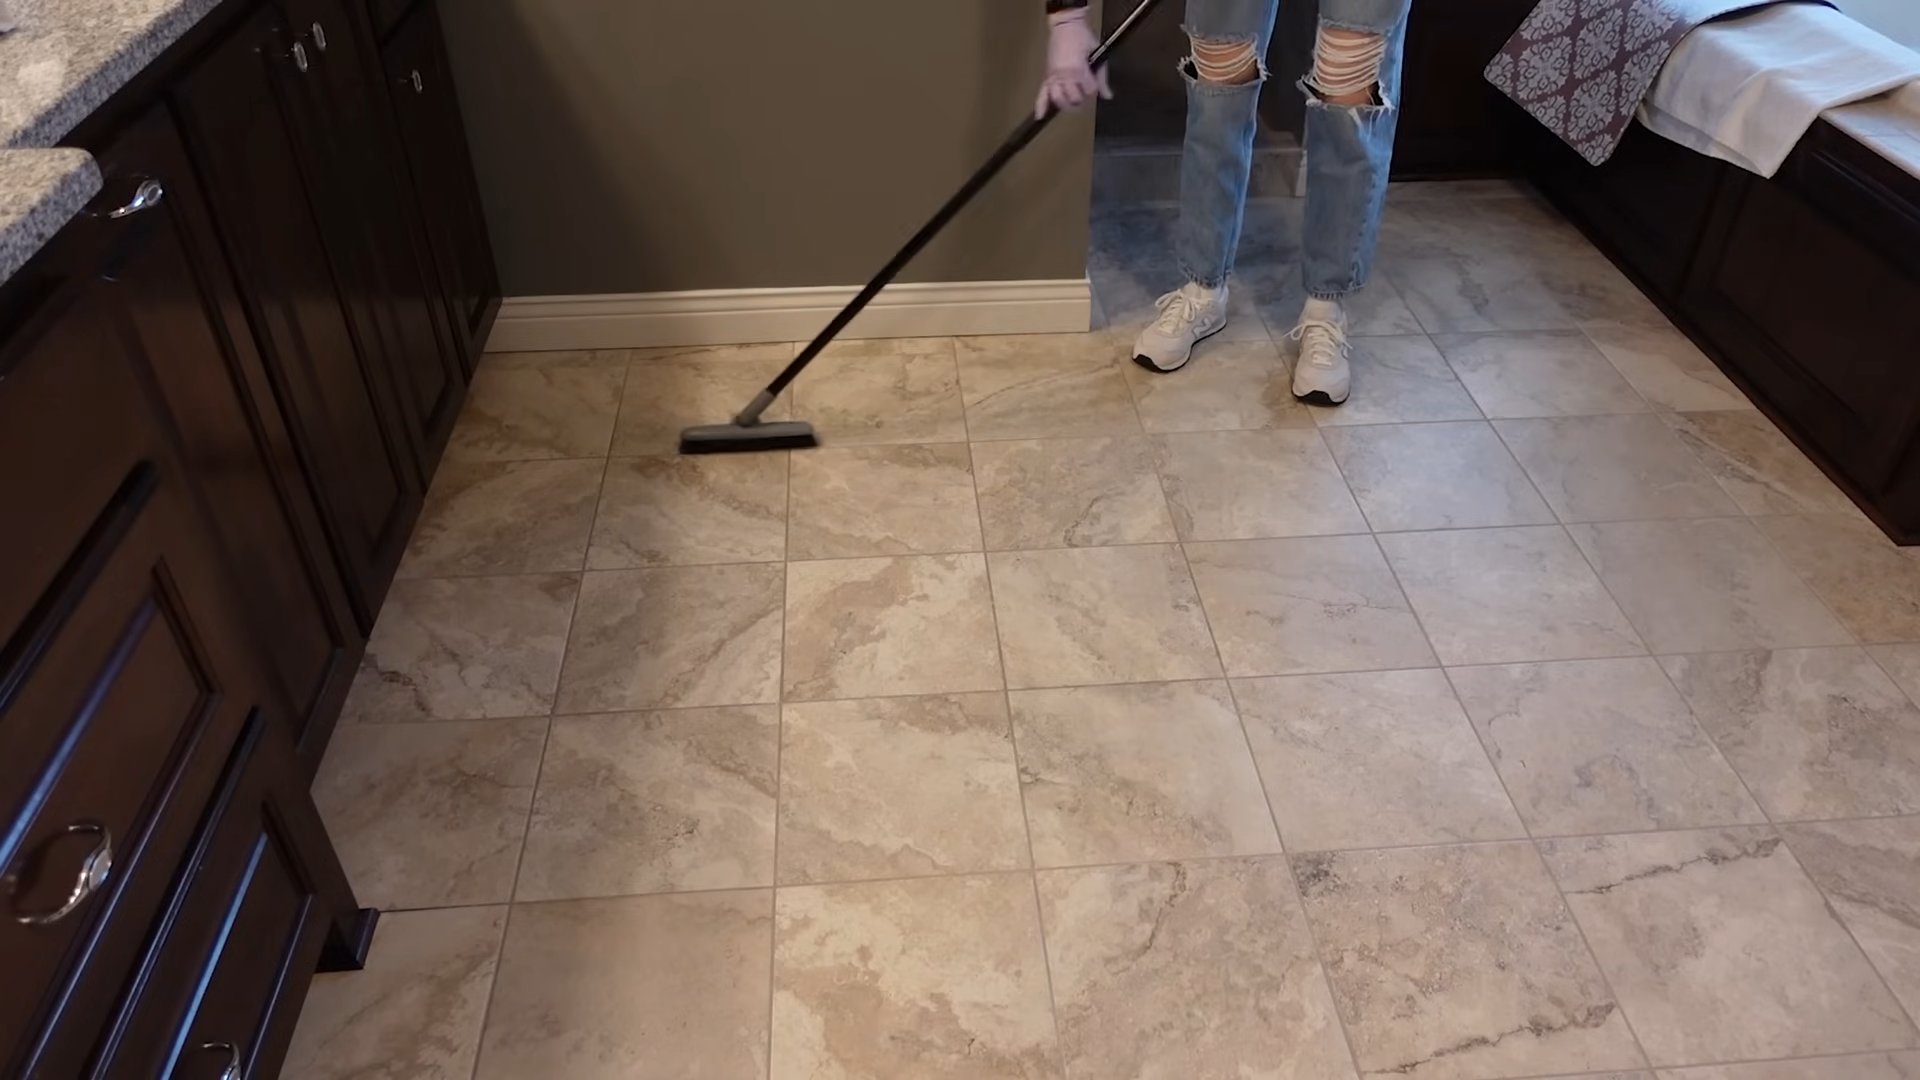
1. Prepare the Area: Start by clearing the area you’ll be cleaning. Remove any rugs, furniture, or other items that might get in the way. If you have loose debris on the floor or countertop, vacuum or sweep it up. This will prevent you from just pushing dirt around during the cleaning process.
2. Test in an Inconspicuous Area: Before applying hydrogen peroxide to the entire surface, it’s always a good idea to test it in a small, hidden area. This will ensure that it doesn’t discolor or damage your grout. Apply a small amount of hydrogen peroxide to the test area and let it sit for a few minutes. Then, wipe it away with a clean cloth. If you don’t see any adverse effects, you’re good to go!
3. Apply Hydrogen Peroxide: Now comes the fun part! Fill your spray bottle with hydrogen peroxide. Generously spray the grout lines you want to clean. Make sure to saturate the grout, but avoid pooling the liquid. You want the hydrogen peroxide to penetrate the grout and break down the stains.
4. Let it Sit: This is where patience comes in. Allow the hydrogen peroxide to sit on the grout for at least 10-15 minutes. For heavily stained grout, you can let it sit for up to 30 minutes. The longer it sits, the more time it has to work its magic.
5. Scrub the Grout: After the hydrogen peroxide has had time to soak in, it’s time to scrub! Using your old toothbrush or grout brush, scrub the grout lines in a back-and-forth motion. Apply firm pressure, but be careful not to damage the surrounding tiles. You should start to see the stains lifting as you scrub.
6. Wipe Away the Residue: Once you’ve scrubbed all the grout lines, use a clean cloth or sponge to wipe away the hydrogen peroxide and any loosened dirt and grime. Rinse the cloth or sponge frequently with clean water.
7. Rinse Thoroughly: After wiping away the residue, rinse the area thoroughly with clean water. This will remove any remaining hydrogen peroxide and prevent it from leaving a residue.
8. Dry the Area: Finally, dry the area with a clean cloth or paper towels. This will prevent water spots and help to keep your grout clean.
Tackling Stubborn Stains: The Baking Soda Boost
Sometimes, hydrogen peroxide alone isn’t enough to tackle those really stubborn stains. That’s where baking soda comes in! Here’s how to use it:
1. Make a Paste: In a small bowl, mix baking soda and hydrogen peroxide to form a thick paste. The consistency should be similar to toothpaste.
2. Apply the Paste: Using your fingers or a small spoon, apply the paste directly to the stained grout lines.
3. Let it Sit: Allow the paste to sit on the grout for at least 30 minutes, or even longer for really tough stains. You can even let it sit overnight!
4. Scrub and Rinse: After the paste has had time to work, scrub the grout lines with your toothbrush or grout brush. Then, rinse the area thoroughly with clean water.
5. Dry the Area: Finally, dry the area with a clean cloth or paper towels.
Adding Dish Soap for Extra Cleaning Power
For grout that’s not only stained but also greasy or grimy, adding a few drops of dish soap to your hydrogen peroxide solution can make a big difference.
1. Mix the Solution: In your spray bottle, combine hydrogen peroxide with a few drops of dish soap. Don’t use too much dish soap, as it can leave a residue.
2. Apply and Scrub: Follow the same steps as above, applying the solution to the grout lines, letting it sit, and then scrubbing.
3. Rinse Thoroughly: Be sure to rinse the area very thoroughly with clean water to remove any soap residue.
4. Dry the Area: Dry the area with a clean cloth or paper towels.
Important Tips and Considerations
* Ventilation is Key: Always work in a well-ventilated area when using hydrogen peroxide. Open windows or turn on a fan to ensure proper airflow.
* Grout Sealer: After cleaning your grout, consider applying a grout sealer. This will help to protect your grout from future stains and make it easier to clean.
* Regular Cleaning: To prevent stains from building up, clean your grout regularly. A quick wipe-down with hydrogen peroxide or a mild cleaning solution can go a long way.
* Colored Grout: While hydrogen peroxide is generally safe for most grout types, it’s always a good idea to test it in an inconspicuous area first, especially if you have colored grout.
* Avoid Abrasive Cleaners: Avoid using abrasive cleaners or scrub brushes, as they can damage your grout.
* Safety First: Always wear gloves and eye protection when working with cleaning solutions.
Maintaining Your Sparkling Grout: Prevention is Key!
Now that you’ve got your grout looking sparkling clean, let’s talk about how to keep it that way! Prevention is always better than cure, so here are a few tips to help you maintain your grout’s pristine condition:
* Wipe Up Spills Immediately: The sooner you wipe up spills, the less likely they are to stain your grout.
* Use Doormats and Rugs: Place doormats at entrances to trap dirt and debris before they get tracked onto your floors. Use rugs in high-traffic areas to protect your grout from wear and tear.
* Regular Sweeping and Vacuuming: Sweep or vacuum your floors regularly to remove loose dirt and debris that can scratch and stain your grout.
* Mop Regularly: Mop your floors regularly with a mild cleaning solution to remove dirt and grime.
* Consider a Grout Sealer: As mentioned earlier, applying a grout sealer can help to protect your grout from stains and make it easier to clean. Reapply the sealer every year or two, or as needed.
* Avoid Harsh Chemicals: Avoid using harsh chemicals or abrasive cleaners on your grout, as they can damage it.
* Ventilate Bathrooms: After showering or bathing, ventilate your bathroom to prevent moisture buildup, which can lead to mold and mildew growth in your grout.
Troubleshooting: Common Grout Cleaning Problems and Solutions
Even with the best techniques, you might encounter some challenges along the way. Here are a few common grout cleaning problems and how to solve them:
* Stains That Won’t Budge: If you’re dealing with particularly stubborn stains, try using a stronger concentration of hydrogen peroxide (although
Conclusion
So, there you have it! This simple yet incredibly effective DIY trick using hydrogen peroxide for grout cleaning is a game-changer for anyone battling dingy, stained grout. Forget spending a fortune on harsh chemicals or hours scrubbing with minimal results. This method is not only budget-friendly and readily accessible, but it’s also a gentler alternative that won’t leave your bathroom smelling like a chemical factory.
The beauty of this method lies in its simplicity. You’re likely to already have hydrogen peroxide in your medicine cabinet, making it a readily available solution. The application is straightforward, and the results speak for themselves. Witnessing the transformation of your grout from dull and discolored to bright and clean is incredibly satisfying.
But the benefits extend beyond just aesthetics. Clean grout contributes to a healthier home environment. Dirty grout can harbor mold and mildew, which can trigger allergies and respiratory issues. By regularly cleaning your grout with hydrogen peroxide, you’re not just improving the look of your tiles; you’re also creating a cleaner, healthier space for you and your family.
Why is this a must-try? Because it’s effective, affordable, readily available, and relatively eco-friendly compared to many commercial grout cleaners. It’s a winning combination that delivers impressive results without breaking the bank or exposing you to harsh chemicals.
Looking for variations? Consider these options:
* Baking Soda Boost: For particularly stubborn stains, create a paste of hydrogen peroxide and baking soda. Apply the paste to the grout, let it sit for a longer period (up to an hour), and then scrub and rinse. The baking soda adds extra abrasive power to help lift away tough grime.
* Essential Oil Enhancement: Add a few drops of your favorite essential oil, such as tea tree or eucalyptus, to the hydrogen peroxide solution. These oils have natural antibacterial and antifungal properties, further enhancing the cleaning power and leaving a pleasant scent.
* Color Grout Consideration: While hydrogen peroxide is generally safe for most grout types, it’s always wise to test it in an inconspicuous area first, especially if you have colored grout. This will ensure that the hydrogen peroxide doesn’t affect the color.
We are confident that you’ll be amazed by the results you achieve with this DIY hydrogen peroxide grout cleaning trick. It’s a simple, effective, and affordable way to revitalize your tiled surfaces and create a cleaner, healthier home.
Don’t just take our word for it – try it yourself! We encourage you to give this method a try and share your experience with us. Let us know how it worked for you, any variations you tried, and any tips you discovered along the way. Your feedback will help other readers discover the power of this simple yet effective cleaning solution. Share your before and after photos – we’d love to see the transformation! Let’s banish dirty grout together, one tile at a time!
FAQ
What exactly is hydrogen peroxide, and why does it work for grout cleaning?
Hydrogen peroxide (H2O2) is a mild antiseptic with bleaching and oxidizing properties. It works as a grout cleaner because it breaks down stains and discoloration through oxidation. The oxygen molecules released by the hydrogen peroxide react with the stain molecules, effectively lifting them away from the grout surface. It’s a safer alternative to chlorine bleach, as it decomposes into water and oxygen, leaving behind no harmful residues. The bubbling action you see when applying hydrogen peroxide also helps to loosen dirt and grime embedded in the grout.
What concentration of hydrogen peroxide should I use for grout cleaning?
The standard 3% hydrogen peroxide solution, commonly found in drugstores, is generally sufficient for grout cleaning. This concentration is effective at breaking down stains without being too harsh on the grout itself. Higher concentrations of hydrogen peroxide exist, but they are typically used for industrial purposes and require careful handling. Sticking with the 3% solution is the safest and most practical option for home use.
Is hydrogen peroxide safe to use on all types of grout?
Hydrogen peroxide is generally safe for most types of grout, including cement-based and epoxy grout. However, it’s always a good idea to test it in an inconspicuous area first, especially if you have colored grout. While hydrogen peroxide is less likely to bleach grout than chlorine bleach, there’s still a small risk of discoloration, particularly with darker or more vibrant grout colors. Testing beforehand will help you avoid any unwanted surprises. If you are concerned, dilute the hydrogen peroxide with water before applying it.
How long should I let the hydrogen peroxide sit on the grout before scrubbing?
The ideal dwell time for hydrogen peroxide on grout depends on the severity of the staining. For light stains, 5-10 minutes may be sufficient. For more stubborn stains, you can let it sit for up to 30 minutes. Keep an eye on the area and reapply the hydrogen peroxide if it starts to dry out. The longer it sits, the more time it has to break down the stains. However, avoid letting it sit for excessively long periods (over an hour), as this could potentially damage the grout.
What type of brush should I use for scrubbing the grout after applying hydrogen peroxide?
A stiff-bristled brush is ideal for scrubbing grout. You can use a dedicated grout brush, a toothbrush, or even a small scrub brush. The key is to choose a brush with bristles that are firm enough to effectively scrub away the loosened dirt and grime without being so abrasive that they damage the grout. Avoid using metal brushes, as they can scratch the tile and grout.
How often should I clean my grout with hydrogen peroxide?
The frequency of grout cleaning depends on the amount of traffic and moisture exposure in the area. In high-traffic areas like bathrooms and kitchens, you may need to clean your grout every few weeks. In less frequently used areas, you can clean it every few months. Regular cleaning will prevent stains from setting in and make the cleaning process easier in the long run.
Can I mix hydrogen peroxide with other cleaning products for grout cleaning?
It’s generally not recommended to mix hydrogen peroxide with other cleaning products, especially those containing ammonia or vinegar. Mixing hydrogen peroxide with ammonia can create toxic fumes, while mixing it with vinegar can create peracetic acid, which can be irritating to the skin, eyes, and respiratory system. It’s best to use hydrogen peroxide on its own or with baking soda, as suggested in the variations section.
How do I prevent grout from getting dirty in the first place?
Prevention is key to keeping your grout clean. Here are a few tips:
* Seal Your Grout: Applying a grout sealer creates a protective barrier that prevents stains from penetrating the grout.
* Wipe Up Spills Immediately: Don’t let spills sit on the grout for extended periods. Wipe them up as soon as possible to prevent staining.
* Ventilate Your Bathroom: Proper ventilation helps to reduce moisture buildup, which can contribute to mold and mildew growth in the grout.
* Use a Squeegee After Showers: Squeegeeing the shower walls and floor after each shower helps to remove excess water and prevent water stains.
* Regular Cleaning: Regular cleaning with a mild detergent and water will help to keep your grout clean and prevent stains from setting in.
Is there any safety precautions I should take when using hydrogen peroxide?
While hydrogen peroxide is generally safe, it’s still important to take a few precautions:
* Wear Gloves: Wearing gloves will protect your skin from irritation.
* Avoid Contact with Eyes: If hydrogen peroxide gets in your eyes, rinse them immediately with plenty of water.
* Ventilate the Area: Ensure proper ventilation to avoid inhaling any fumes.
* Keep Out of Reach of Children and Pets: Store hydrogen peroxide in a safe place out of reach of children and pets.
* Do Not Swallow: Hydrogen peroxide is not meant for internal consumption. If swallowed, seek medical attention immediately.


Leave a Comment