
Indoor Bok Choy Gardening: Unlock the secrets to growing your own fresh, crisp bok choy right in the comfort of your home! Have you ever dreamt of snipping fresh greens for your stir-fry just moments before cooking? Or perhaps you’re looking for a rewarding and space-saving gardening project? Well, you’ve come to the right place!
Bok choy, also known as pak choi, has been a staple in Asian cuisine for centuries, with roots tracing back to ancient China. Its mild, slightly sweet flavor and crisp texture make it a versatile ingredient in everything from soups and salads to stir-fries and steamed dishes. But you don’t need a sprawling outdoor garden to enjoy this delicious and nutritious vegetable.
In today’s busy world, finding time and space for traditional gardening can be a challenge. That’s where indoor bok choy gardening comes in! This DIY guide will walk you through simple, step-by-step instructions and clever hacks to cultivate your own thriving bok choy plants indoors, regardless of your experience level. Imagine the satisfaction of harvesting your own organic greens, knowing exactly where they came from and how they were grown. Plus, it’s a fantastic way to add a touch of green to your living space and enjoy fresh produce year-round. Let’s get started and transform your home into a mini bok choy farm!
Growing Bok Choy Indoors: A Beginner’s Guide
Hey there, fellow plant enthusiasts! Ever thought about growing your own fresh veggies indoors? Let me tell you, it’s incredibly rewarding, and bok choy is a fantastic choice for beginners. It’s relatively easy to grow, quick to mature, and adds a delicious crunch to your meals. I’m going to walk you through everything you need to know to successfully cultivate bok choy right in your home.
Choosing the Right Bok Choy Variety
Not all bok choy is created equal, especially when it comes to indoor gardening. Some varieties are simply better suited for container growing than others. Here are a few of my favorites:
- Dwarf Bok Choy: As the name suggests, this variety stays compact, making it perfect for smaller pots and limited indoor space. It matures quickly, usually within 30-40 days.
- Baby Bok Choy: Similar to dwarf bok choy, baby bok choy is smaller and more tender. It’s also a fast grower, ready to harvest in about a month.
- Joi Choi: This is a slightly larger variety, but still manageable indoors. It has a mild flavor and crisp texture.
I personally recommend starting with dwarf or baby bok choy. They’re less demanding and give you a quicker sense of accomplishment, which is always motivating!
Gathering Your Supplies
Before we dive into the planting process, let’s make sure you have everything you need. Here’s a checklist:
- Bok Choy Seeds: Choose a variety that suits your space and preferences. You can find these online or at your local garden center.
- Containers: Select pots that are at least 6 inches deep and wide. Good drainage is crucial, so make sure your pots have drainage holes.
- Potting Mix: Use a high-quality, well-draining potting mix. Avoid using garden soil, as it can compact and hinder drainage.
- Grow Lights (Optional but Recommended): Bok choy needs plenty of light, especially indoors. If you don’t have a sunny windowsill, grow lights are a must.
- Watering Can or Spray Bottle: For gentle watering.
- Fertilizer (Optional): A balanced liquid fertilizer can help boost growth.
I always like to have everything laid out before I start, so I’m not scrambling around mid-planting.
Planting Your Bok Choy Seeds
Now for the fun part! Let’s get those seeds in the soil.
- Prepare Your Containers: Fill your containers with potting mix, leaving about an inch of space at the top. Gently pat down the soil.
- Sow the Seeds: Sprinkle the bok choy seeds evenly over the surface of the soil. You can sow them fairly close together, about 1/2 inch apart.
- Cover the Seeds: Lightly cover the seeds with a thin layer of potting mix, about 1/4 inch deep.
- Water Gently: Use a watering can or spray bottle to gently moisten the soil. Be careful not to dislodge the seeds.
- Provide Light: Place your containers in a sunny windowsill or under grow lights. If using grow lights, position them about 6-12 inches above the soil surface.
I usually plant a few extra seeds, just in case some don’t germinate. You can always thin them out later.
Caring for Your Indoor Bok Choy
Once your seeds are planted, it’s time to provide the right care to help them thrive.
Watering
Bok choy needs consistent moisture, but it doesn’t like to be waterlogged. Here’s my watering routine:
- Check the Soil: Stick your finger into the soil to check the moisture level. If the top inch feels dry, it’s time to water.
- Water Thoroughly: Water until the excess water drains out of the drainage holes.
- Avoid Overwatering: Overwatering can lead to root rot, so be careful not to let the soil stay soggy.
I find that watering every 2-3 days is usually sufficient, but it depends on the temperature and humidity in your home.
Lighting
Adequate light is essential for healthy bok choy growth.
- Sunlight: If you’re using a windowsill, choose one that receives at least 6 hours of direct sunlight per day. A south-facing window is ideal.
- Grow Lights: If you’re using grow lights, keep them on for 12-14 hours per day.
- Rotate Your Plants: To ensure even growth, rotate your plants regularly, especially if they’re only getting light from one direction.
I’ve found that grow lights make a huge difference, especially during the winter months when natural light is limited.
Fertilizing
While not strictly necessary, fertilizing can give your bok choy a boost.
- Choose a Fertilizer: Use a balanced liquid fertilizer, such as a 10-10-10 or 20-20-20 formula.
- Dilute the Fertilizer: Follow the instructions on the fertilizer label to dilute it properly.
- Fertilize Sparingly: Fertilize every 2-3 weeks, or as needed. Avoid over-fertilizing, as this can burn the roots.
I usually start fertilizing a few weeks after the seedlings emerge.
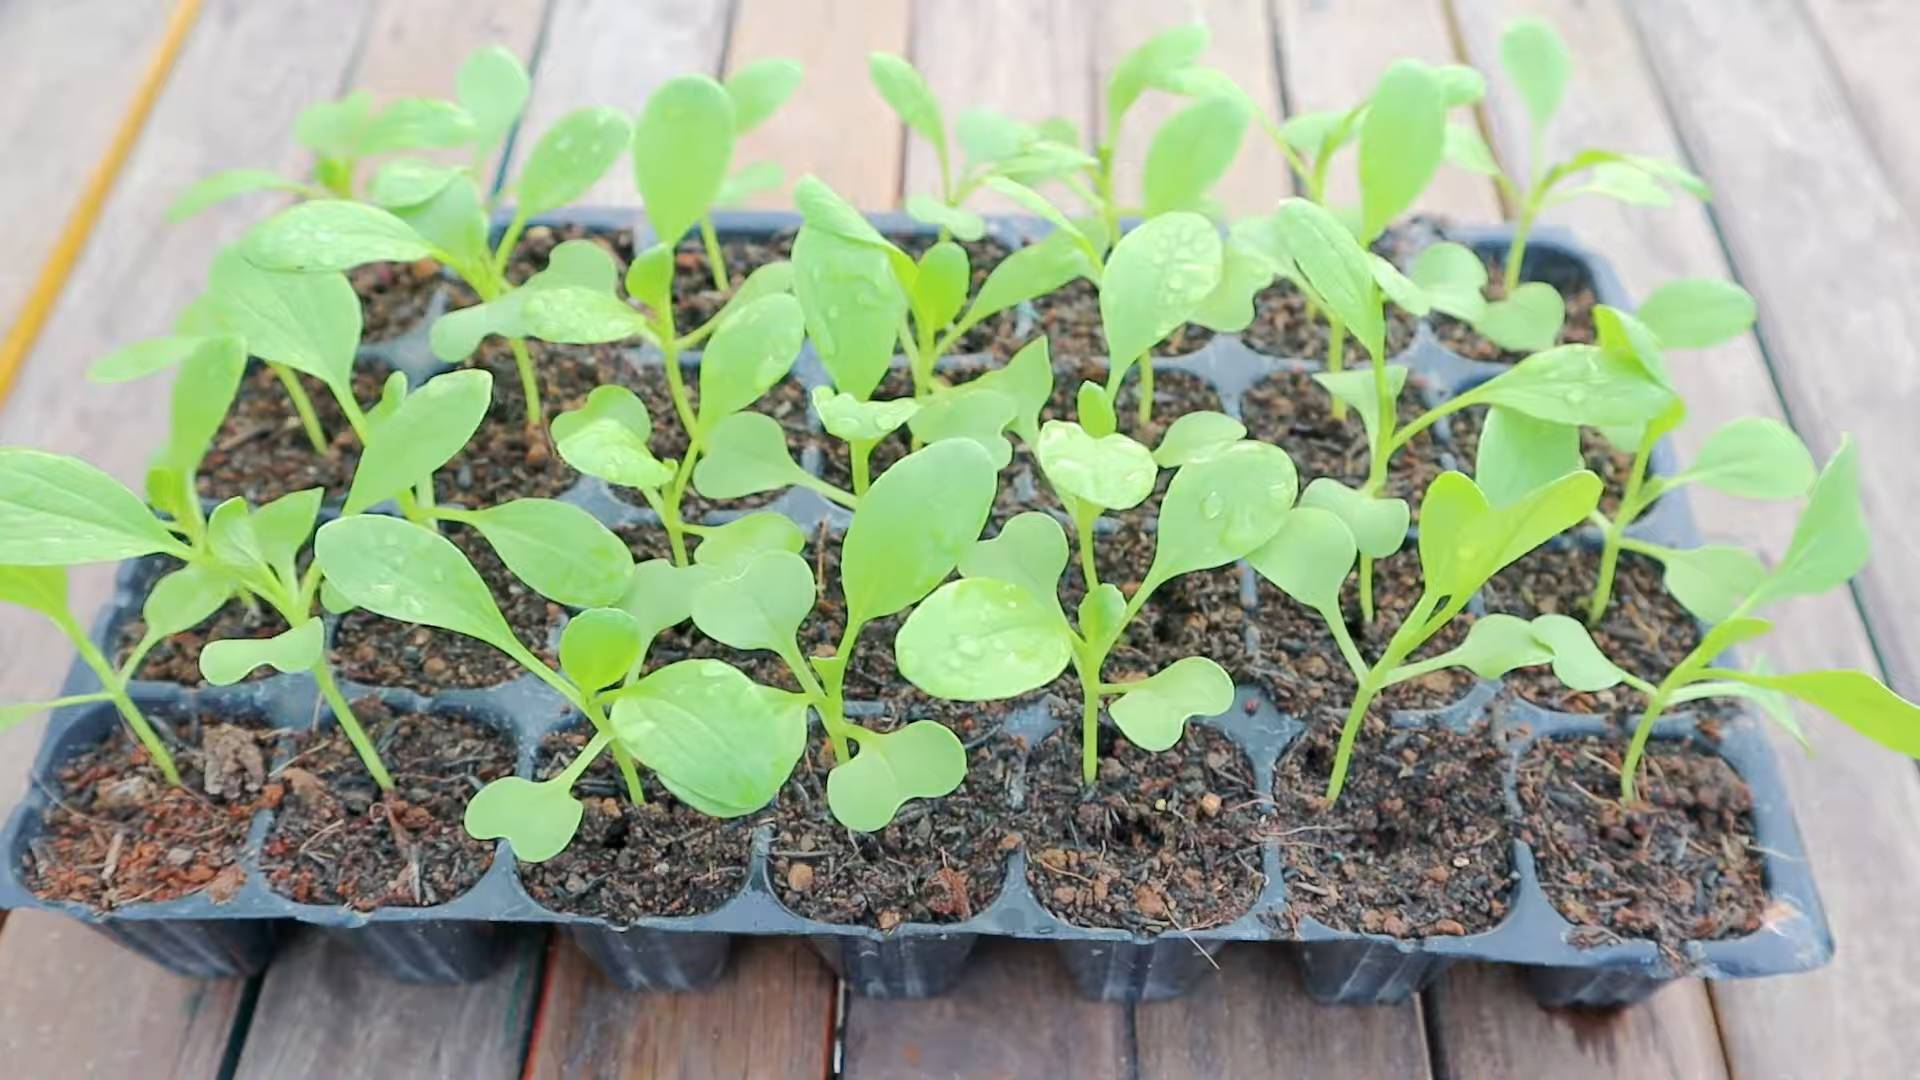
Thinning
Once your seedlings have a few true leaves, you may need to thin them out.
- Identify the Strongest Seedlings: Choose the healthiest and most vigorous seedlings to keep.
- Remove the Weaker Seedlings: Gently pull out the weaker seedlings, leaving about 2-3 inches of space between the remaining plants.
Thinning allows the remaining plants to have more room to grow and develop.
Dealing with Pests and Diseases
Even indoors, your bok choy can be susceptible to pests and diseases. Here’s how to deal with them:
- Aphids: These tiny insects can suck the sap from your plants. You can wash them off with a strong stream of water or use insecticidal soap.
- Flea Beetles: These small beetles can chew holes in the leaves. Cover your plants with row covers or use insecticidal soap.
- Root Rot: This fungal disease can occur if the soil is too wet. Ensure good drainage and avoid overwatering.
I always inspect my plants regularly for any signs of pests or diseases. Early detection is key to preventing major problems.
Harvesting Your Bok Choy
The best part of growing your own bok choy is, of course, harvesting it!
- Harvest Time: Bok choy is typically ready to harvest in 30-50 days, depending on the variety.
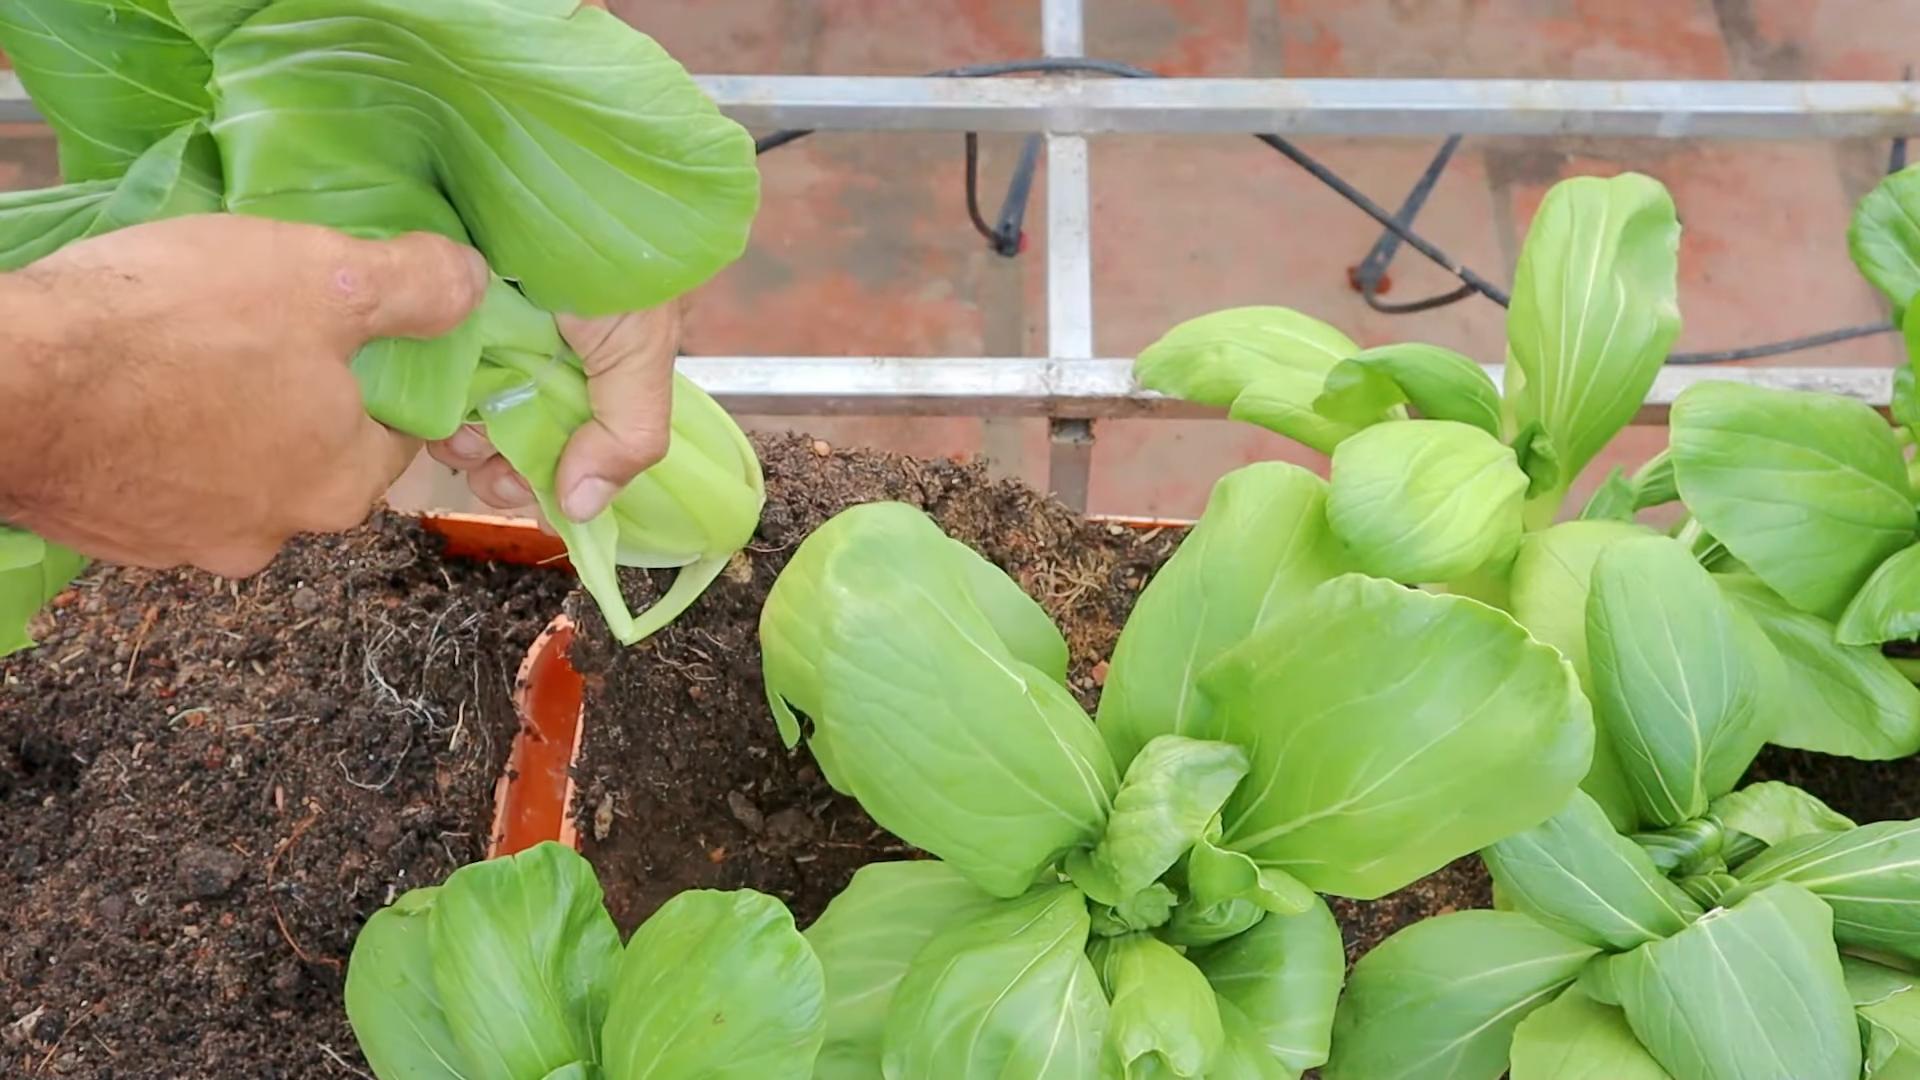
- Harvesting Method: You can harvest the entire plant at once by cutting it off at the base, or you can harvest individual leaves as needed.
- Enjoy Your Harvest: Use your fresh bok choy in salads, stir-fries, soups, or any other dish you like.
I love the feeling of harvesting my own homegrown veggies. It’s so satisfying!
Troubleshooting Common Problems
Even with the best care, you might encounter some challenges along the way. Here are a few common problems and how to fix them:
- Yellowing Leaves: This can be caused by overwatering, underwatering, nutrient deficiencies, or lack of light. Adjust your watering schedule, fertilize as needed, and ensure adequate light.
- Leggy Growth: This is usually a sign of insufficient light. Provide more light, either through a sunny windowsill or grow lights.
- Slow Growth: This can be caused by nutrient deficiencies, poor soil, or cool temperatures. Fertilize, repot into fresh potting mix, and ensure a warm environment.
Don’t be discouraged if you encounter problems. Gardening is a learning process, and every mistake is an opportunity to improve.
Enjoying Your Indoor Bok Choy Garden
Growing bok choy indoors is a rewarding experience that brings fresh, healthy greens right to your kitchen. With a little care and attention, you can enjoy a continuous supply of this delicious vegetable all year round. So, grab some seeds, get your hands dirty, and start your own indoor bok choy garden today! I promise, you won’t regret it. Happy gardening!
Conclusion
So, there you have it! Transforming your kitchen into a miniature bok choy farm is not only achievable, but surprisingly rewarding. We’ve walked you through the simple steps of indoor bok choy gardening, demonstrating how you can cultivate fresh, crisp greens right on your windowsill, regardless of the season or your outdoor space limitations.
Why is this DIY trick a must-try? Because it offers a multitude of benefits. First and foremost, you gain access to incredibly fresh, pesticide-free bok choy whenever you need it. Forget those wilted, overpriced heads at the grocery store. With your own indoor garden, you control the quality and freshness, ensuring you’re always adding the most nutritious and flavorful ingredient to your stir-fries, soups, and salads.
Beyond the culinary advantages, indoor bok choy gardening is also a fantastic way to connect with nature, even in the heart of the city. Watching your tiny seedlings sprout and mature into vibrant, leafy greens is a deeply satisfying experience. It’s a calming, meditative activity that can help reduce stress and boost your overall well-being. Plus, it’s a great way to teach children about the life cycle of plants and the importance of sustainable food practices.
But the best part? It’s incredibly versatile! Feel free to experiment with different varieties of bok choy. Baby bok choy is perfect for quick stir-fries, while larger varieties can be used in more substantial dishes. You can also try growing other Asian greens alongside your bok choy, such as gai lan or tatsoi, to create a diverse and flavorful indoor garden.
Consider using different types of containers to add visual appeal to your indoor garden. Terracotta pots, repurposed jars, or even hanging baskets can all work beautifully. Just make sure your chosen container has adequate drainage to prevent waterlogging.
Another exciting variation is to experiment with hydroponics. While soil-based gardening is perfectly effective, hydroponic systems can offer even faster growth rates and require less maintenance. There are many affordable and easy-to-set-up hydroponic kits available online, making it a great option for those looking to take their indoor gardening to the next level.
Don’t be afraid to get creative and personalize your indoor bok choy garden to suit your own tastes and preferences. The possibilities are endless!
We truly believe that anyone can successfully grow bok choy indoors with a little bit of patience and care. It’s a fun, rewarding, and delicious way to bring a touch of nature into your home.
So, what are you waiting for? Grab some seeds, gather your supplies, and embark on your own indoor bok choy gardening adventure today! We’re confident that you’ll be amazed by the results.
And most importantly, we want to hear about your experience! Share your photos, tips, and stories with us in the comments below. Let’s create a community of indoor bok choy enthusiasts and inspire others to discover the joys of growing their own food. Happy gardening!
Frequently Asked Questions (FAQ)
1. What is the best location for my indoor bok choy garden?
Bok choy thrives in bright, indirect sunlight. A south-facing windowsill is ideal, but east or west-facing windows can also work well. If you don’t have access to sufficient natural light, consider supplementing with grow lights. Fluorescent or LED grow lights are energy-efficient and can provide the necessary light spectrum for healthy bok choy growth. Position the lights a few inches above the plants and keep them on for 12-14 hours per day. Rotate your plants regularly to ensure even light exposure on all sides.
2. What type of soil should I use for indoor bok choy gardening?
Use a well-draining potting mix that is rich in organic matter. A mixture of peat moss, perlite, and vermiculite is a good option. Avoid using garden soil, as it can be too heavy and may contain pests or diseases. You can also amend your potting mix with compost or worm castings to provide additional nutrients. Ensure the pH of the soil is slightly acidic to neutral, around 6.0 to 7.0.
3. How often should I water my indoor bok choy plants?
Water your bok choy plants regularly, keeping the soil consistently moist but not waterlogged. Check the soil moisture level daily by sticking your finger about an inch into the soil. If it feels dry, it’s time to water. Water deeply, allowing the excess water to drain out of the bottom of the pot. Avoid overhead watering, as this can lead to fungal diseases. Instead, water at the base of the plant. Reduce watering frequency during cooler months or if the plants are growing slowly.
4. What are some common pests and diseases that affect indoor bok choy?
Common pests that can affect indoor bok choy include aphids, spider mites, and whiteflies. Regularly inspect your plants for signs of infestation, such as small insects, webbing, or sticky residue. If you find pests, you can try washing them off with a strong stream of water or using insecticidal soap. For fungal diseases, such as powdery mildew, ensure good air circulation and avoid overhead watering. You can also use a fungicide if necessary.
5. How long does it take for bok choy to mature indoors?
Bok choy typically matures in 45-60 days from seed. However, the exact time will depend on the variety, growing conditions, and your desired size. Baby bok choy can be harvested earlier, around 30-40 days. You can start harvesting leaves as soon as they are large enough to eat.
6. Can I grow bok choy from cuttings?
While growing bok choy from seed is the most common method, you can also try propagating it from cuttings. Take a healthy leaf with a small portion of the stem attached and place it in a glass of water. Change the water every few days. After a few weeks, roots should start to develop. Once the roots are about an inch long, you can transplant the cutting into a pot filled with potting mix.
7. How do I harvest bok choy from my indoor garden?
You can harvest bok choy by either cutting off the entire head at the base or by harvesting individual leaves as needed. If you harvest individual leaves, start with the outer leaves and work your way inwards. This will allow the plant to continue producing new leaves.
8. Can I grow bok choy indoors year-round?
Yes, you can grow bok choy indoors year-round, provided you provide the necessary light, water, and nutrients. During the winter months, you may need to supplement with grow lights to ensure adequate light exposure.
9. What are some good companion plants for bok choy?
Good companion plants for bok choy include garlic, onions, and chives, which can help deter pests. Other beneficial companion plants include chamomile, dill, and mint, which can attract beneficial insects. Avoid planting bok choy near brassicas, such as cabbage and broccoli, as they can compete for nutrients.
10. How can I improve the flavor of my indoor-grown bok choy?
To improve the flavor of your indoor-grown bok choy, ensure it receives adequate light and nutrients. You can also try adding a small amount of fertilizer to the soil every few weeks. Avoid overwatering, as this can dilute the flavor. Harvesting the bok choy in the morning, after the dew has dried, can also help to enhance its flavor.
Leave a Comment