
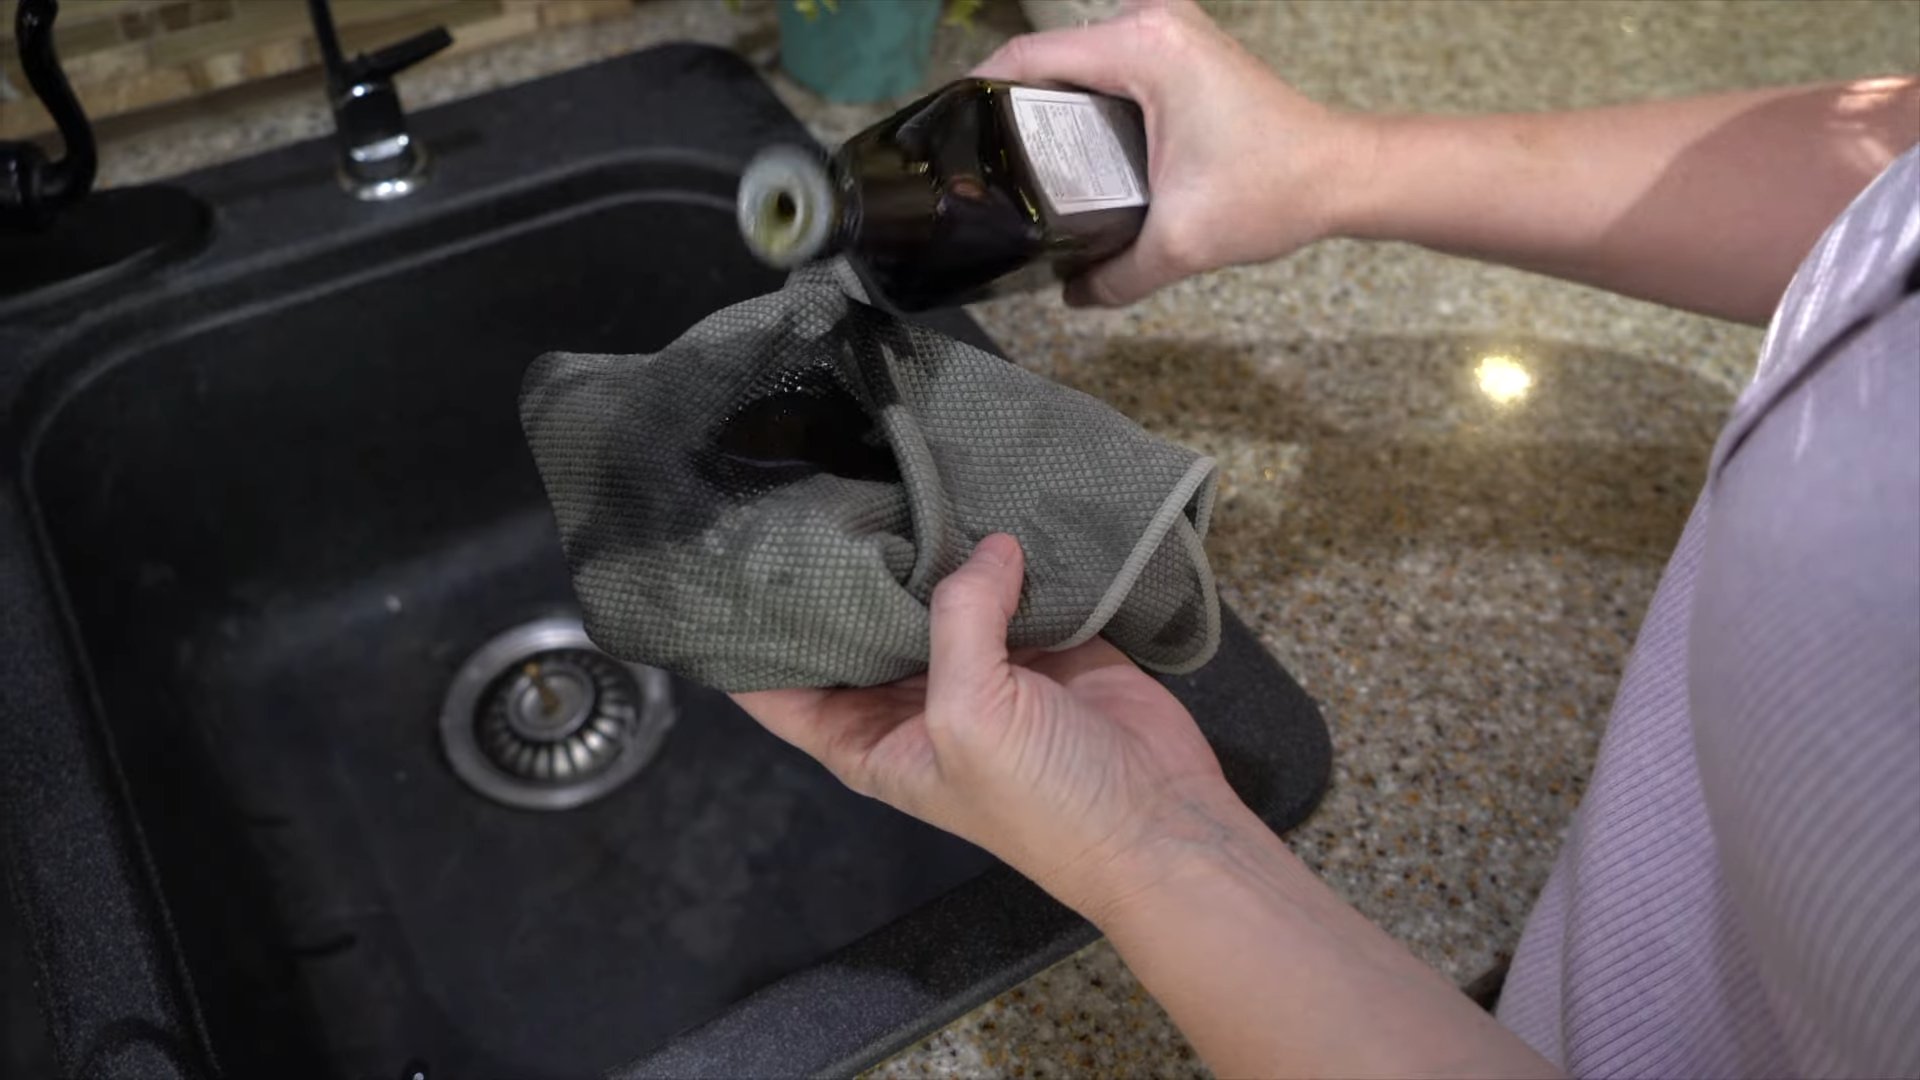
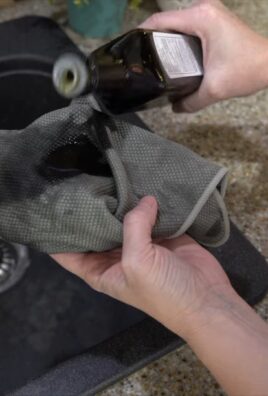
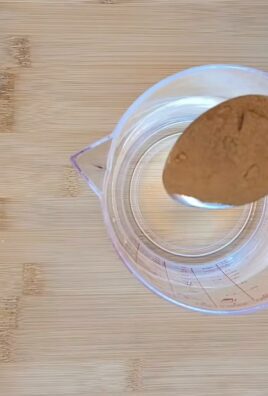
Olive oil cleaner for surfaces – sounds too good to be true, right? I thought so too, until I discovered this amazing DIY cleaning hack! Forget those harsh chemicals and expensive store-bought cleaners. I’m going to show you how to create a natural, effective, and surprisingly versatile cleaner using something you probably already have in your pantry: olive oil.
The use of olive oil isn’t just a modern trend; its cleaning properties have been recognized for centuries. In ancient Mediterranean cultures, olive oil was a staple for everything from skincare to household maintenance. Its gentle yet powerful cleaning action has stood the test of time, and now we’re bringing it back into our homes for a sustainable and effective cleaning solution.
Why do you need this DIY trick? Well, think about it. We’re constantly bombarded with chemicals in our everyday cleaning products. Many of us are looking for healthier, more eco-friendly alternatives that won’t break the bank. This olive oil cleaner for surfaces is the answer! It’s perfect for polishing wood furniture, shining stainless steel, and even removing stubborn grime. Plus, it’s incredibly easy to make. So, ditch the chemicals and let’s get started on creating a cleaner, healthier home with this simple, yet effective DIY solution!
Growing Watermelons: A Sweet DIY Project for Your Backyard!
Hey there, fellow gardening enthusiasts! I’m so excited to share my experience with growing watermelons at home. It might seem daunting, but trust me, with a little patience and these tips, you’ll be enjoying juicy, homegrown watermelons in no time. Let’s dive in!
Choosing the Right Watermelon Variety
Before we even think about planting, it’s crucial to pick the right watermelon variety for your climate and garden size. Some varieties are better suited for smaller spaces, while others thrive in warmer climates.
* Consider your climate: Short-season varieties like ‘Sugar Baby’ are great for cooler climates, while ‘Charleston Gray’ loves the heat.
* Think about space: Bush varieties like ‘Bush Sugar Baby’ are perfect for smaller gardens or containers. Vining varieties need a lot more room to spread.
* Check your local garden center: They can offer recommendations based on your specific region.
* Read seed descriptions carefully: Pay attention to days to maturity, size, and disease resistance.
I personally love ‘Sugar Baby’ because it’s relatively small, matures quickly, and tastes amazing!
Preparing the Soil: Watermelon’s Happy Place
Watermelons are heavy feeders, meaning they need nutrient-rich soil to thrive. Proper soil preparation is key to a successful harvest.
* Sunlight is essential: Watermelons need at least 6-8 hours of direct sunlight per day. Choose a sunny spot in your garden.
* Well-draining soil is a must: Watermelons hate soggy roots. Amend heavy clay soil with compost and sand to improve drainage.
* Soil pH: Watermelons prefer a slightly acidic soil pH between 6.0 and 6.8. You can test your soil with a kit from your local garden center.
* Enrich the soil: Add plenty of compost, well-rotted manure, or other organic matter to the soil. This will provide essential nutrients and improve soil structure.
I usually start preparing my soil in the fall by adding a thick layer of compost. This gives it plenty of time to break down and enrich the soil before planting in the spring.
Starting Watermelon Seeds: Indoors or Out?
You can either start watermelon seeds indoors or direct sow them in your garden. Starting indoors gives you a head start, especially in cooler climates.
* Starting indoors:
* Start seeds 3-4 weeks before the last expected frost.
* Use peat pots or biodegradable pots to avoid disturbing the roots when transplanting.
* Sow seeds about 1 inch deep.
* Keep the soil moist and warm (around 80-85°F). A heat mat can be helpful.
* Once seedlings emerge, provide plenty of light. A grow light is ideal.
* Harden off seedlings before transplanting them outdoors. This involves gradually exposing them to outdoor conditions over a week or two.
* Direct sowing:
* Wait until the soil has warmed to at least 70°F.
* Sow seeds about 1 inch deep.
* Space seeds according to the variety’s recommendations (usually 2-3 feet apart).
* Keep the soil moist until seedlings emerge.
I prefer starting my watermelon seeds indoors because it gives me a head start and protects the seedlings from pests and diseases.
Transplanting Watermelon Seedlings: Handle with Care!
Transplanting watermelon seedlings requires a gentle touch. Their roots are delicate, so handle them with care.
1. Choose a cloudy day: This will reduce transplant shock.
2. Dig a hole: Make it slightly larger than the root ball.
3. Gently remove the seedling from the pot: If using a peat pot, you can plant the entire pot. Otherwise, carefully loosen the roots and remove the seedling.
4. Place the seedling in the hole: Make sure the top of the root ball is level with the surrounding soil.
5. Backfill the hole: Gently pat the soil around the seedling.
6. Water thoroughly: This will help settle the soil and reduce transplant shock.
7. Mulch around the plants: This will help retain moisture, suppress weeds, and regulate soil temperature. I like to use straw or wood chips.
Watering and Fertilizing: Keeping Your Watermelons Happy
Watermelons need consistent watering and fertilization to produce juicy, delicious fruit.
* Watering:
* Water deeply and regularly, especially during hot, dry weather.
* Water at the base of the plant to avoid wetting the foliage, which can lead to fungal diseases.
* Use a soaker hose or drip irrigation to deliver water directly to the roots.
* Reduce watering as the fruits ripen to prevent them from splitting.
* Fertilizing:
* Fertilize with a balanced fertilizer (e.g., 10-10-10) at planting time.
* Side-dress with a nitrogen-rich fertilizer when the vines start to run.
* Switch to a phosphorus- and potassium-rich fertilizer when the fruits start to develop.
* Avoid over-fertilizing, as this can lead to excessive vine growth and fewer fruits.
I usually water my watermelons deeply every 2-3 days, depending on the weather. I also fertilize them every 2-3 weeks with a liquid fertilizer.
Pollination: The Key to Watermelon Success
Watermelons need to be pollinated to produce fruit. They have separate male and female flowers. Bees are the primary pollinators, but you can also hand-pollinate if necessary.
* Attracting pollinators:
* Plant flowers that attract bees and other pollinators near your watermelon patch.
* Avoid using pesticides that can harm pollinators.
* Hand-pollinating:
* Identify the male and female flowers. Female flowers have a small, immature watermelon at the base.
* Use a small paintbrush to transfer pollen from the male flower to the female flower.
* Do this in the morning, when the pollen is most viable.
I’ve found that planting sunflowers and zinnias near my watermelon patch really helps attract bees.
Pest and Disease Control: Protecting Your Precious Watermelons
Watermelons are susceptible to various pests and diseases. Regular monitoring and preventative measures are essential.
* Common pests:
* Aphids: Spray with insecticidal soap.
* Cucumber beetles: Handpick or use row covers.
* Squash bugs: Handpick or use neem oil.
* Vine borers: Wrap the base of the stem with aluminum foil to prevent them from laying eggs.
* Common diseases:
* Powdery mildew: Improve air circulation and spray with a fungicide.
* Anthracnose: Avoid overhead watering and spray with a fungicide.
* Fusarium wilt: Choose resistant varieties and practice crop rotation.
I always inspect my watermelon plants regularly for signs of pests and diseases. Early detection and treatment are key to preventing serious problems.
Harvesting Watermelons: The Sweet Reward!
Knowing when to harvest a watermelon can be tricky. Here are a few signs to look for:
1. The tendril closest to the fruit turns brown and dry: This is a reliable indicator of ripeness.
2. The bottom of the watermelon (where it rests on the ground) turns from white to yellow: This is called the ground spot.
3. The watermelon sounds hollow when you thump it: This takes some practice, but you’ll get the hang of it.
4. The rind becomes dull and less shiny: A ripe watermelon will have a slightly dull appearance.
Once you’ve determined that your watermelon is ripe, carefully cut it from the vine with a sharp knife. Leave a few inches of stem attached.
I usually wait until at least two of these signs are present before harvesting my watermelons. There’s nothing more disappointing than cutting into an unripe watermelon!
Enjoying Your Homegrown Watermelon: The Best Part!
Congratulations! You’ve successfully grown your own watermelons. Now it’s time to enjoy the fruits (or should I say, watermelons?) of your labor.
* Chill the watermelon: This will enhance its sweetness and flavor.
* Cut it into wedges or cubes: Serve it as a refreshing snack or dessert.
* Make watermelon juice or smoothies: A delicious and healthy way to stay hydrated.
* Share it with friends and family: Spread the watermelon love!
I love eating my homegrown watermelons straight from the fridge on a hot summer day. There’s nothing quite like it!
Troubleshooting: Common Watermelon Growing Problems
Even with the best care, you might encounter some problems while growing watermelons. Here are a few common issues and how
Conclusion
So, there you have it! Ditching the harsh chemicals and embracing the power of nature with this simple, effective, and surprisingly versatile DIY olive oil cleaner is a game-changer for your home. We’ve walked you through the easy steps to create a cleaner that not only tackles grime and grease but also leaves your surfaces gleaming with a natural, healthy shine.
Why is this a must-try? Because it’s more than just a cleaning solution; it’s a commitment to a healthier home environment. You’re reducing your exposure to potentially harmful chemicals, saving money by using ingredients you likely already have in your pantry, and contributing to a more sustainable lifestyle. Plus, the subtle, natural scent of olive oil is a welcome change from the overpowering artificial fragrances often found in commercial cleaners.
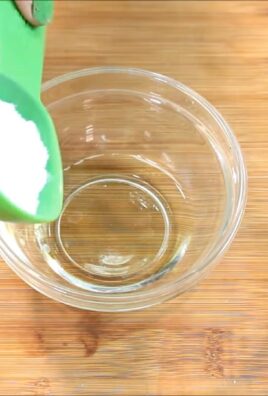
But the benefits don’t stop there. This DIY olive oil cleaner is incredibly adaptable. Feel free to experiment with different essential oils to customize the scent and add extra cleaning power. A few drops of lemon essential oil can boost its degreasing capabilities, while lavender or tea tree oil can add antibacterial properties. You can even adjust the ratio of olive oil to vinegar depending on the type of surface you’re cleaning. For delicate wood furniture, use a higher concentration of olive oil to nourish and protect the finish. For tougher grime on kitchen countertops, increase the vinegar content for extra cleaning power.
Consider these variations to tailor the cleaner to your specific needs:
* For stainless steel appliances: Add a few drops of lemon juice to the mixture for extra shine and to help remove water spots.
* For wood furniture: Use a soft cloth and apply the cleaner sparingly, buffing gently to avoid leaving a greasy residue.
* For granite countertops: Ensure the vinegar concentration is low, as excessive acidity can damage the sealant over time. Test in an inconspicuous area first.
* For leather surfaces: Use a very small amount of olive oil directly on a soft cloth and gently buff the leather to condition and restore its shine. Always test in a hidden area first.
We’re confident that once you try this DIY olive oil cleaner, you’ll be amazed by its effectiveness and simplicity. It’s a truly natural and effective way to clean your home. It’s a win-win for your health, your wallet, and the environment.
Don’t just take our word for it! We encourage you to give this DIY trick a try and see the results for yourself. We’re eager to hear about your experiences. Share your tips, variations, and before-and-after photos in the comments below. Let’s build a community of eco-conscious cleaners who are passionate about creating healthy and sparkling homes! Let us know what surfaces you cleaned with your new olive oil cleaner and how it worked for you. We can’t wait to hear from you!
Frequently Asked Questions (FAQ)
What types of surfaces can I safely clean with this DIY olive oil cleaner?
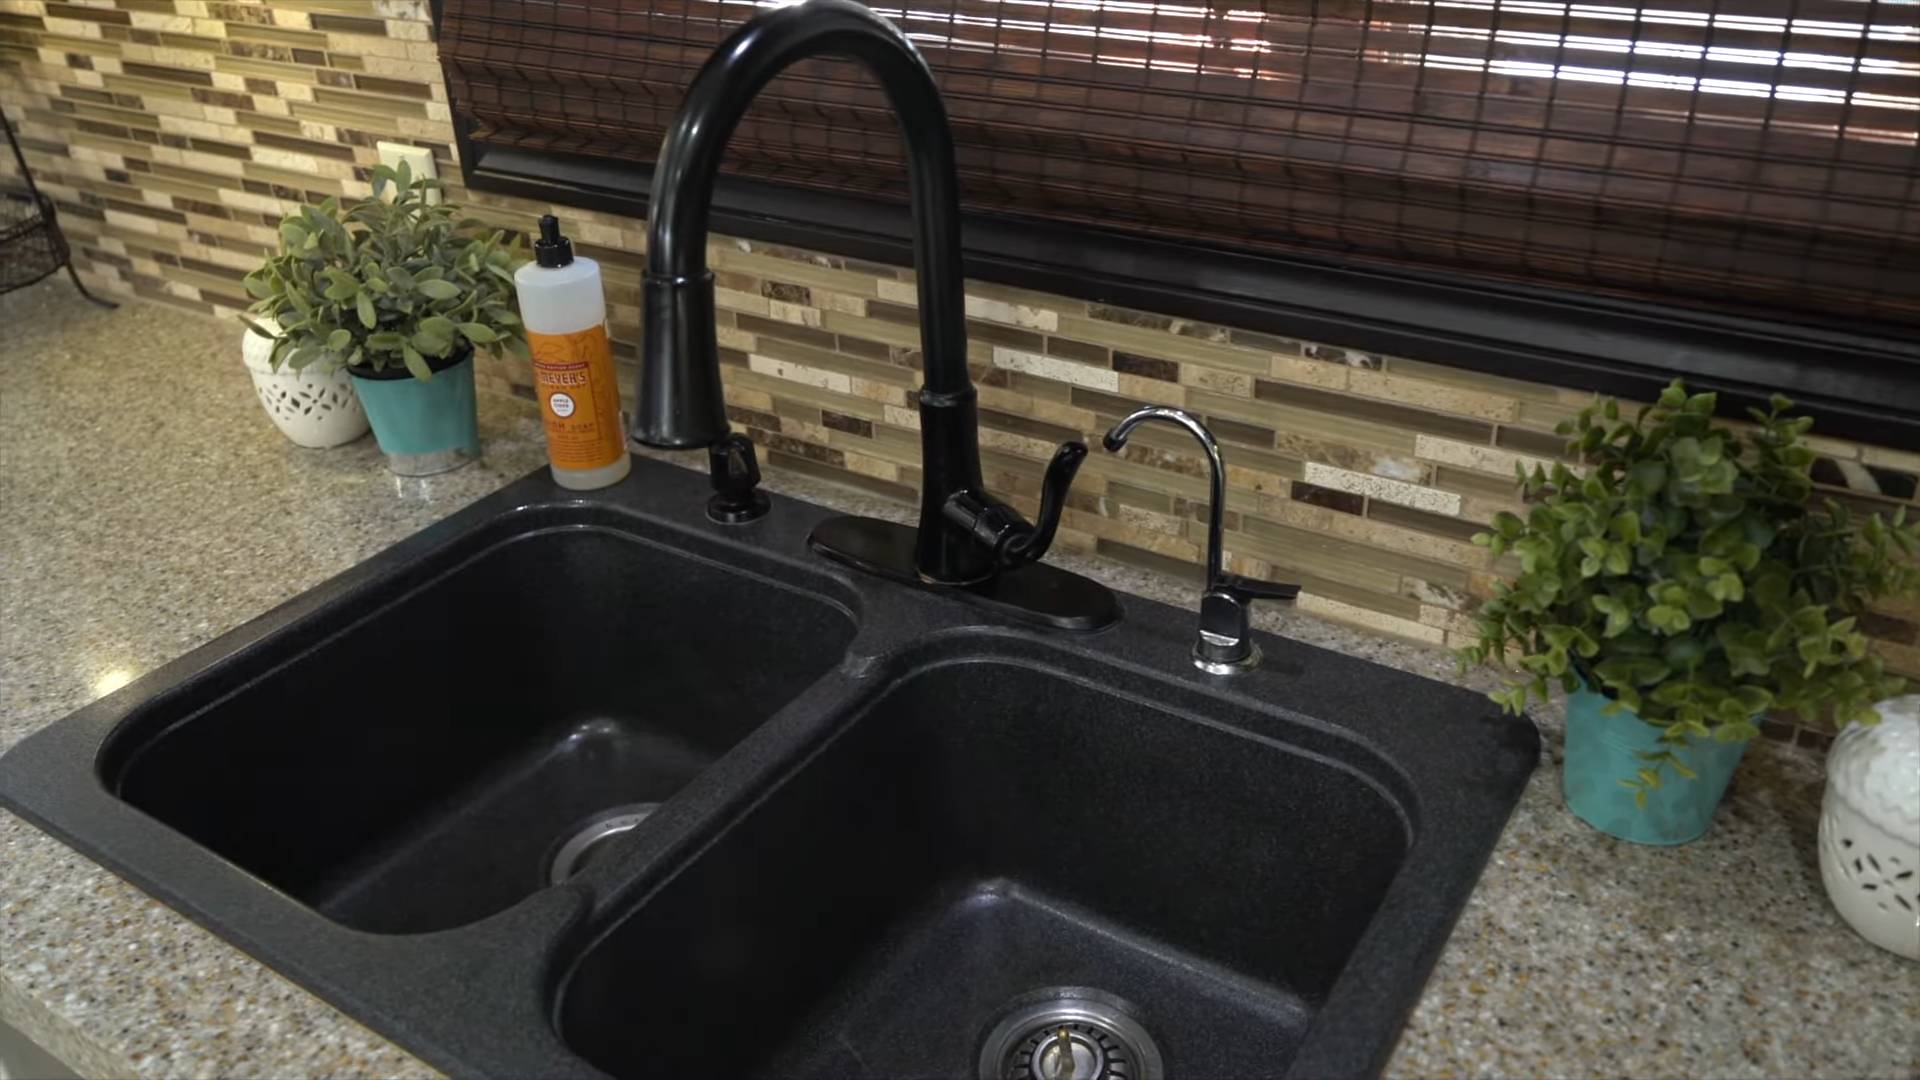
This DIY olive oil cleaner is generally safe for a wide variety of surfaces, including wood furniture (sealed and unsealed), stainless steel appliances, granite countertops (with caution), leather (with caution), and sealed tile. However, it’s always best to test the cleaner in an inconspicuous area first to ensure it doesn’t damage or discolor the surface. Avoid using it on porous surfaces like unsealed grout, as the oil can seep in and be difficult to remove. Also, be mindful of the vinegar content when cleaning natural stone surfaces like marble, as excessive acidity can etch the surface over time.
How do I store the DIY olive oil cleaner?
Store your DIY olive oil cleaner in a clean, airtight spray bottle. A dark-colored bottle is preferable, as it will help protect the essential oils (if used) from light degradation. Keep the bottle in a cool, dark place away from direct sunlight and heat. Properly stored, the cleaner should last for several weeks. If you notice any changes in color, smell, or consistency, discard the cleaner and make a fresh batch.
Can I use any type of olive oil for this cleaner?
While you can technically use any type of olive oil, extra virgin olive oil is generally recommended for its higher quality and purity. It also has a more pleasant scent than lower-grade olive oils. However, if you have a less expensive olive oil on hand, it will still work effectively as a cleaner. Just be sure to use pure olive oil, not a blend with other oils.
What essential oils are best to add to the cleaner, and how much should I use?
The best essential oils to add to your DIY olive oil cleaner depend on your personal preferences and the desired cleaning benefits. Some popular choices include:
* Lemon: For its degreasing and disinfecting properties, as well as its fresh, citrusy scent.
* Lavender: For its calming scent and antibacterial properties.
* Tea Tree: For its strong antibacterial and antifungal properties.
* Eucalyptus: For its refreshing scent and antiseptic properties.
* Orange: For its uplifting scent and degreasing properties.
Start with just a few drops (5-10) of essential oil per cup of cleaner and adjust to your liking. Be sure to use pure, therapeutic-grade essential oils for the best results. Always test the cleaner in an inconspicuous area before using it on a large surface, especially if you’re using essential oils that you haven’t used before.
My cleaner seems oily. What am I doing wrong?
If your DIY olive oil cleaner seems too oily, it’s likely that you’re using too much olive oil in the mixture. Try reducing the amount of olive oil and increasing the amount of vinegar or water. Also, be sure to use a clean, dry cloth to wipe the surface after cleaning to remove any excess oil. If you’re cleaning wood furniture, use a soft cloth and buff gently to avoid leaving a greasy residue.
Is this cleaner safe to use around pets and children?
This DIY olive oil cleaner is generally safer than commercial cleaners, as it doesn’t contain harsh chemicals. However, it’s still important to take precautions when using it around pets and children. Keep the cleaner out of reach of children and pets. If you’re using essential oils, be sure to choose oils that are safe for pets and children. Some essential oils can be toxic to pets if ingested or applied topically. Always supervise children when they are helping with cleaning.
Can I use this cleaner on my car’s interior?
Yes, you can use this DIY olive oil cleaner on your car’s interior, but with caution. It’s best to test the cleaner in an inconspicuous area first to ensure it doesn’t damage or discolor the surface. Use a very small amount of cleaner on a soft cloth and gently wipe the surface. Avoid using it on leather seats, as the oil can stain the leather. For plastic surfaces, dilute the cleaner with water to prevent it from leaving a greasy residue.
How often should I clean my surfaces with this DIY olive oil cleaner?
The frequency of cleaning depends on the type of surface and how often it gets dirty. For surfaces that get frequent use, such as kitchen countertops and bathroom sinks, you may want to clean them daily or every other day. For surfaces that don’t get as much use, such as wood furniture and stainless steel appliances, you can clean them weekly or bi-weekly. Always clean up spills and messes immediately to prevent them from setting in and becoming more difficult to remove.
What if I don’t have vinegar? Can I substitute it with something else?
While vinegar is a key ingredient in this DIY cleaner due to its acidity and cleaning properties, you can substitute it with lemon juice in a pinch. Lemon juice also has acidic properties and a pleasant scent. Use the same amount of lemon juice as you would vinegar. However, keep in mind that lemon juice may not be as effective as vinegar at removing tough stains and grime.
Leave a Comment