
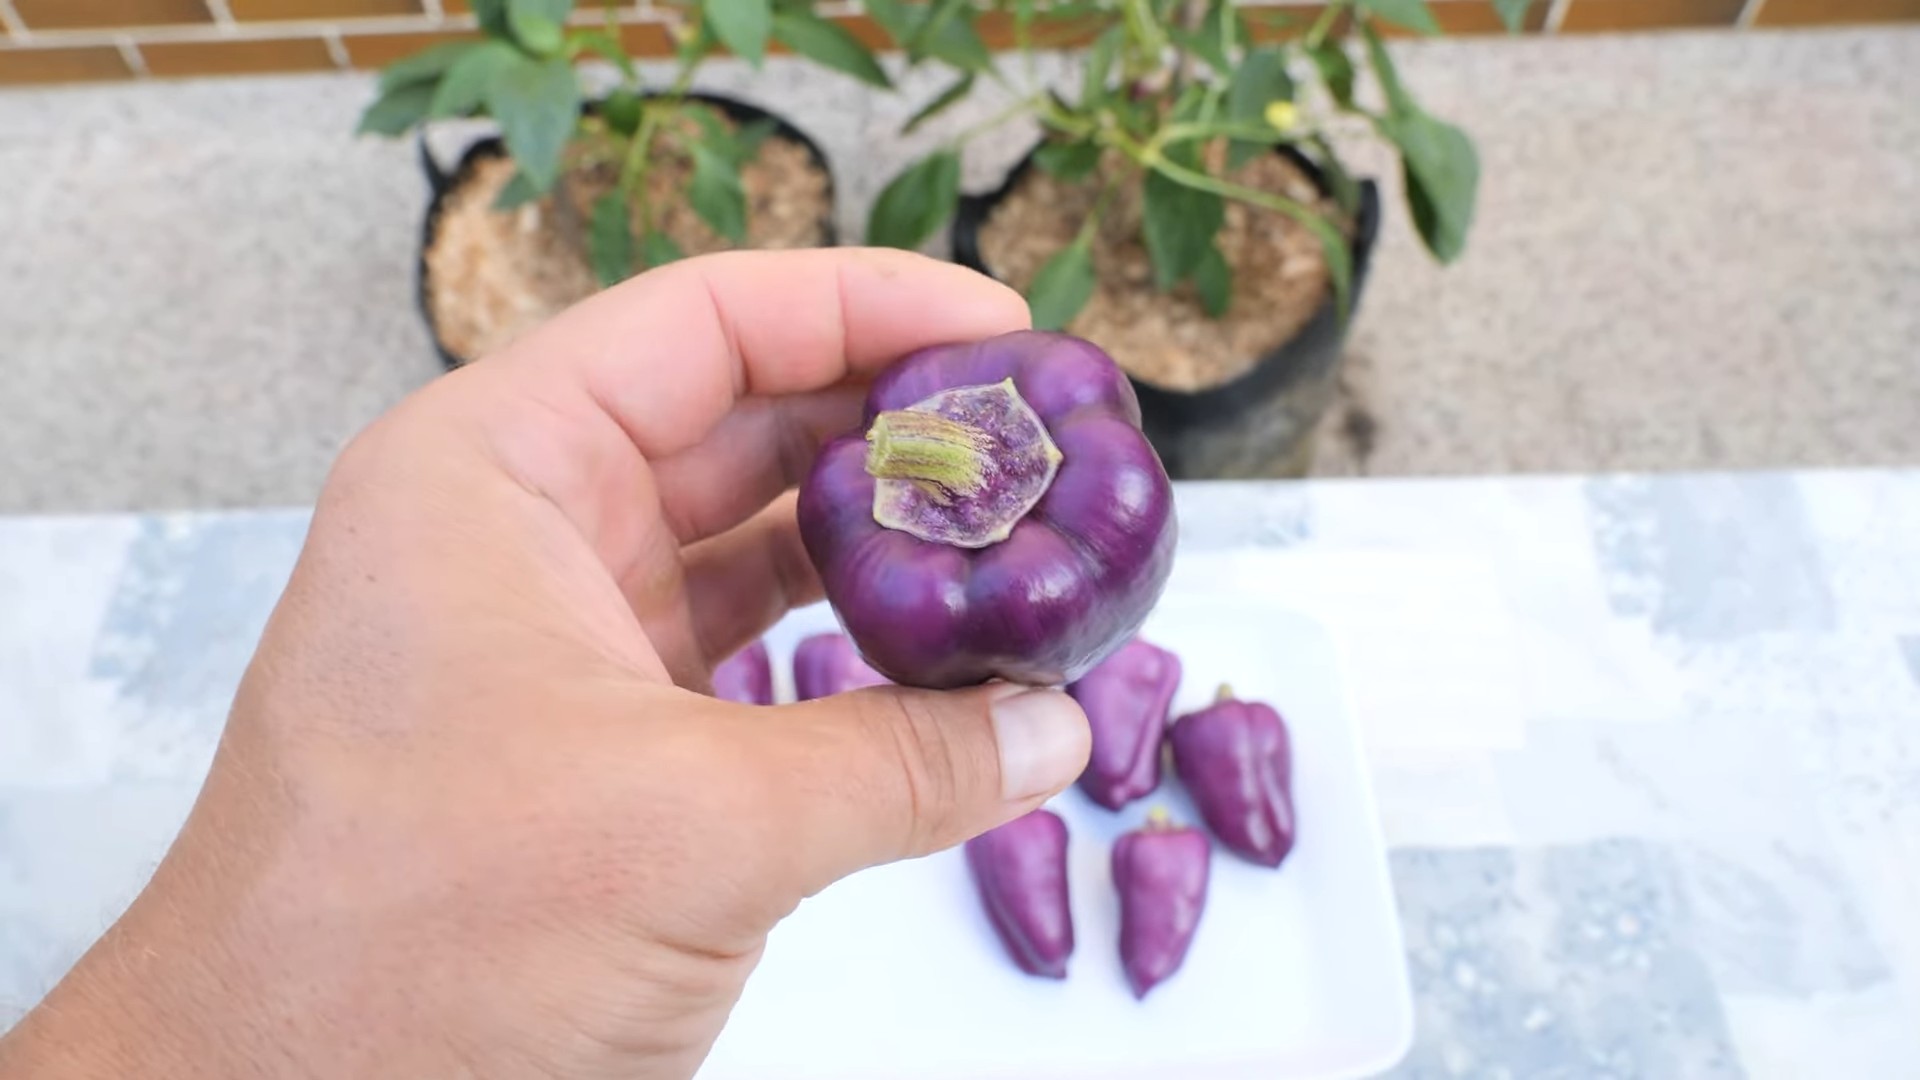
Purple Sweet Pepper Container gardening is a fantastic way to bring vibrant color and delicious flavor right to your doorstep! Have you ever dreamed of harvesting your own beautiful, deep purple peppers, bursting with sweetness, without needing a sprawling garden? Well, you’re in the right place! This DIY guide will unlock the secrets to successfully growing these unique peppers in containers, even if you have limited space.
The allure of purple sweet peppers extends beyond their striking appearance. While not as ancient as some other garden staples, the cultivation of colorful peppers, including purple varieties, represents a modern twist on a long-standing tradition. For centuries, peppers have been cherished for their culinary and ornamental value, and now, with container gardening, we can enjoy these treasures regardless of our living situation.
Let’s face it, not everyone has the luxury of a sprawling backyard. Apartment dwellers, balcony enthusiasts, and those with limited mobility often miss out on the joys of gardening. That’s where the magic of container gardening comes in! Growing purple sweet pepper container plants allows you to bypass the limitations of traditional gardening, bringing the beauty and bounty of nature directly to your patio, balcony, or even a sunny windowsill. Plus, who wouldn’t want to impress their friends and family with these gorgeous, homegrown gems? This guide will provide you with simple, step-by-step instructions and clever hacks to ensure your purple sweet pepper container garden thrives. Get ready to enjoy the satisfaction of harvesting your own delicious, visually stunning peppers!
DIY Upside-Down Purple Sweet Pepper Container
Hey there, fellow gardening enthusiasts! I’m super excited to share a fun and rewarding DIY project with you: creating an upside-down container for growing beautiful purple sweet peppers. This method is fantastic for small spaces, balconies, or anyone who wants a unique and eye-catching way to grow their own veggies. Plus, it’s surprisingly easy!
Why Grow Peppers Upside Down?
Before we dive in, let’s talk about why this method is so cool. Growing peppers upside down offers several advantages:
* Space Saving: Perfect for balconies, patios, or small gardens.
* Pest Control: The hanging nature can help deter some ground-dwelling pests.
* Improved Air Circulation: Better airflow around the plant can reduce the risk of fungal diseases.
* Unique Aesthetic: Let’s be honest, it just looks awesome!
Materials You’ll Need
Okay, let’s gather our supplies. Here’s what you’ll need to create your upside-down purple sweet pepper container:
* A Large Plastic Container: A 5-gallon bucket or a sturdy plastic storage container works great. Make sure it’s clean!
* A Healthy Purple Sweet Pepper Seedling: Choose a strong, vibrant seedling from your local nursery or garden center.
* Potting Mix: Use a high-quality potting mix that drains well.
* Landscape Fabric or Burlap: To prevent soil from falling out of the hole.
* A Sharp Knife or Drill: For creating the hole in the container.
* Watering Can or Hose: For watering your pepper plant.
* Optional: Slow-Release Fertilizer: To give your pepper plant a boost.
* Optional: Gloves: To keep your hands clean.
* Optional: Eye Protection: When drilling or cutting the plastic.
* Hanging Hardware (Chain, Rope, or S-Hooks): To hang your container securely.
Step-by-Step Instructions
Alright, let’s get our hands dirty! Follow these steps to create your upside-down purple sweet pepper container:
1. Prepare the Container
1. Clean the Container: Thoroughly wash the plastic container with soap and water to remove any dirt or debris. Rinse it well and let it dry completely.
2. Drill Drainage Holes (Optional): If your container doesn’t already have drainage holes, drill a few small holes in the bottom (which will become the top) to allow excess water to drain. This is crucial to prevent root rot. I usually go for about 4-5 holes, each about 1/4 inch in diameter.
3. Cut the Planting Hole: This is the most important step! In the center of the bottom of the container (the part that will be facing down), carefully cut a hole large enough to accommodate the pepper seedling’s root ball. The hole should be about 2-3 inches in diameter. I find that using a sharp utility knife works best, but a drill with a hole saw attachment can also do the trick. Be careful not to make the hole too big, or the soil will fall out.
4. Reinforce the Hole (Optional): To prevent the plastic from tearing around the hole, you can reinforce it with duct tape or a rubber gasket. This will add extra stability and prevent the soil from escaping.
2. Prepare the Landscape Fabric
1. Cut a Square of Fabric: Cut a square of landscape fabric or burlap that’s slightly larger than the hole you created. This will act as a barrier to prevent the potting mix from falling out while still allowing the pepper plant to grow through.
2. Make a Slit: Cut a small slit in the center of the fabric square, just large enough to fit the stem of your pepper seedling through.
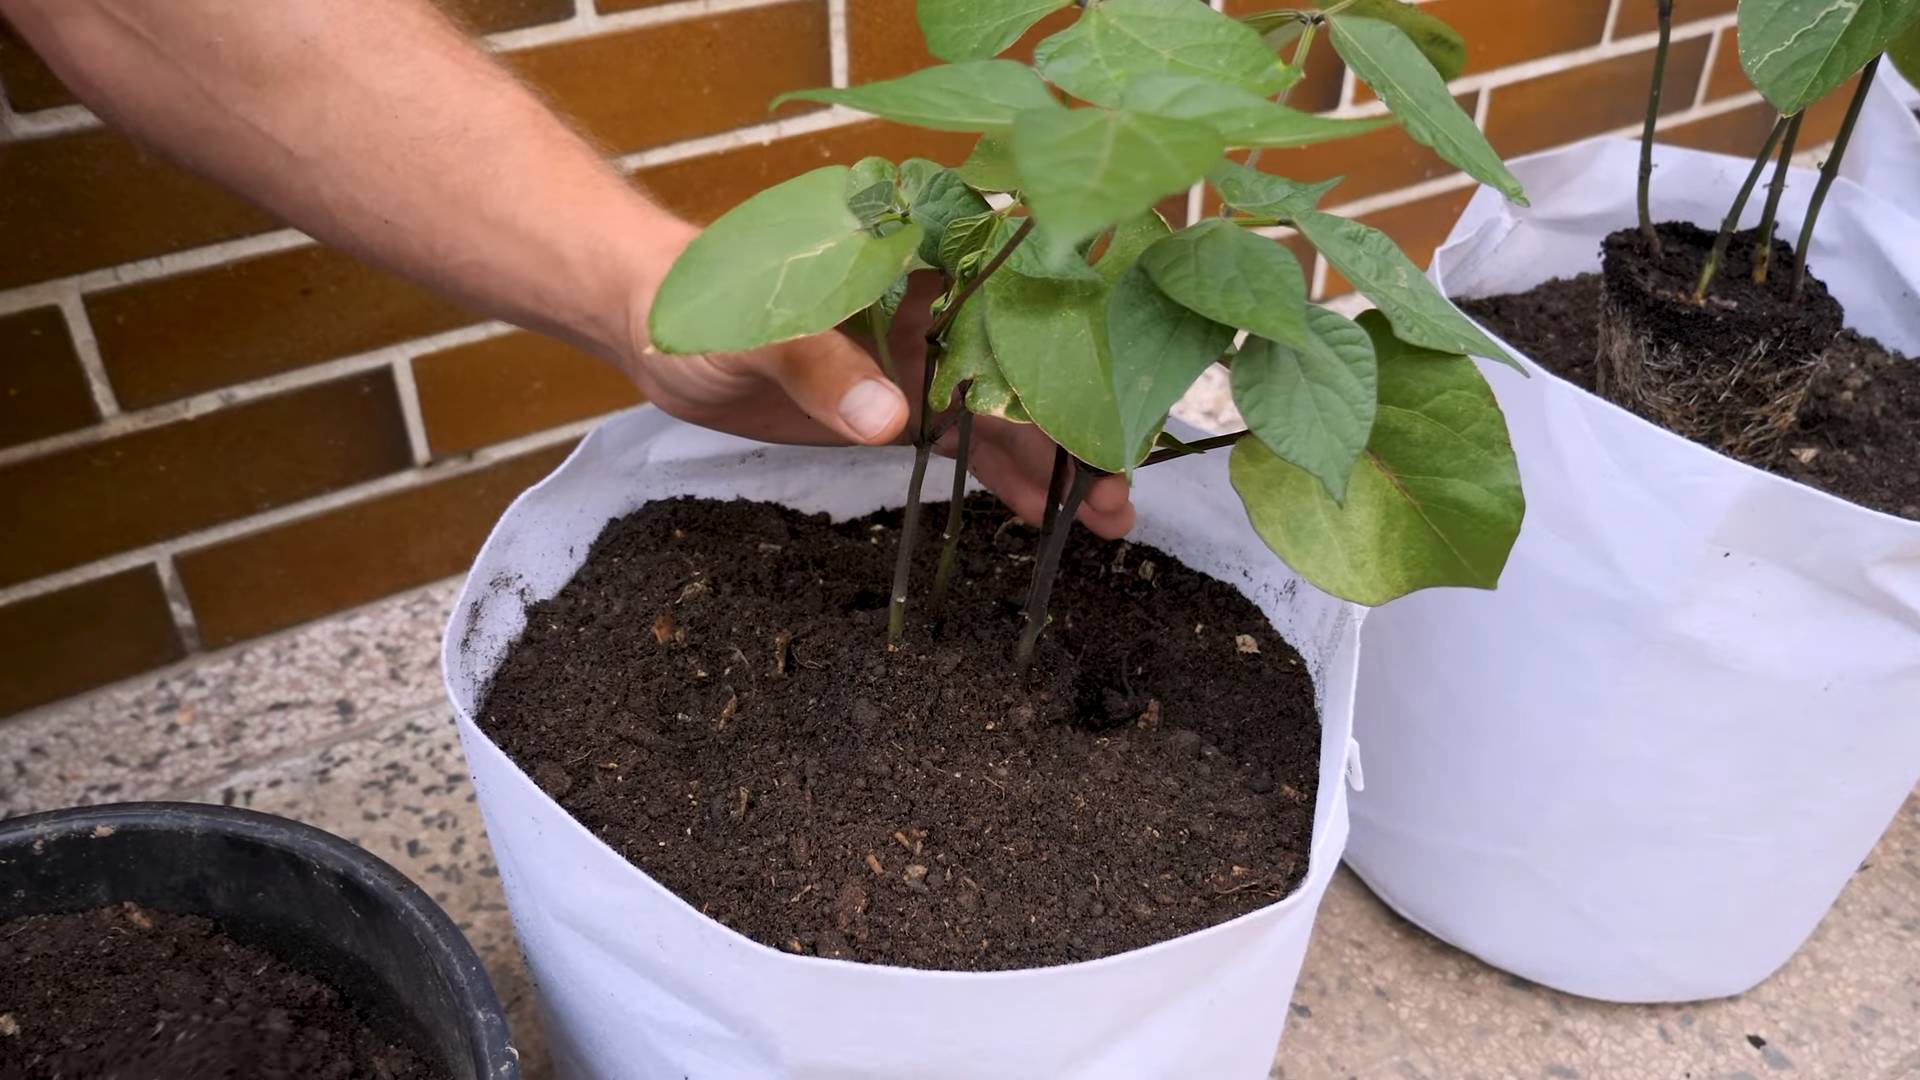
3. Plant the Pepper Seedling
1. Insert the Fabric: Carefully insert the landscape fabric square into the hole, making sure the slit is centered. The fabric should cover the hole and prevent soil from falling out.
2. Gently Insert the Seedling: Gently turn the container upside down. Carefully insert the pepper seedling through the hole and the slit in the landscape fabric. Be very gentle to avoid damaging the roots. The leaves of the pepper plant should be hanging down from the hole.
3. Secure the Seedling (Optional): If the seedling is wobbly, you can use small pieces of foam or sponge to gently secure it in place. This will help prevent it from being dislodged while you fill the container with soil.
4. Fill the Container with Potting Mix
1. Add Potting Mix: While holding the seedling in place, carefully add potting mix to the container. Gently pack the soil around the roots of the pepper plant, making sure to fill all the gaps.
2. Leave Some Space: Leave about 2-3 inches of space at the top of the container (the part with the drainage holes) to allow for watering.
3. Add Slow-Release Fertilizer (Optional): If you’re using slow-release fertilizer, mix it into the top layer of the potting mix according to the package instructions. This will provide your pepper plant with a steady supply of nutrients.
5. Hang the Container
1. Attach Hanging Hardware: Attach your chosen hanging hardware (chain, rope, or S-hooks) to the container. Make sure the hardware is strong enough to support the weight of the container when it’s full of soil and water.
2. Find a Suitable Location: Choose a location that receives at least 6-8 hours of sunlight per day. Make sure the location is sheltered from strong winds, which can damage the pepper plant.
3. Hang the Container Securely: Carefully hang the container in your chosen location. Make sure it’s securely attached and won’t fall down.
6. Watering and Maintenance
1. Water Thoroughly: Water the pepper plant thoroughly after planting. Water until water drains out of the drainage holes at the top of the container.
2. Water Regularly: Water the pepper plant regularly, especially during hot, dry weather. Check the soil moisture by sticking your finger into the soil. If the soil feels dry to the touch, it’s time to water.
3. Fertilize Regularly: Fertilize the pepper plant every 2-3 weeks with a balanced liquid fertilizer. Follow the package instructions for application rates.
4. Prune as Needed: Prune the pepper plant as needed to remove any dead or yellowing leaves. You can also prune the plant to encourage bushier growth.
5. Watch for Pests and Diseases: Keep an eye out for pests and diseases. If you notice any problems, take action immediately to prevent them from spreading. Insecticidal soap or neem oil can be effective for controlling many common pests.
Troubleshooting Tips
* Soil Falling Out: If soil is falling out of the hole, try using a thicker piece of landscape fabric or burlap. You can also try adding a layer of mulch to the top of the container to help hold the soil in place.
* Seedling Wilting: If the seedling is wilting, it may be getting too much sun or not enough water. Move the container to a shadier location or water more frequently.
* Yellowing Leaves: Yellowing leaves can be a sign of nutrient deficiency. Fertilize the pepper plant with a balanced liquid fertilizer.
* Pests: Inspect your plant regularly for pests like aphids, whiteflies, and spider mites. Treat infestations promptly with insecticidal soap or neem oil.
Enjoy Your Purple Sweet Peppers!
With a little care and attention, your upside-down purple sweet pepper plant will thrive and produce a bountiful harvest of delicious peppers. I find the whole process incredibly rewarding, and the vibrant purple peppers are a real conversation starter. Happy gardening!
Conclusion
So, there you have it! Transforming ordinary plastic containers into vibrant, self-watering havens for your purple sweet pepper plants is not just a fun project; it’s a game-changer for your gardening success. This DIY purple sweet pepper container method offers a multitude of benefits, from reducing watering frequency and minimizing root rot to promoting healthier, more robust growth.
Why is this a must-try? Because it simplifies gardening, especially for those with busy schedules or limited space. Imagine spending less time worrying about watering and more time enjoying the beauty and bounty of your own homegrown purple sweet peppers. The self-watering system ensures consistent moisture levels, preventing the stress that can lead to blossom end rot and other common pepper problems. Plus, you’re upcycling, giving new life to plastic containers that might otherwise end up in a landfill. It’s a win-win for you and the environment!
But the beauty of this DIY project lies in its adaptability. Feel free to experiment with different container sizes to accommodate varying plant sizes. For smaller balconies or patios, consider using smaller containers and dwarf varieties of purple sweet peppers. You can also add a layer of mulch on top of the soil to further conserve moisture and suppress weeds.
Want to get even more creative? Try adding a slow-release fertilizer to the soil mix for an extra boost of nutrients. Or, consider incorporating companion plants like basil or marigolds into the container to deter pests and attract beneficial insects. The possibilities are endless!
We wholeheartedly encourage you to give this DIY purple sweet pepper container trick a try. It’s a rewarding project that will not only enhance your gardening experience but also provide you with delicious, homegrown purple sweet peppers to enjoy in your favorite recipes.
Don’t be shy about sharing your experiences! We’d love to hear about your successes, challenges, and any modifications you make to the design. Post photos of your thriving purple sweet pepper plants on social media using #DIYPepperContainer and tag us so we can celebrate your gardening achievements. Let’s build a community of passionate gardeners who are committed to sustainable and innovative growing practices. Your insights could inspire others to embark on their own gardening journey and discover the joy of growing their own food. So, grab your containers, gather your supplies, and get ready to transform your gardening game with this simple yet effective DIY trick! Happy gardening!
Frequently Asked Questions (FAQ)
What type of plastic container is best for this DIY project?
Ideally, you want to use food-grade plastic containers, such as those that previously held large quantities of yogurt, ice cream, or other food items. These are generally safe for growing edible plants. Avoid using containers that previously held harsh chemicals or pesticides, as these could leach into the soil and contaminate your plants. Make sure the container is sturdy enough to hold the weight of the soil and water without cracking or collapsing. Also, consider the color of the container. Darker colors can absorb more heat, which could be beneficial in cooler climates but detrimental in hotter regions. Lighter-colored containers reflect more sunlight and help keep the soil cooler.
How often do I need to refill the water reservoir?
The frequency of refilling the water reservoir will depend on several factors, including the size of the container, the weather conditions, and the size of your purple sweet pepper plant. In general, you’ll need to check the water level every few days, especially during hot and dry periods. A good rule of thumb is to refill the reservoir when it’s about half empty. You can use a water level indicator or simply lift the inner container to check the water level. Over time, you’ll get a better sense of how quickly your plant consumes water and adjust your watering schedule accordingly.
What type of soil should I use for my purple sweet pepper plants in these containers?
A well-draining potting mix is essential for growing healthy purple sweet pepper plants in containers. Avoid using garden soil, as it tends to compact and doesn’t provide adequate drainage. A good potting mix will consist of a blend of peat moss, perlite, and vermiculite. You can also add compost to the mix to provide additional nutrients. Look for a potting mix that is specifically formulated for vegetables or containers. You can also amend the soil with slow-release fertilizer to provide a steady supply of nutrients throughout the growing season.
Can I use this DIY container method for other types of plants besides purple sweet peppers?
Yes, absolutely! This DIY self-watering container method is suitable for a wide variety of plants, including other vegetables like tomatoes, cucumbers, and eggplants, as well as herbs like basil, mint, and oregano. The key is to choose plants that have similar watering needs and to adjust the size of the container accordingly. For larger plants, you’ll need a larger container with a larger water reservoir. You may also need to provide additional support for plants that tend to get tall or heavy.
How do I prevent root rot in my purple sweet pepper plants grown in these containers?
Root rot is a common problem in container gardening, but it can be prevented by ensuring proper drainage and avoiding overwatering. The self-watering system helps to minimize the risk of root rot by providing consistent moisture levels without saturating the soil. However, it’s still important to use a well-draining potting mix and to avoid overfilling the water reservoir. Make sure the drainage holes in the inner container are not blocked. You can also add a layer of gravel or pebbles at the bottom of the inner container to improve drainage. If you notice signs of root rot, such as yellowing leaves or a foul odor, remove the affected plant from the container and trim away any rotten roots before replanting it in fresh potting mix.
What are some common problems I might encounter with this DIY container method, and how can I fix them?
One common problem is algae growth in the water reservoir. This can be prevented by using an opaque container or by covering the reservoir with a lid. Another problem is pests, such as aphids or spider mites. These can be controlled with insecticidal soap or neem oil. Blossom end rot, a condition caused by calcium deficiency, can also occur. This can be prevented by adding calcium to the soil or by using a calcium-rich fertilizer. Finally, the container may become root-bound over time. If this happens, you’ll need to transplant your purple sweet pepper plant into a larger container.
How do I overwinter my purple sweet pepper plants grown in these containers?
In colder climates, purple sweet pepper plants are typically grown as annuals, meaning they complete their life cycle in one growing season. However, you can overwinter your plants indoors to extend their lifespan. Before the first frost, prune back the plant and move it indoors to a sunny location. Water sparingly and avoid fertilizing during the winter months. In the spring, gradually acclimate the plant to outdoor conditions before transplanting it back into its container.
Leave a Comment