
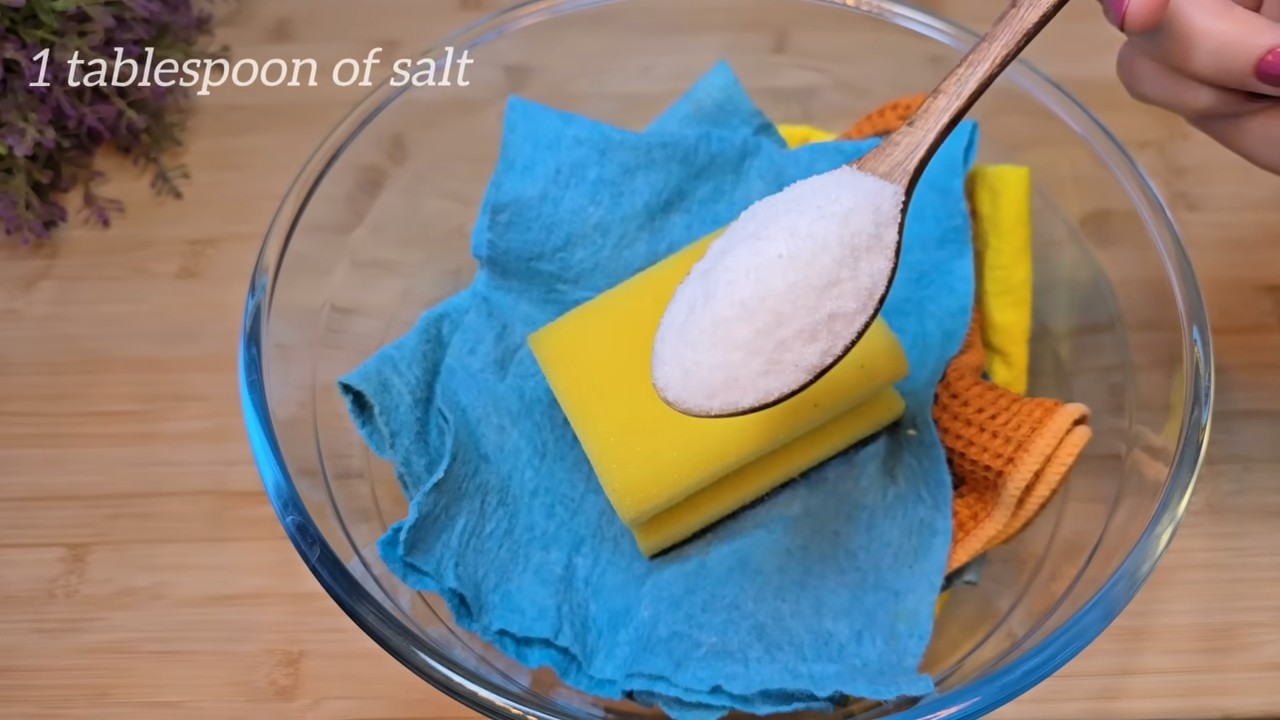
Salt cleaning hacks are about to revolutionize your cleaning routine! Are you tired of spending hours scrubbing away stubborn stains and grime? Imagine a world where cleaning is not only effective but also surprisingly simple and budget-friendly. Well, stop imagining – that world is here! This article is packed with ingenious DIY cleaning solutions using something you probably already have in your pantry: salt.
Salt has been valued for its preserving and cleaning properties for centuries. From ancient civilizations using it to preserve food to its modern-day applications, salt’s versatility is undeniable. Think about it – our ancestors didn’t have fancy, chemical-laden cleaners. They relied on natural resources like salt to keep their homes and belongings in tip-top shape. We’re simply rediscovering those time-tested methods!
In today’s fast-paced world, who has time to spend hours cleaning? That’s where these salt cleaning hacks come in. They’re designed to save you time, money, and effort. Whether you’re dealing with a burnt pan, a stained sink, or a grimy grout, salt can be your secret weapon. I’m excited to share these simple yet effective techniques that will transform the way you think about cleaning. Get ready to ditch the harsh chemicals and embrace the power of salt!
DIY Salt Cleaning Hacks: Unleash the Power of Sodium Chloride!
Hey there, fellow DIY enthusiasts! I’m always on the lookout for simple, effective, and budget-friendly cleaning solutions. And guess what? Plain old table salt is a cleaning powerhouse! Forget those expensive, chemical-laden cleaners – salt is your new best friend. I’m going to share some of my favorite salt cleaning hacks that will leave your home sparkling without breaking the bank.
Cleaning Cast Iron Like a Pro
Cast iron skillets are amazing for cooking, but cleaning them can be a pain. Soap can strip the seasoning, and scrubbing too hard can damage the surface. That’s where salt comes in! It acts as a gentle abrasive, removing food particles without harming your precious seasoning.
What you’ll need:
* Coarse salt (kosher or sea salt works best)
* A clean, dry cloth or sponge
* A little bit of oil (vegetable, canola, or flaxseed)
Step-by-step instructions:
1. Scrape off excess food: After cooking, use a spatula or scraper to remove any large pieces of food from the skillet.
2. Add salt and scrub: Pour a generous amount of coarse salt into the skillet. Using a dry cloth or sponge, scrub the skillet in a circular motion. The salt will act as an abrasive, loosening and removing stuck-on food. I usually scrub for a minute or two, depending on how dirty the skillet is.
3. Rinse (optional): If there’s a lot of residue, you can rinse the skillet with hot water. However, try to avoid using soap if possible. If you do use soap, make sure to rinse it thoroughly.
4. Dry thoroughly: This is crucial! Cast iron rusts easily, so you need to dry it completely. I usually place the skillet on the stovetop over low heat for a few minutes to ensure it’s bone dry.
5. Season: Once the skillet is dry, pour a small amount of oil into it (about a teaspoon). Use a clean cloth or paper towel to rub the oil all over the inside and outside of the skillet, including the handle.
6. Heat it up: Place the skillet upside down in a preheated oven at 350°F (175°C) for about an hour. This will help the oil bake into the iron, creating a protective layer. Place a baking sheet underneath to catch any drips. Let the skillet cool completely in the oven before storing.
Brightening Up Your Sink
Sinks, especially stainless steel ones, can get dull and stained over time. Salt can help restore their shine and remove stubborn stains.
What you’ll need:
* Salt (table salt works fine)
* Lemon juice or white vinegar
* A sponge or cloth
Step-by-step instructions:
1. Wet the sink: Lightly wet the surface of your sink with water.
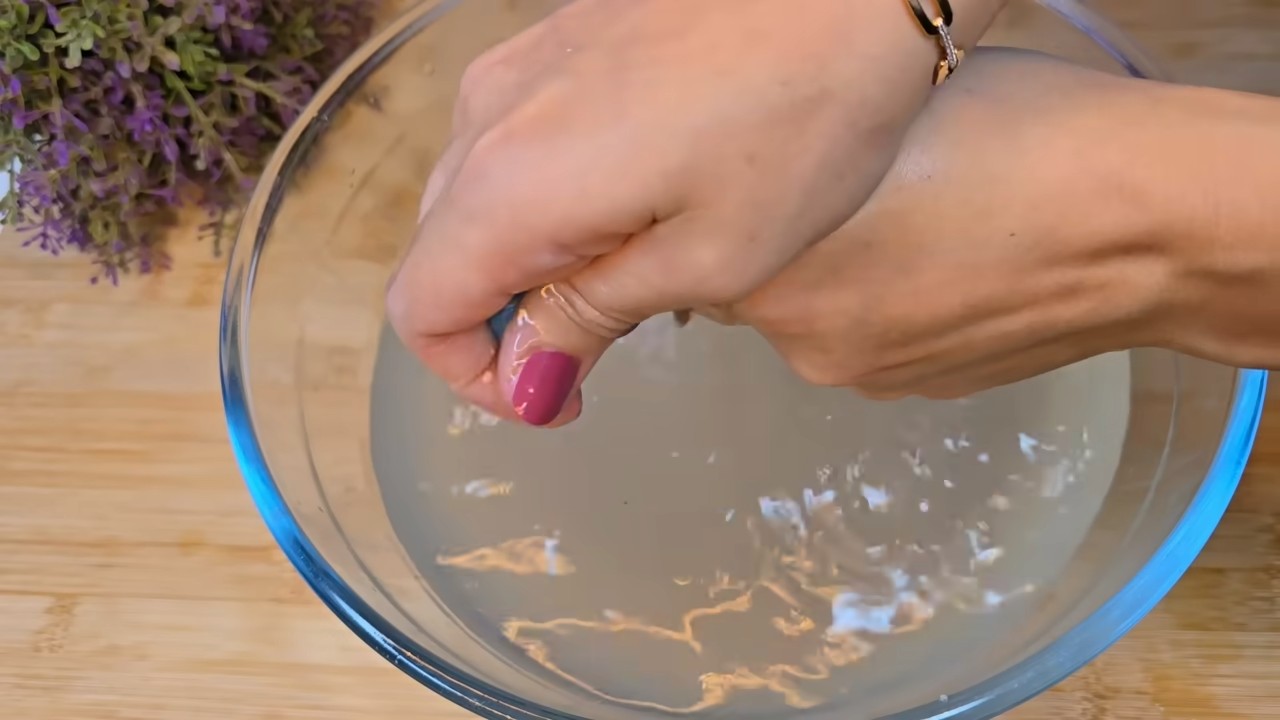
2. Create a paste: Mix salt with lemon juice or white vinegar to form a paste. The ratio should be about 2 parts salt to 1 part liquid. I prefer lemon juice because it smells amazing!
3. Apply the paste: Spread the salt paste over the entire surface of the sink, focusing on areas with stains or discoloration.
4. Scrub: Using a sponge or cloth, scrub the sink in a circular motion. Apply a little pressure to remove stubborn stains.
5. Rinse thoroughly: Rinse the sink with plenty of water to remove all traces of the salt paste.
6. Dry: Dry the sink with a clean cloth to prevent water spots.
Cleaning Your Iron
Did you know you can clean the soleplate of your iron with salt? Over time, residue from fabric and starch can build up on the soleplate, making it stick to your clothes and even scorch them. Salt can help remove this residue and keep your iron working smoothly.
What you’ll need:
* Salt (table salt works fine)
* A clean cotton cloth or towel
* An iron
Step-by-step instructions:
1. Prepare the surface: Lay a clean cotton cloth or towel on your ironing board.
2. Sprinkle salt: Sprinkle a generous amount of salt onto the cloth.
3. Heat the iron: Turn on your iron to the highest setting, but make sure the steam function is turned off.
4. Iron the salt: Gently iron the salt-covered cloth in a circular motion for a few minutes. The heat and friction will help the salt loosen and remove the residue from the soleplate.
5. Wipe clean: Unplug the iron and let it cool down completely. Once it’s cool, wipe the soleplate with a clean, damp cloth to remove any remaining salt and residue.
Freshening Up Your Cutting Boards
Cutting boards, especially wooden ones, can absorb odors and stains from food. Salt can help neutralize odors and remove stains, leaving your cutting boards fresh and clean.
What you’ll need:
* Coarse salt (kosher or sea salt works best)
* Lemon juice
* A sponge or cloth
Step-by-step instructions:
1. Sprinkle salt: Sprinkle a generous amount of coarse salt over the surface of the cutting board.
2. Squeeze lemon juice: Squeeze lemon juice over the salt, enough to moisten it.
3. Scrub: Using a sponge or cloth, scrub the cutting board in a circular motion. The salt will act as an abrasive, while the lemon juice will help disinfect and deodorize.
4. Let it sit: Let the salt and lemon juice mixture sit on the cutting board for about 10-15 minutes.
5. Rinse thoroughly: Rinse the cutting board with plenty of water to remove all traces of salt and lemon juice.
6. Dry: Dry the cutting board thoroughly with a clean cloth.
Cleaning Your Oven (Spot Cleaning)
While salt isn’t a complete oven cleaner replacement, it’s fantastic for spot cleaning spills and splatters before they bake on and become impossible to remove.
What you’ll need:
* Salt (table salt works fine)
* Water
* A spray bottle
* A sponge or cloth
Step-by-step instructions:
1. Preheat the oven: If you’ve just had a spill, leave the oven on at a low temperature (around 200°F or 95°C). This will help the salt work more effectively.
2. Mix salt and water: Mix salt and water in a spray bottle to create a solution. The ratio should be about 1 part salt to 2 parts water.
3. Spray the spill: Spray the salt water solution directly onto the spill or splatter.
4. Let it sit: Let the solution sit for about 15-20 minutes. This will give the salt time to absorb the spill and loosen it from the oven surface.
5. Scrub: Using a sponge or cloth, scrub the area to remove the spill.
6. Wipe clean: Wipe the area with a clean, damp cloth to remove any remaining salt and residue.
Preventing Drains from Clogging
This is more of a preventative measure than a cleaning hack, but it’s still super useful! Regularly flushing your drains with a salt and hot water solution can help prevent clogs from forming.
What you’ll need:
* Salt (table salt works fine)
* Boiling water
Step-by-step instructions:
1. Pour salt down the drain: Pour about 1/2 cup of salt down the drain.
2. Pour boiling water down the drain: Immediately follow with a pot of boiling water.
3. Let it sit: Let the mixture sit in the drain for about 30 minutes.
4. Flush with cold water: Flush the drain with cold water for a few minutes to clear any remaining debris.
I usually do this once a month to keep my drains running smoothly.
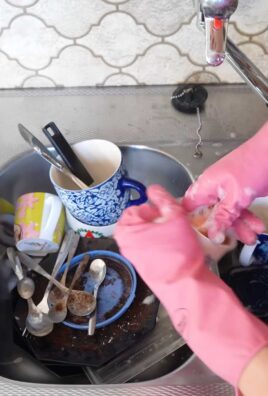
Cleaning Coffee and Tea Stains from Mugs
Those stubborn coffee and tea stains in your favorite mugs? Salt to the rescue!
What you’ll need:
* Salt (table salt works fine)
* A damp sponge or cloth
Step-by-step instructions:
1. Wet the mug: Lightly wet the inside of the mug with water.
2. Sprinkle salt: Sprinkle a generous amount of salt onto the damp sponge or cloth.
3. Scrub: Scrub the inside of the mug with the salt-covered sponge or cloth, focusing on the stained areas.
4. Rinse thoroughly: Rinse the mug with plenty of water to remove all traces of salt.
5. Dry:
Conclusion
So, there you have it! This simple yet incredibly effective salt cleaning hack is a game-changer for anyone looking to simplify their cleaning routine and achieve sparkling results without harsh chemicals. We’ve explored how the abrasive nature of salt, combined with its natural disinfecting properties, makes it a powerful ally in tackling a variety of cleaning challenges around your home. From restoring the shine to your copper pots to scrubbing away stubborn grime in your oven, salt offers a surprisingly versatile and eco-friendly solution.
But why is this salt cleaning hack a must-try? It’s not just about saving money on expensive cleaning products (although that’s certainly a bonus!). It’s about embracing a more sustainable and healthier way of living. By using readily available, natural ingredients like salt, you’re reducing your exposure to potentially harmful chemicals and minimizing your impact on the environment. Plus, the satisfaction of seeing your belongings restored to their former glory using such a simple method is truly rewarding.
Don’t be afraid to experiment with variations to suit your specific needs. For instance, if you’re dealing with particularly stubborn stains, try combining salt with lemon juice or vinegar for an extra boost of cleaning power. For delicate surfaces, use a finer grain of salt and a gentle touch to avoid scratching. You can even create a salt-based scrub by mixing it with olive oil or coconut oil for a moisturizing and exfoliating effect. The possibilities are endless!
We wholeheartedly encourage you to give this salt cleaning hack a try. We’re confident that you’ll be amazed by the results. Once you’ve experienced the cleaning power of salt for yourself, we’d love to hear about your experience. Share your before-and-after photos, your favorite salt cleaning tips, and any variations you’ve discovered in the comments below. Let’s create a community of salt cleaning enthusiasts and inspire others to embrace this simple, effective, and eco-friendly cleaning solution! Let us know if you have any questions.
Frequently Asked Questions (FAQs)
What types of salt can I use for cleaning?
The best type of salt to use for cleaning depends on the surface you’re cleaning and the level of abrasion you need. Table salt, sea salt, and kosher salt are all suitable options. Table salt is the most readily available and affordable, making it a great all-purpose cleaner. Sea salt often has a coarser texture, which can be beneficial for scrubbing tough stains, but be mindful of potential scratching on delicate surfaces. Kosher salt is also a good option for general cleaning purposes. Epsom salt, while technically a salt compound, is better suited for soaking and relaxation due to its magnesium content. Avoid using iodized salt on surfaces that are prone to staining, as the iodine can sometimes leave a discoloration. Always test a small, inconspicuous area first to ensure the salt doesn’t damage the surface.
Is salt safe to use on all surfaces?
While salt is generally safe for many surfaces, it’s essential to exercise caution and test before applying it liberally. Avoid using salt on delicate or easily scratched surfaces such as polished wood, certain types of plastic, and some painted surfaces. The abrasive nature of salt can cause damage if not used carefully. For these surfaces, consider using a gentler cleaning solution or a very fine grain of salt with a soft cloth. Always test a small, hidden area first to ensure the salt doesn’t cause any scratches or discoloration. If you’re unsure, consult the manufacturer’s instructions for the surface you’re cleaning.
Can I use salt to clean my oven?
Yes, salt can be an effective and natural way to clean your oven. To clean your oven with salt, sprinkle a generous amount of salt on the bottom of the oven while it’s still warm (but not hot) after cooking. Let the oven cool completely, then scrub the salt into any spills or stains. The salt will absorb grease and loosen baked-on food particles. Finally, sweep or vacuum up the salt and wipe the oven clean with a damp cloth. For stubborn stains, you can mix the salt with water to create a paste and apply it to the affected areas before scrubbing.
How do I clean copper pots and pans with salt?
Salt is an excellent natural cleaner for copper pots and pans. To clean your copper cookware with salt, mix equal parts salt, vinegar, and flour to create a paste. Apply the paste to the copper surface and rub gently with a soft cloth. The salt acts as a mild abrasive to remove tarnish and grime, while the vinegar helps to dissolve oxidation. Let the paste sit for a few minutes, then rinse thoroughly with warm water and dry with a clean cloth. Your copper pots and pans will be restored to their original shine.
Can salt be used to unclog drains?
While salt isn’t the most powerful drain cleaner, it can be used as a preventative measure or to help clear minor clogs. Pour a cup of salt down the drain, followed by a cup of boiling water. The salt helps to dislodge grease and debris, while the boiling water flushes it away. For more stubborn clogs, you can combine salt with baking soda and vinegar for a more potent cleaning action. Pour a cup of baking soda down the drain, followed by a cup of salt, and then pour in a cup of vinegar. Let the mixture fizz for about 30 minutes, then flush with boiling water.
Does salt have any disinfecting properties?
Yes, salt does possess some disinfecting properties. While it’s not as potent as commercial disinfectants, salt can help to inhibit the growth of bacteria and mold. Salt draws moisture out of cells, which can dehydrate and kill microorganisms. This makes salt a useful natural cleaner for surfaces that need a mild level of disinfection, such as cutting boards, countertops, and sinks. To disinfect with salt, simply sprinkle salt on the surface, let it sit for a few minutes, and then wipe it clean with a damp cloth.
How can I make a salt scrub for my skin?
Creating a salt scrub for your skin is easy and affordable. Simply mix equal parts salt (sea salt or Epsom salt are good choices) with a carrier oil such as olive oil, coconut oil, or almond oil. You can also add a few drops of your favorite essential oil for fragrance and added benefits. For example, lavender oil can help to relax and soothe the skin, while tea tree oil has antibacterial properties. Gently massage the salt scrub onto your skin in circular motions, focusing on dry or rough areas. Rinse thoroughly with warm water and pat your skin dry. Your skin will feel soft, smooth, and refreshed.
How often should I use salt for cleaning?
The frequency with which you use salt for cleaning depends on the specific task and the surface you’re cleaning. For general cleaning tasks, such as wiping down countertops or scrubbing sinks, you can use salt as needed. For more delicate surfaces, such as copper or certain types of plastic, it’s best to use salt sparingly and only when necessary. Always test a small, inconspicuous area first to ensure the salt doesn’t cause any damage.
What are the environmental benefits of using salt for cleaning?
Using salt for cleaning offers several environmental benefits. Salt is a natural and readily available resource, making it a sustainable alternative to synthetic cleaning products. It’s also biodegradable and non-toxic, meaning it won’t harm the environment or pose a risk to your health. By using salt for cleaning, you can reduce your reliance on harsh chemicals and minimize your impact on the planet.

Leave a Comment