
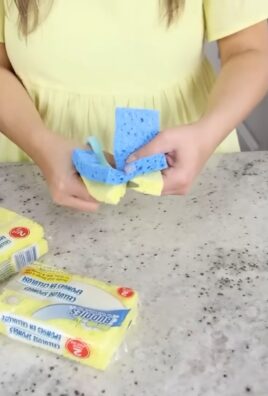
Time saving cleaning hacks – who doesn’t want more of those in their life? Let’s be honest, cleaning isn’t usually anyone’s favorite pastime. We’d all rather be spending our precious free time doing things we actually enjoy, right? But what if I told you that you could reclaim some of those lost hours and still have a sparkling clean home?
For centuries, people have been searching for easier and faster ways to maintain their homes. From ancient Roman bathhouses to the meticulously kept homes of the Victorian era, the desire for cleanliness has always been a part of human culture. While the tools and techniques have evolved, the underlying goal remains the same: to create a comfortable and healthy living space without sacrificing too much time and energy.
That’s where these time saving cleaning hacks come in! In today’s fast-paced world, efficiency is key. We’re all juggling work, family, hobbies, and social lives, leaving little room for tedious chores. These DIY tricks are designed to streamline your cleaning routine, making it more manageable and less overwhelming. Imagine having an extra hour or two each week to pursue your passions, relax with loved ones, or simply unwind after a long day. Sounds good, doesn’t it? Let’s dive in and discover some game-changing cleaning hacks that will transform your home and your schedule!
Time-Saving Cleaning Hacks: Reclaim Your Weekend!
Okay, let’s be honest, nobody *really* enjoys cleaning. But it’s a necessary evil, right? Well, what if I told you that you could drastically cut down on your cleaning time and actually enjoy your weekends again? I’ve compiled some of my absolute favorite time-saving cleaning hacks that have revolutionized my cleaning routine. Get ready to say goodbye to endless scrubbing and hello to more free time!
Hack 1: The Overnight Oven Cleaner (No Harsh Chemicals!)
Forget those harsh, chemical-laden oven cleaners that make your eyes water and require hours of ventilation. This method uses the power of steam and ammonia to loosen baked-on grime overnight. Trust me, it’s a game-changer!
What You’ll Need:
* A heat-safe bowl
* 1 cup of ammonia
* A pot of boiling water
* Rubber gloves
* Sponge or cloth
Step-by-Step Instructions:
1. Safety First! Make sure your oven is completely cool. Remove all racks and any loose debris. Open a window for ventilation. Even though we’re using a gentler method, ammonia still needs proper ventilation.
2. Boil the Water: Bring a pot of water to a rolling boil on your stovetop.
3. Prepare the Ammonia: While the water is heating, pour 1 cup of ammonia into your heat-safe bowl.
4. Place the Ammonia: Carefully place the bowl of ammonia on the bottom rack of your oven.
5. Add the Boiling Water: Now, carefully pour the boiling water into a separate heat-safe bowl and place it on the top rack of your oven.
6. Close the Door: Close the oven door and let the steam and ammonia work their magic overnight (or for at least 12 hours). Don’t turn the oven on!
7. Ventilate and Remove: The next day, open the oven door and let it air out for at least 15 minutes. Remove both bowls carefully. The ammonia bowl should be handled with gloves.
8. Wipe Away the Grime: Put on your rubber gloves and use a damp sponge or cloth to wipe away the loosened grime. You’ll be amazed at how easily it comes off! You might need to use a little elbow grease for stubborn spots, but it will be significantly less than before.
9. Rinse and Dry: Rinse the oven thoroughly with clean water and dry with a clean cloth.
Hack 2: The Microwave Steam Clean (Lemon Power!)
Microwaves can get pretty gross, pretty quickly. Splattered food, dried sauces…yuck! This hack uses the power of steam and lemon to loosen the grime and leave your microwave smelling fresh.
What You’ll Need:
* A microwave-safe bowl
* 1 cup of water
* 1 lemon, sliced
* Sponge or cloth
Step-by-Step Instructions:
1. Prepare the Lemon Water: Fill the microwave-safe bowl with 1 cup of water. Add the sliced lemon to the water.
2. Microwave on High: Place the bowl in the microwave and microwave on high for 3-5 minutes, or until the water is boiling and the microwave is steamy.
3. Let it Sit: Leave the microwave door closed for another 5 minutes to allow the steam to further loosen the grime. Don’t open the door immediately!
4. Wipe Clean: Carefully remove the bowl (it will be hot!). Use a sponge or cloth to wipe down the inside of the microwave. The grime should wipe away easily.
5. Rinse and Dry: Rinse the sponge or cloth and wipe down the microwave again to remove any remaining residue. Dry with a clean cloth.
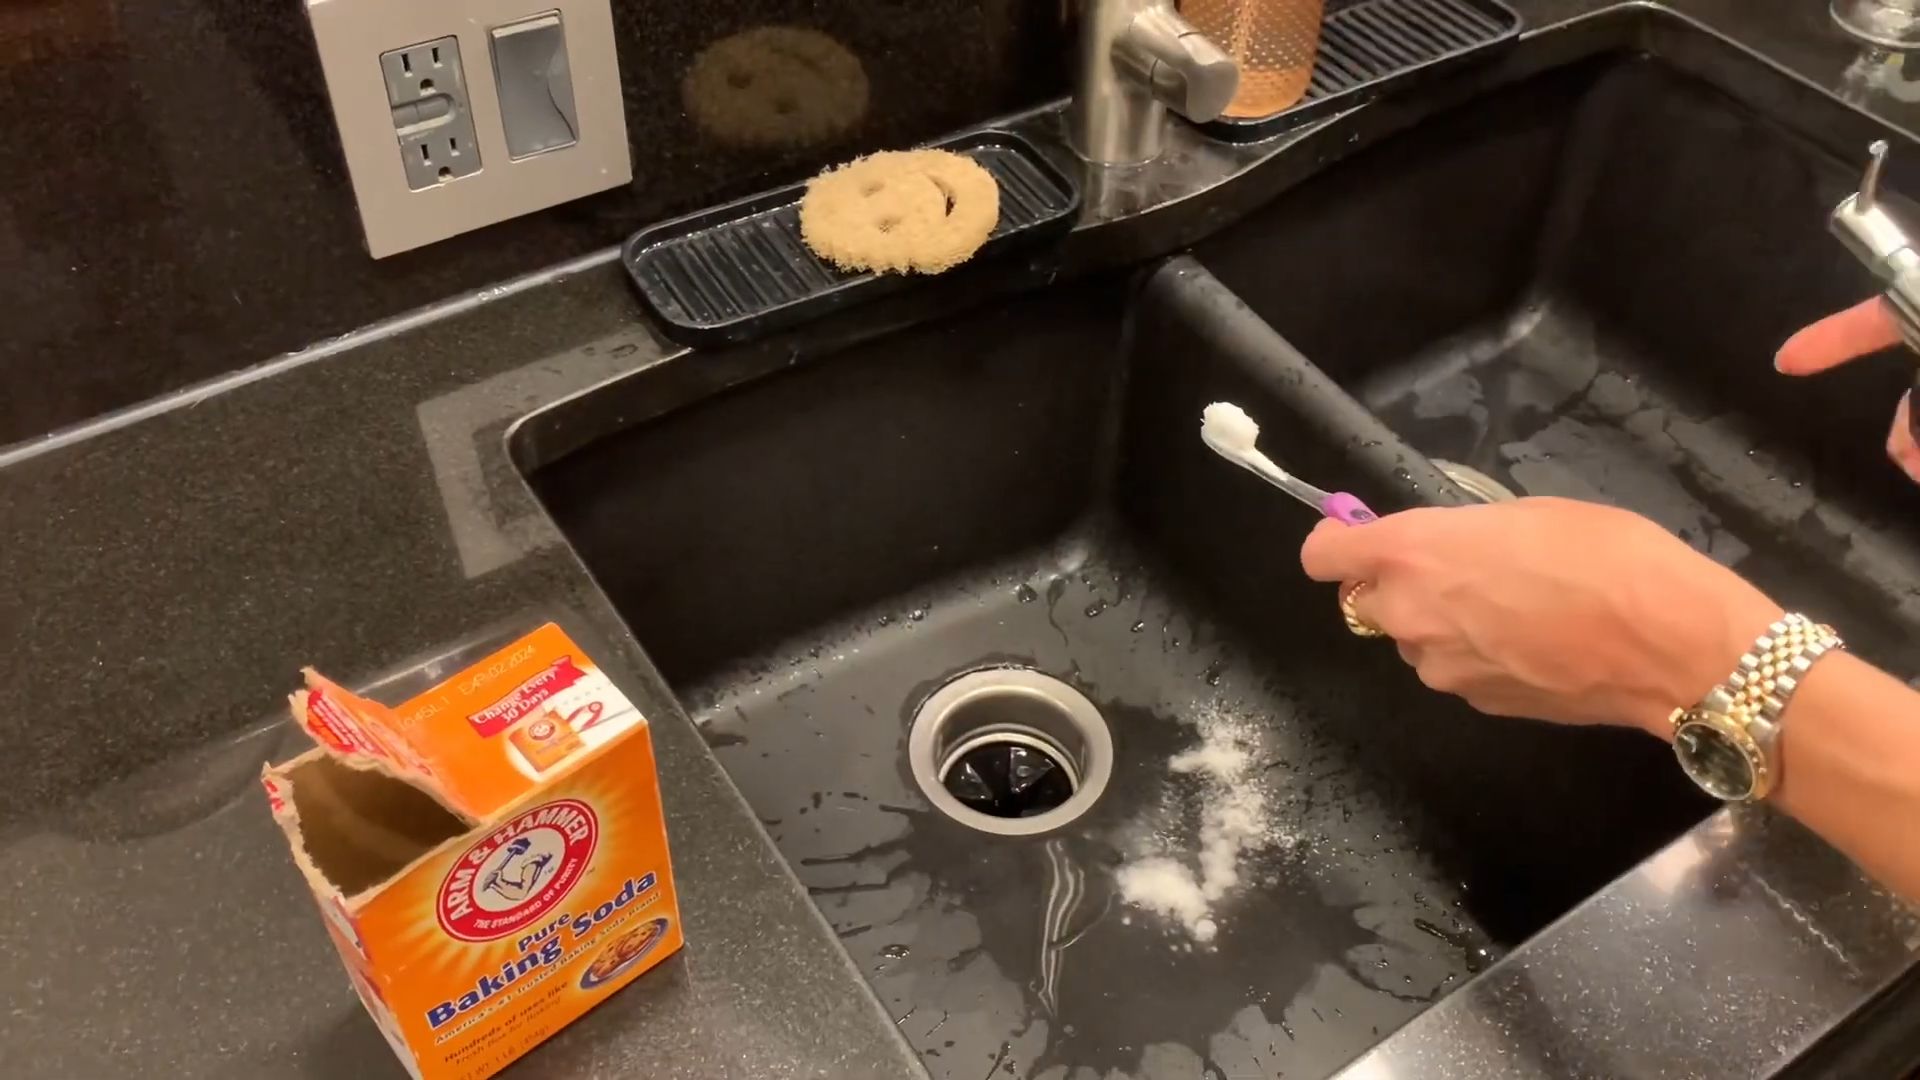
Hack 3: The Shower Head Vinegar Soak (Goodbye Mineral Buildup!)
Hard water can wreak havoc on your shower head, causing mineral buildup that reduces water pressure and makes your shower less enjoyable. This simple vinegar soak will dissolve the buildup and restore your shower head to its former glory.
What You’ll Need:
* A plastic bag (sandwich bag or larger, depending on the size of your shower head)
* White vinegar
* Rubber band or twist tie
* Old toothbrush (optional)
Step-by-Step Instructions:
1. Fill the Bag with Vinegar: Fill the plastic bag with enough white vinegar to completely submerge the shower head.
2. Attach the Bag: Carefully position the bag over the shower head, ensuring that the shower head is fully submerged in the vinegar.
3. Secure the Bag: Use a rubber band or twist tie to secure the bag to the shower head. Make sure it’s tight enough to prevent leaks.
4. Soak Overnight: Let the shower head soak in the vinegar overnight (or for at least 8 hours).
5. Remove and Rinse: The next day, remove the bag and discard the vinegar.
6. Scrub (If Needed): If there’s still some stubborn mineral buildup, use an old toothbrush to gently scrub it away.
7. Run the Shower: Run the shower for a few minutes to flush out any remaining vinegar and loosened mineral deposits.
Hack 4: The Blender Cleaning Whirlwind (Self-Cleaning!)
Cleaning a blender can be a pain, especially if you’ve made something sticky or thick. This hack uses the blender itself to clean itself!
What You’ll Need:
* Dish soap
* Water
Step-by-Step Instructions:
1. Rinse the Blender: After using your blender, rinse out any large chunks of food.
2. Add Soap and Water: Fill the blender halfway with warm water. Add a squirt of dish soap.
3. Blend on High: Secure the lid and blend on high speed for 30-60 seconds.
4. Rinse Thoroughly: Pour out the soapy water and rinse the blender thoroughly with clean water.
5. Dry: Let the blender air dry or dry it with a clean towel.
Hack 5: The Toilet Bowl Cleaner Bomb (Fizzing Freshness!)
These homemade toilet bowl cleaner bombs are not only effective at cleaning your toilet, but they also leave it smelling fresh. Plus, they’re super easy to make!
What You’ll Need:
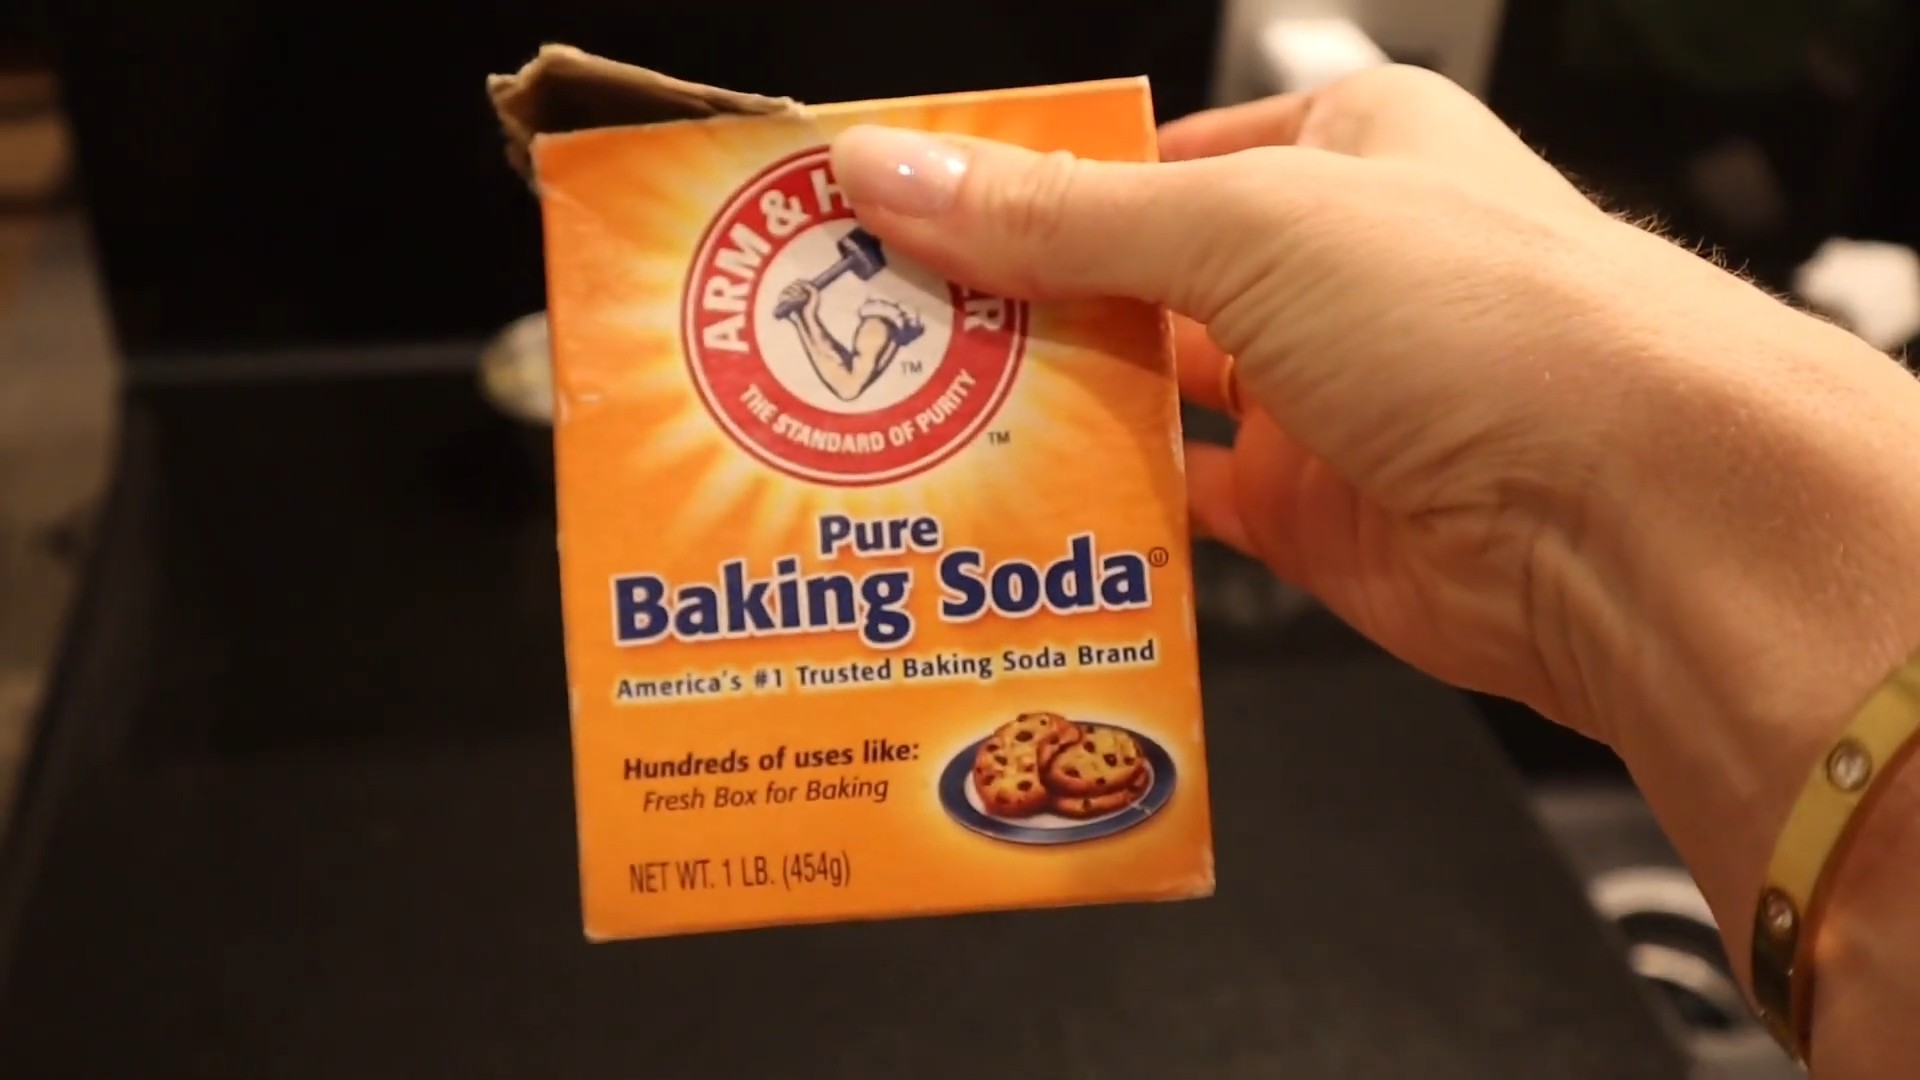
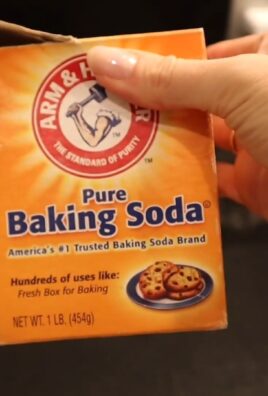
* 1 cup baking soda
* 1/4 cup citric acid
* 1/2 teaspoon essential oil (lemon, tea tree, or eucalyptus are great choices)
* Spray bottle with water
* Silicone molds (ice cube trays or small muffin tins work well)
Step-by-Step Instructions:
1. Combine Dry Ingredients: In a bowl, combine the baking soda and citric acid.
2. Add Essential Oil: Add the essential oil to the dry ingredients.
3. Lightly Moisten: Lightly spritz the mixture with water, a little at a time, while mixing with your hands. You want the mixture to be slightly damp, but not too wet. It should clump together when you squeeze it. Be careful not to add too much water, or the mixture will fizz prematurely.
4. Press into Molds: Press the mixture firmly into your silicone molds.
5. Let Dry: Let the bombs dry completely for at least 24 hours, or until they are hard.
6. Remove from Molds: Once dry, carefully remove the bombs from the molds.
7. Store: Store the bombs in an airtight container.
8. To Use: Drop one bomb into your toilet bowl and let it fizz. After a few minutes, scrub the bowl with a toilet brush and flush.
Hack 6: The Mattress Freshener (Baking Soda Magic!)
Mattresses can harbor dust mites, odors, and moisture. This simple baking soda treatment will freshen your mattress and help eliminate these issues.
What You’ll Need:
* Baking soda
* Essential oil (optional)
* Vacuum cleaner with upholstery attachment
Step-by-Step Instructions:
1. Strip the Bed: Remove all bedding from your mattress.
2. Sprinkle Baking Soda: Generously sprinkle baking soda over the entire surface of your mattress.
3. Add Essential Oil (Optional): If desired, add a few drops of your favorite essential oil to the baking soda before sprinkling it on the mattress. This will add a pleasant scent.
4. Let it Sit: Let the baking soda sit on the mattress for at least 30 minutes, or even better, for a few hours. This allows the baking soda to absorb odors and moisture.
5. Vacuum Thoroughly: Use the upholstery attachment on your vacuum cleaner to thoroughly vacuum the entire surface of the mattress, removing all
Conclusion
So, there you have it! These time-saving cleaning hacks are more than just shortcuts; they’re a revolution in how you approach household chores. Forget spending your precious weekends scrubbing and stressing. These DIY solutions are designed to be efficient, cost-effective, and, dare we say, even a little bit fun.
Why is this a must-try? Because time is your most valuable asset. Imagine reclaiming those hours spent cleaning and dedicating them to hobbies, family, or simply relaxing. These hacks aren’t about cutting corners; they’re about working smarter, not harder. They leverage readily available household items and simple techniques to achieve sparkling results with minimal effort. Plus, reducing your reliance on harsh chemical cleaners is a win for your health and the environment.
But don’t just take our word for it. The beauty of these cleaning hacks lies in their adaptability. Feel free to experiment and tailor them to your specific needs and preferences. For instance, if you’re sensitive to vinegar, try using lemon juice as a substitute in your all-purpose cleaner. If you prefer a stronger scent, add a few drops of your favorite essential oil to your cleaning solutions. The possibilities are endless!
Consider these variations:
* **DIY Dusting Spray Boost:** Add a teaspoon of olive oil to your dusting spray for extra shine and to help repel dust longer.
* **Microwave Cleaning Power-Up:** Instead of just lemon slices, try using orange peels for a refreshing citrus scent and added cleaning power.
* **Grout Cleaning Intensifier:** For stubborn grout stains, create a paste of baking soda and hydrogen peroxide, apply it to the grout, let it sit for 15-20 minutes, and then scrub with a brush.
We’re confident that these **time saving cleaning hacks** will transform your cleaning routine. They’re simple, effective, and customizable to fit your lifestyle.
Now, it’s your turn! We encourage you to try these DIY tricks and experience the difference for yourself. Don’t be afraid to get creative and experiment with different variations. And most importantly, share your experiences with us! Let us know which hacks worked best for you, any modifications you made, and any other time-saving cleaning tips you’ve discovered. Your feedback will help us continue to refine and improve these solutions for everyone. Share your stories in the comments below, and let’s create a community of savvy cleaners who are reclaiming their time and enjoying sparkling homes!
Frequently Asked Questions (FAQ)
Q: Are these cleaning hacks safe for all surfaces?
A: While most of these cleaning hacks are generally safe, it’s always a good idea to test them on an inconspicuous area first, especially on delicate surfaces like wood, marble, or granite. For example, vinegar, while a great cleaner, can etch marble. Always dilute cleaning solutions appropriately and avoid using abrasive scrubbers on easily scratched surfaces. When in doubt, consult the manufacturer’s instructions for your specific surfaces.
Q: How often should I use these cleaning hacks?
A: The frequency of use depends on your cleaning habits and the specific hack. For daily tasks like wiping down countertops or cleaning spills, you can use these hacks as needed. For deeper cleaning tasks like cleaning the oven or grout, you may only need to do it every few weeks or months. Listen to your home and adjust your cleaning schedule accordingly. Regular, light cleaning is often more effective than infrequent, heavy cleaning.
Q: Can I use essential oils in all of these cleaning solutions?
A: Essential oils can add a pleasant scent and even some antimicrobial properties to your cleaning solutions. However, not all essential oils are safe for all surfaces or for everyone. Some essential oils can be irritating to the skin or respiratory system, especially for people with allergies or asthma. Always dilute essential oils properly and avoid using them on surfaces that may be damaged by oils, such as unfinished wood. Some popular and generally safe essential oils for cleaning include lemon, tea tree, lavender, and eucalyptus.
Q: What if I don’t have all the ingredients listed in the recipes?
A: The beauty of these DIY cleaning hacks is that they are often adaptable. If you’re missing an ingredient, you can often substitute it with something else. For example, if you don’t have white vinegar, you can use apple cider vinegar or lemon juice. If you don’t have baking soda, you can try using washing soda. However, keep in mind that substitutions may affect the effectiveness of the cleaning solution.
Q: Are these cleaning hacks environmentally friendly?
A: Generally, yes! These DIY cleaning hacks are often more environmentally friendly than using commercial cleaning products, which can contain harsh chemicals that are harmful to the environment. By using natural ingredients like vinegar, baking soda, and lemon juice, you can reduce your reliance on these chemicals and minimize your environmental impact. However, it’s important to dispose of cleaning solutions properly and to avoid using excessive amounts of water.
Q: How do I store these DIY cleaning solutions?
A: Store your DIY cleaning solutions in clean, labeled spray bottles or containers. It’s important to label them clearly to avoid confusion and accidental ingestion. Store them in a cool, dark place away from children and pets. Some cleaning solutions, such as those containing hydrogen peroxide, should be stored in opaque containers to prevent light from degrading the solution.
Q: What are some other time saving cleaning hacks I can try?
A: Besides the ones mentioned in the article, here are a few more time-saving cleaning hacks:
* **Use microfiber cloths:** Microfiber cloths are highly absorbent and effective at trapping dirt and dust, making cleaning faster and easier.
* **Clean as you go:** Wipe up spills immediately and put things away as you use them to prevent messes from accumulating.
* **Delegate tasks:** If you live with others, delegate cleaning tasks to share the workload.
* **Use a cleaning caddy:** Keep all your cleaning supplies in a caddy so you can easily carry them from room to room.
* **Set a timer:** Set a timer for 15-20 minutes and focus on cleaning one specific area. You’ll be surprised at how much you can accomplish in a short amount of time.
Q: My DIY cleaning solution isn’t working as well as I expected. What should I do?
A: There could be several reasons why your DIY cleaning solution isn’t working as well as you expected. First, make sure you’re using the correct proportions of ingredients. Second, consider the type of mess you’re trying to clean. Some messes may require a stronger cleaning solution or more elbow grease. Third, make sure you’re allowing the cleaning solution to sit on the surface for enough time to work. Finally, if all else fails, try a different cleaning hack or consult a professional cleaner.
Q: Can I use these cleaning hacks to clean my car?
A: Some of these cleaning hacks can be used to clean your car, but it’s important to be careful and test them on an inconspicuous area first. For example, you can use a diluted vinegar solution to clean your car windows or a baking soda paste to remove stains from your car seats. However, avoid using harsh chemicals or abrasive scrubbers on your car’s paint or interior surfaces.
Q: How can I get my kids involved in cleaning?
A: Getting kids involved in cleaning can be a great way to teach them responsibility and make cleaning less of a chore for you. Start by assigning them age-appropriate tasks, such as wiping down surfaces, putting away toys, or sweeping the floor. Make it fun by playing music or turning it into a game. Praise their efforts and reward them for a job well done.
Leave a Comment