
Vinegar cleaner DIY recipes are about to revolutionize your cleaning routine! Forget those harsh chemicals and expensive store-bought solutions. I’m going to show you how to harness the power of humble vinegar to create effective, eco-friendly cleaners that will leave your home sparkling.
Vinegar’s cleaning prowess isn’t a new discovery. In fact, its use dates back centuries! Ancient civilizations, from the Egyptians to the Romans, utilized vinegar for its antiseptic and cleaning properties. It’s a testament to its effectiveness that this age-old remedy is still relevant today.
Why should you embrace vinegar cleaner DIY recipes? Well, for starters, it’s incredibly budget-friendly. A single bottle of vinegar can replace a whole cabinet full of specialized cleaners. Plus, you’ll be reducing your exposure to harmful chemicals, creating a healthier environment for yourself and your family. In this article, I’ll share my favorite recipes for everything from all-purpose cleaners to glass cleaners, and even stubborn stain removers. Get ready to ditch the chemicals and embrace the natural cleaning power of vinegar!
DIY All-Purpose Vinegar Cleaner: Your Guide to a Sparkling Home
Hey there, fellow DIY enthusiasts! Are you tired of harsh chemicals and sky-high prices for cleaning products? I totally get it! That’s why I’m so excited to share my go-to recipe for an all-purpose vinegar cleaner. It’s cheap, effective, and uses ingredients you probably already have in your pantry. Let’s get started!
Why Vinegar? The Magic Behind the Clean
Vinegar, specifically white distilled vinegar, is a natural cleaning powerhouse. Its acidity helps to dissolve grime, cut through grease, and kill bacteria. Plus, it’s non-toxic and environmentally friendly. While the smell might be a bit strong at first, it dissipates quickly, leaving your home fresh and clean.
What You’ll Need: Gathering Your Supplies
Before we dive in, let’s make sure you have everything you need. This is a super simple recipe, so the list is short and sweet:
* White distilled vinegar
* Water (distilled water is best, but tap water works too)
* Essential oils (optional, but highly recommended for a pleasant scent) – Lavender, lemon, tea tree, and eucalyptus are great choices.
* Spray bottle (a clean, empty one, of course!)
* Measuring cup or spoons
* Funnel (optional, but helpful for pouring)
The Basic Recipe: Your Foundation for Clean
This is the core recipe we’ll be using. Feel free to adjust the ratios slightly to suit your preferences, but this is a great starting point.
Ratio: 1:1 (Vinegar to Water)
Step-by-Step Instructions: Mixing Your Cleaner
Okay, let’s get down to business! Follow these steps to create your own all-purpose vinegar cleaner:
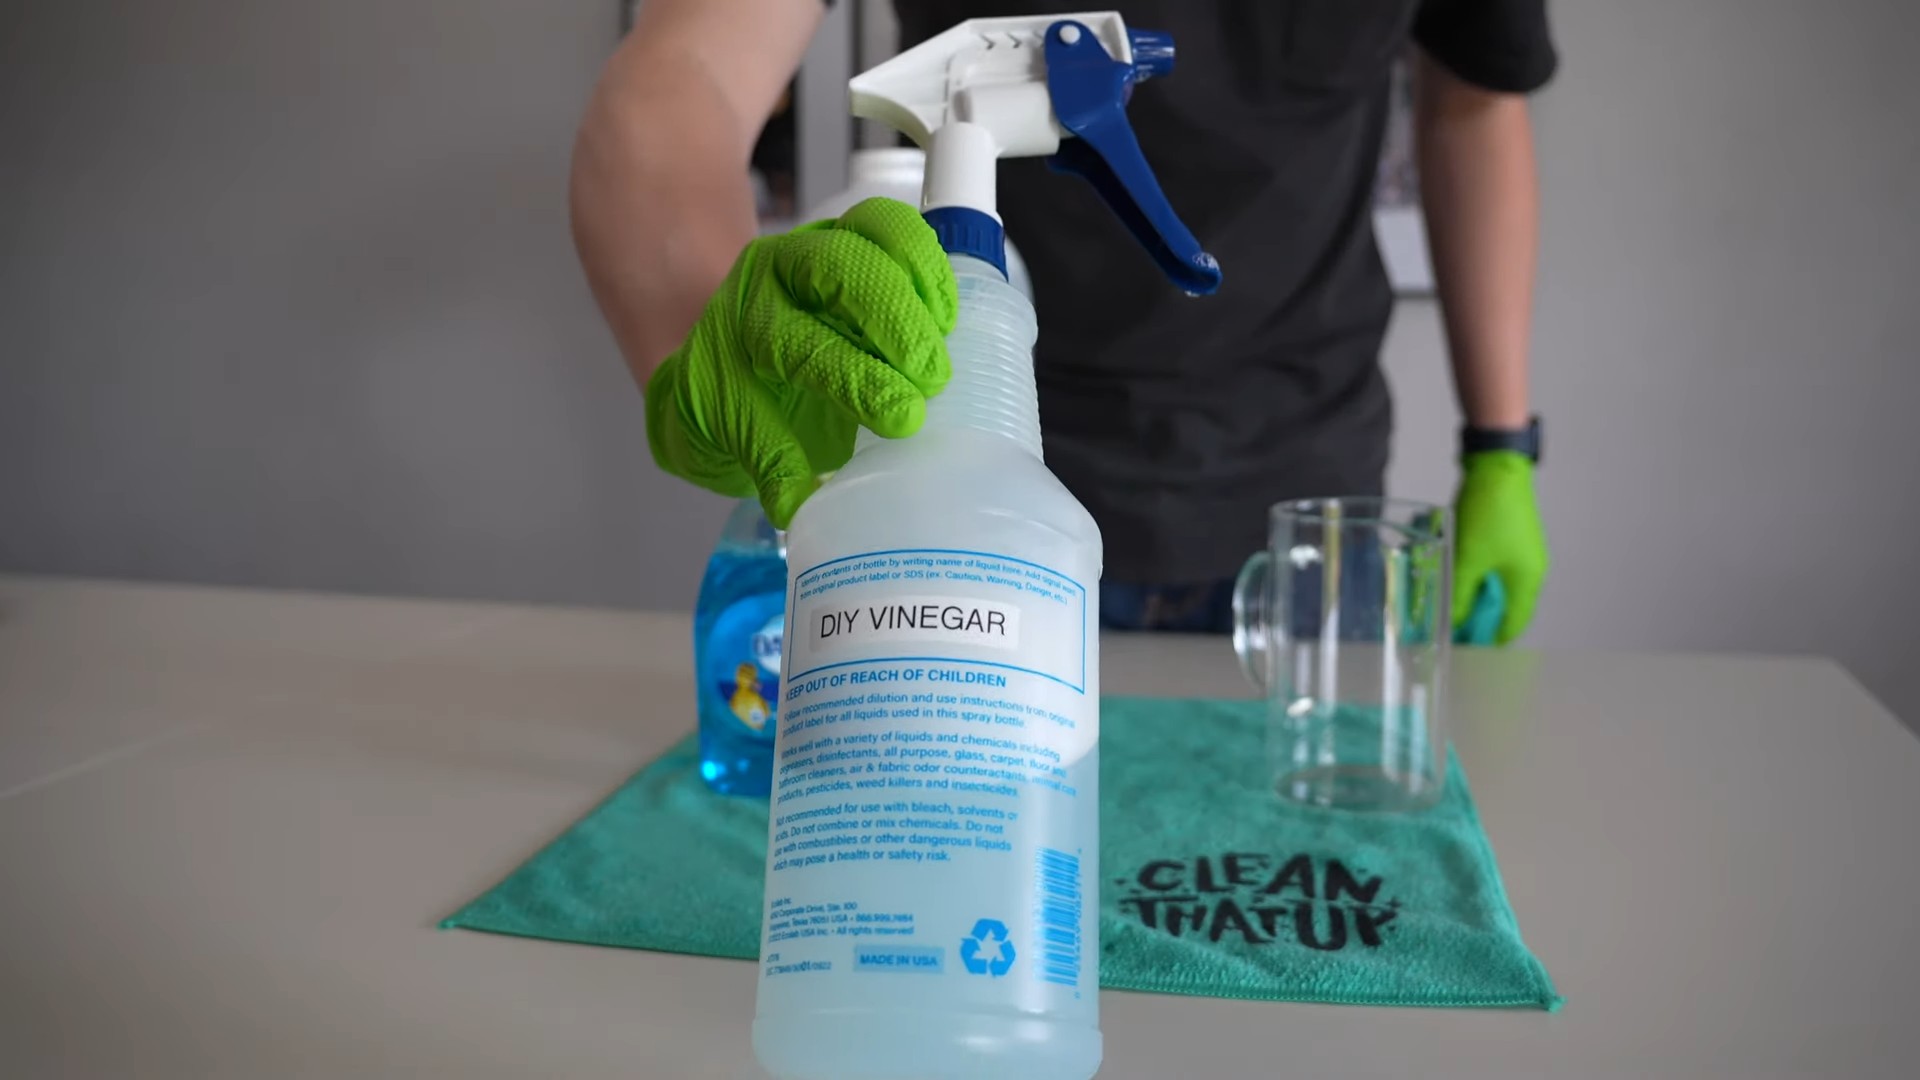
1. Prepare Your Spray Bottle: Make sure your spray bottle is clean and dry. Any residue from previous cleaners could react with the vinegar, so a thorough rinse is essential.
2. Measure the Vinegar: Using your measuring cup, pour one cup of white distilled vinegar into the spray bottle.
3. Add the Water: Now, add one cup of water to the spray bottle. If you’re using distilled water, great! If not, tap water is perfectly fine.
4. Essential Oil Time (Optional): This is where you can customize your cleaner and make it smell amazing! I usually add about 10-20 drops of essential oil. Start with a smaller amount and add more if you want a stronger scent. My personal favorite is a combination of lemon and lavender.
5. Close and Shake: Secure the spray bottle lid tightly and shake well to combine all the ingredients.
6. Label Your Bottle: This is important! Label your spray bottle clearly as “Vinegar Cleaner” to avoid any confusion.
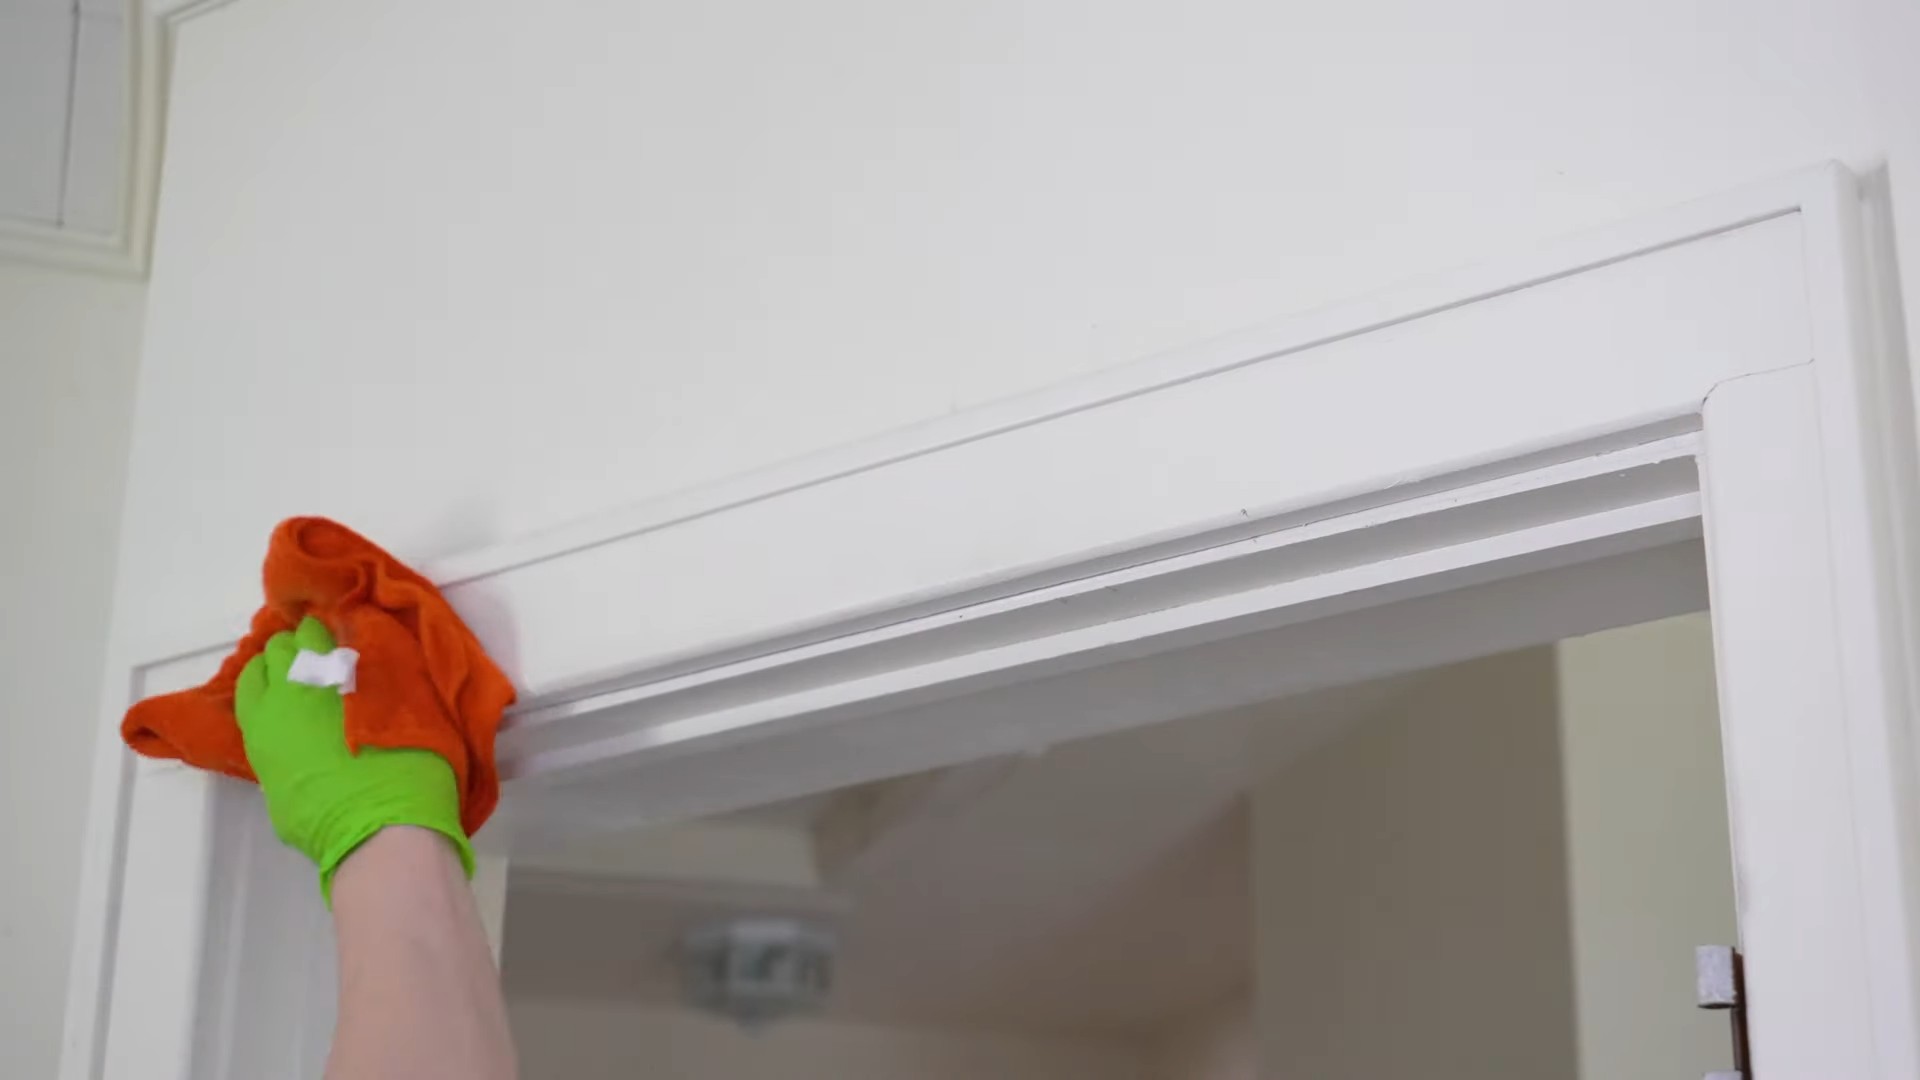
Using Your Vinegar Cleaner: Where to Spray and How to Clean
Now that you have your cleaner, let’s put it to work! Here are some of the many surfaces you can clean with your homemade solution:
* Kitchen Counters: Spray and wipe down your kitchen counters to remove grease and grime.
* Bathroom Surfaces: Clean your sinks, toilets, and showers with this versatile cleaner.
* Mirrors and Windows: Say goodbye to streaks! Vinegar cleaner works wonders on glass surfaces.
* Floors (Hardwood, Tile, Laminate): Dilute the cleaner with more water (1/4 cup vinegar cleaner to 1 gallon of water) for a safe and effective floor cleaner. Always test in an inconspicuous area first.
* Appliances: Wipe down the exterior of your appliances to remove fingerprints and smudges.
* Cutting Boards: Sanitize your cutting boards after each use by spraying them with vinegar cleaner.
* Coffee Maker: Run a cycle with equal parts vinegar and water to descale your coffee maker. Follow with a cycle of plain water to rinse.
Important Note: Avoid using vinegar cleaner on natural stone surfaces like marble or granite, as the acidity can damage them. Also, don’t mix vinegar with bleach, as this can create toxic fumes.
Troubleshooting: Addressing Common Concerns
* The Smell: Yes, vinegar has a strong smell, but it dissipates quickly. Adding essential oils can help mask the odor.
* Streaks on Glass: If you’re getting streaks on glass, try using a microfiber cloth and wiping in a circular motion. You can also dilute the cleaner with more water.
* Cloudy Cleaner: Sometimes, the essential oils can make the cleaner look cloudy. This is perfectly normal and doesn’t affect its cleaning power.
Advanced Recipes: Taking Your Cleaning to the Next Level
Want to get even more creative with your vinegar cleaner? Here are a few variations you can try:
Infused Vinegar Cleaner: A Scent-sational Upgrade
This method takes a little longer, but it results in a cleaner with a more subtle and complex scent.
1. Choose Your Infusion: You can use citrus peels (lemon, orange, grapefruit), herbs (rosemary, lavender, thyme), or even spices (cinnamon sticks, cloves).
2. Prepare the Infusion: Place your chosen ingredients in a clean glass jar.
3. Pour in the Vinegar: Cover the ingredients completely with white distilled vinegar.
4. Seal and Steep: Seal the jar tightly and let it steep for 2-4 weeks in a cool, dark place.
5. Strain and Use: Strain the vinegar through a cheesecloth or fine-mesh sieve to remove the solids. Dilute with water as needed and use as you would regular vinegar cleaner.
Vinegar and Baking Soda Paste: For Stubborn Stains
This dynamic duo is a powerful stain remover.
1. Make a Paste: Mix equal parts vinegar and baking soda to form a paste.
2. Apply to Stain: Apply the paste to the stain and let it sit for 15-20 minutes.
3. Scrub and Rinse: Scrub the area with a brush or sponge and rinse thoroughly with water.
Vinegar and Castile Soap Cleaner: Extra Cleaning Power
Castile soap adds extra cleaning power to your vinegar cleaner.
1. Combine Ingredients: In a spray bottle, mix 1 cup of water, 1/4 cup of white distilled vinegar, and 1/4 teaspoon of liquid castile soap.
2. Add Essential Oils (Optional): Add a few drops of your favorite essential oils for fragrance.
3. Shake and Use: Shake well to combine and use as you would regular vinegar cleaner.
Safety First: Important Precautions
While vinegar is a natural cleaner, it’s still important to take some precautions:
* Avoid Eye Contact: Vinegar can irritate your eyes, so avoid direct contact. If you get vinegar in your eyes, rinse thoroughly with water.
* Test on Delicate Surfaces: Before using vinegar cleaner on a delicate surface, test it in an inconspicuous area first to make sure it doesn’t cause any damage.
* Keep Out of Reach of Children and Pets: Although vinegar is non-toxic, it’s still important to keep it out of reach of children and pets.
* Don’t Mix with Bleach: Never mix vinegar with bleach, as this can create toxic fumes.
Storage Tips: Keeping Your Cleaner Fresh
* Store in a Cool, Dark Place: Store your vinegar cleaner in a cool, dark place to prevent the essential oils from degrading.
* Use Within 6 Months: While vinegar doesn’t really expire, the essential oils may lose their potency over time. It’s best to use your cleaner within 6 months for optimal results.
* Keep the Spray Bottle Clean: Rinse your spray bottle periodically to prevent buildup and ensure a consistent spray.
Final Thoughts: Embrace the Power of Vinegar!
I hope you’re as excited as I am about the possibilities of DIY vinegar cleaner! It’s a simple, affordable, and effective way to keep your home sparkling clean without harsh chemicals. So, grab your vinegar, water, and essential oils, and get ready to transform your cleaning routine! Happy cleaning!
Conclusion
So, there you have it! Ditching those harsh chemicals and embracing the power of a homemade vinegar cleaner DIY solution is not just a trend; it’s a smart, sustainable, and surprisingly effective way to keep your home sparkling. We’ve explored the versatility of vinegar, from its grease-cutting prowess in the kitchen to its disinfecting abilities in the bathroom. You’ve seen how simple it is to create customized cleaning solutions tailored to your specific needs, all while saving money and reducing your environmental impact.
But why is this a must-try? Beyond the cost savings and eco-friendliness, a vinegar cleaner DIY approach gives you complete control over what you’re bringing into your home. No more deciphering complicated ingredient lists or worrying about hidden toxins. You know exactly what’s in your cleaner, and you can rest assured that it’s safe for your family and pets.
Think of the possibilities! You can infuse your vinegar cleaner with essential oils like lavender for a calming scent, tea tree oil for extra antibacterial power, or lemon for a fresh, citrusy aroma. Experiment with different ratios of vinegar to water to find the perfect balance for your cleaning needs. For tougher stains, consider adding a bit of baking soda to the mix for a powerful scrubbing action. You can even create specialized cleaners for specific surfaces, like a vinegar-based glass cleaner for streak-free shine or a vinegar and dish soap solution for tackling stubborn grime in the shower.
Don’t be afraid to get creative! Try infusing your vinegar with citrus peels for a naturally scented and extra-powerful cleaner. Simply add orange, lemon, or grapefruit peels to a jar of vinegar and let it steep for a few weeks. The citrus oils will infuse the vinegar, adding a pleasant scent and boosting its cleaning power. This is a great way to reduce waste and create a truly unique cleaning solution.
The beauty of a vinegar cleaner DIY is its adaptability. It’s a blank canvas for your cleaning creativity. Whether you’re a seasoned DIY enthusiast or just starting to explore the world of homemade cleaning products, this is a project that anyone can tackle.
We truly believe that once you experience the effectiveness and simplicity of a vinegar cleaner DIY, you’ll never go back to store-bought cleaners again. It’s a game-changer for your home, your wallet, and the planet.
So, what are you waiting for? Gather your ingredients, grab your spray bottle, and get ready to experience the cleaning power of vinegar! We’re confident that you’ll be amazed by the results.
And most importantly, we want to hear about your experience! Share your favorite vinegar cleaner DIY recipes, tips, and tricks in the comments below. Let us know what works best for you and what challenges you’ve encountered. Together, we can build a community of DIY cleaning enthusiasts and share our knowledge to make our homes cleaner, greener, and healthier. We encourage you to share your before and after photos on social media using #VinegarCleanerDIY so we can see your amazing results! Let’s spread the word about this fantastic and sustainable cleaning solution.
Frequently Asked Questions (FAQ)
Is vinegar cleaner safe for all surfaces?
While vinegar is a versatile cleaner, it’s not suitable for all surfaces. Avoid using it on natural stone surfaces like marble, granite, and limestone, as the acidity can etch and damage them. It’s also best to avoid using vinegar on waxed wood floors, as it can strip the wax finish. Always test your vinegar cleaner on an inconspicuous area before applying it to a larger surface to ensure it doesn’t cause any damage or discoloration. For delicate surfaces, consider diluting the vinegar solution further or using a gentler cleaning alternative.
What type of vinegar is best for cleaning?
Distilled white vinegar is the most commonly recommended type of vinegar for cleaning. It’s inexpensive, readily available, and has a consistent acidity level, making it a reliable choice for various cleaning tasks. While other types of vinegar, such as apple cider vinegar, can also be used, they may have a stronger odor or contain impurities that could potentially stain certain surfaces. For general cleaning purposes, distilled white vinegar is the safest and most effective option.
How do I get rid of the vinegar smell?
The strong smell of vinegar is a common concern for many people. Fortunately, the vinegar scent dissipates quickly after cleaning. To minimize the odor, ensure proper ventilation by opening windows or using a fan while cleaning. You can also add a few drops of your favorite essential oil to your vinegar cleaner to mask the smell. Citrus oils like lemon, orange, and grapefruit are particularly effective at neutralizing the vinegar scent. Another trick is to rinse the cleaned surface with plain water after wiping it down with the vinegar solution.
Can I mix vinegar with bleach?
Never mix vinegar with bleach! This combination creates toxic chlorine gas, which can be extremely harmful and even fatal. Always use vinegar and bleach separately and never combine them in the same cleaning solution. If you’re unsure about the compatibility of two cleaning products, it’s always best to err on the side of caution and avoid mixing them.
How long does a homemade vinegar cleaner last?
A homemade vinegar cleaner can last for a surprisingly long time. Due to the acidic nature of vinegar, it acts as a natural preservative, preventing the growth of bacteria and mold. When stored in a clean, airtight container, a vinegar cleaner can typically last for several months without losing its effectiveness. However, if you add fresh ingredients like citrus peels or herbs, the shelf life may be shorter. It’s always a good idea to label your homemade cleaner with the date it was made so you can keep track of its freshness. If you notice any changes in color, odor, or consistency, it’s best to discard the cleaner and make a fresh batch.
What are some other uses for vinegar cleaner DIY besides general cleaning?
The versatility of a vinegar cleaner DIY extends far beyond general cleaning. It can be used to:
* **Deodorize drains:** Pour a cup of vinegar down the drain, let it sit for 30 minutes, then flush with hot water.
* **Remove hard water stains:** Soak fixtures or surfaces with hard water stains in vinegar for a few hours, then scrub and rinse.
* **Clean coffee makers:** Run a cycle with equal parts vinegar and water, followed by two cycles with plain water.
* **Freshen laundry:** Add a cup of vinegar to the rinse cycle to soften clothes and remove odors.
* **Weed control:** Spray undiluted vinegar on weeds to kill them naturally.
* **Clean microwave:** Microwave a cup of vinegar and water for 5 minutes, then wipe clean.
Can I use vinegar cleaner on my electronics?
It’s generally not recommended to use vinegar cleaner directly on electronics. The acidity of vinegar can potentially damage sensitive components. If you need to clean your electronic screens or devices, it’s best to use a specialized electronic cleaner or a microfiber cloth dampened with distilled water. Always unplug the device before cleaning and avoid getting any liquid inside the device.
What if my vinegar cleaner DIY isn’t working as well as I expected?
If you find that your vinegar cleaner DIY isn’t performing as well as you’d hoped, there are a few things you can try. First, make sure you’re using the correct ratio of vinegar to water. For general cleaning, a 1:1 ratio is usually sufficient, but for tougher stains, you may need to increase the concentration of vinegar. You can also try adding other cleaning agents, such as baking soda or dish soap, to boost the cleaning power. Finally, make sure you’re using the right cleaning technique. For stubborn stains, you may need to let the vinegar cleaner sit for a few minutes before scrubbing.

Leave a Comment