
Wet Mopping Cloths DIY: Tired of spending a fortune on disposable wet mopping cloths that end up in the landfill? I know I was! It felt like I was constantly throwing money away, not to mention the environmental guilt that came with it. But what if I told you there’s a simple, cost-effective, and eco-friendly solution right at your fingertips?
The concept of reusable cleaning cloths isn’t new, of course. Our grandmothers and great-grandmothers relied on rags and homemade cleaning solutions for generations. They understood the value of resourcefulness and minimizing waste, a tradition we can easily revive with a modern twist. Think of this wet mopping cloths DIY as a way to honor that legacy while saving money and reducing your environmental footprint.
In today’s fast-paced world, convenience often trumps sustainability. But with this easy DIY project, you don’t have to choose! You can have the convenience of wet mopping cloths without the guilt of contributing to overflowing landfills. Plus, you can customize the cleaning solution to suit your specific needs and preferences, avoiding harsh chemicals and fragrances found in many commercial products. Ready to ditch the disposables and embrace a greener, cleaner home? Let’s get started!

DIY Wet Mopping Cloths: A Sparkling Clean Home, the Eco-Friendly Way!
Hey there, fellow cleaning enthusiasts! Are you tired of constantly buying those disposable wet mopping cloths? Not only can they be expensive, but they’re also not exactly the most eco-friendly option. Well, I’ve got a fantastic solution for you: DIY wet mopping cloths! It’s super easy, cost-effective, and you can customize the cleaning solution to perfectly suit your needs. Plus, you’ll be reducing waste – win-win!
This guide will walk you through everything you need to know to create your own reusable wet mopping cloths. Let’s get started!
What You’ll Need
Before we dive into the how-to, let’s gather our supplies. This is what you’ll need to make your own wet mopping cloths:
* **Reusable Cloths:** Microfiber cloths are my absolute favorite! They’re super absorbent, durable, and pick up dirt like a magnet. You can also use old t-shirts or towels cut into the right size. Aim for cloths that are roughly the size of your mop head. I usually use about 10-15 cloths so I have enough for a good cleaning session.
* **Airtight Container:** You’ll need a container to store your pre-soaked cloths. A plastic container with a tight-fitting lid works perfectly. Make sure it’s large enough to hold all your cloths comfortably. I like using a rectangular container because it fits nicely under my sink.
* **Cleaning Solution Ingredients:** This is where you can get creative! Here are a few options for your cleaning solution:
* **Water:** The base of our solution. Distilled water is best to prevent mineral buildup, but tap water works fine too.
* **White Vinegar:** A natural disinfectant and deodorizer. It’s also great for cutting through grease and grime.
* **Rubbing Alcohol (Isopropyl Alcohol):** Helps the solution dry faster and adds extra disinfecting power.
* **Dish Soap:** Just a tiny bit to help lift dirt and grease. Choose a mild, natural dish soap if possible.
* **Essential Oils (Optional):** For a pleasant scent! Lavender, lemon, tea tree, and eucalyptus are all great choices.
* **Measuring Cups and Spoons:** For accurate measurements of your ingredients.
* **Mixing Bowl:** To combine the cleaning solution ingredients.
* **Gloves (Optional):** To protect your hands, especially if you have sensitive skin.
Choosing Your Cleaning Solution
The beauty of DIY is that you can tailor the cleaning solution to your specific needs and preferences. Here are a few of my favorite recipes:
* **All-Purpose Cleaning Solution:** This is a great option for most floors.
* 1 cup water
* 1/2 cup white vinegar
* 1/4 cup rubbing alcohol
* 1 teaspoon dish soap
* 5-10 drops essential oil (optional)
* **Disinfecting Cleaning Solution:** Perfect for bathrooms and kitchens.
* 1 cup water
* 1/2 cup white vinegar
* 1/2 cup rubbing alcohol
* 5-10 drops tea tree essential oil (optional)
* **Gentle Cleaning Solution:** Ideal for delicate floors like hardwood.
* 1 cup water
* 1/4 cup white vinegar
* 1/2 teaspoon dish soap
* 5-10 drops lavender essential oil (optional)
Remember to always test your cleaning solution in an inconspicuous area first to make sure it doesn’t damage your floors.
Step-by-Step Instructions: Making Your DIY Wet Mopping Cloths
Alright, let’s get down to business! Here’s how to make your own wet mopping cloths:
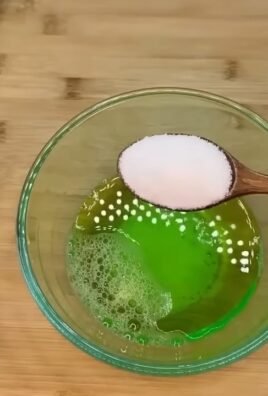
1. **Prepare Your Cleaning Solution:** In your mixing bowl, combine all the ingredients for your chosen cleaning solution. Stir well to ensure everything is thoroughly mixed. If you’re using essential oils, add them last.
2. **Place Cloths in Container:** Arrange your reusable cloths in your airtight container. You can fold them neatly or just stack them in.
3. **Pour Cleaning Solution Over Cloths:** Slowly pour the cleaning solution over the cloths, making sure they are evenly saturated. You don’t want them dripping wet, just nicely damp. If you have too much solution, you can pour some out. If you don’t have enough, mix up a little more.
4. **Secure the Lid:** Put the lid on your container tightly to prevent the cloths from drying out.
5. **Let the Cloths Soak:** Allow the cloths to soak in the cleaning solution for at least 30 minutes, or even better, overnight. This will ensure they are fully saturated and ready to use.
6. **Store Properly:** Store your container of wet mopping cloths in a cool, dry place, away from direct sunlight. I keep mine under the kitchen sink for easy access.
Using Your DIY Wet Mopping Cloths
Now that you’ve made your own wet mopping cloths, it’s time to put them to work!
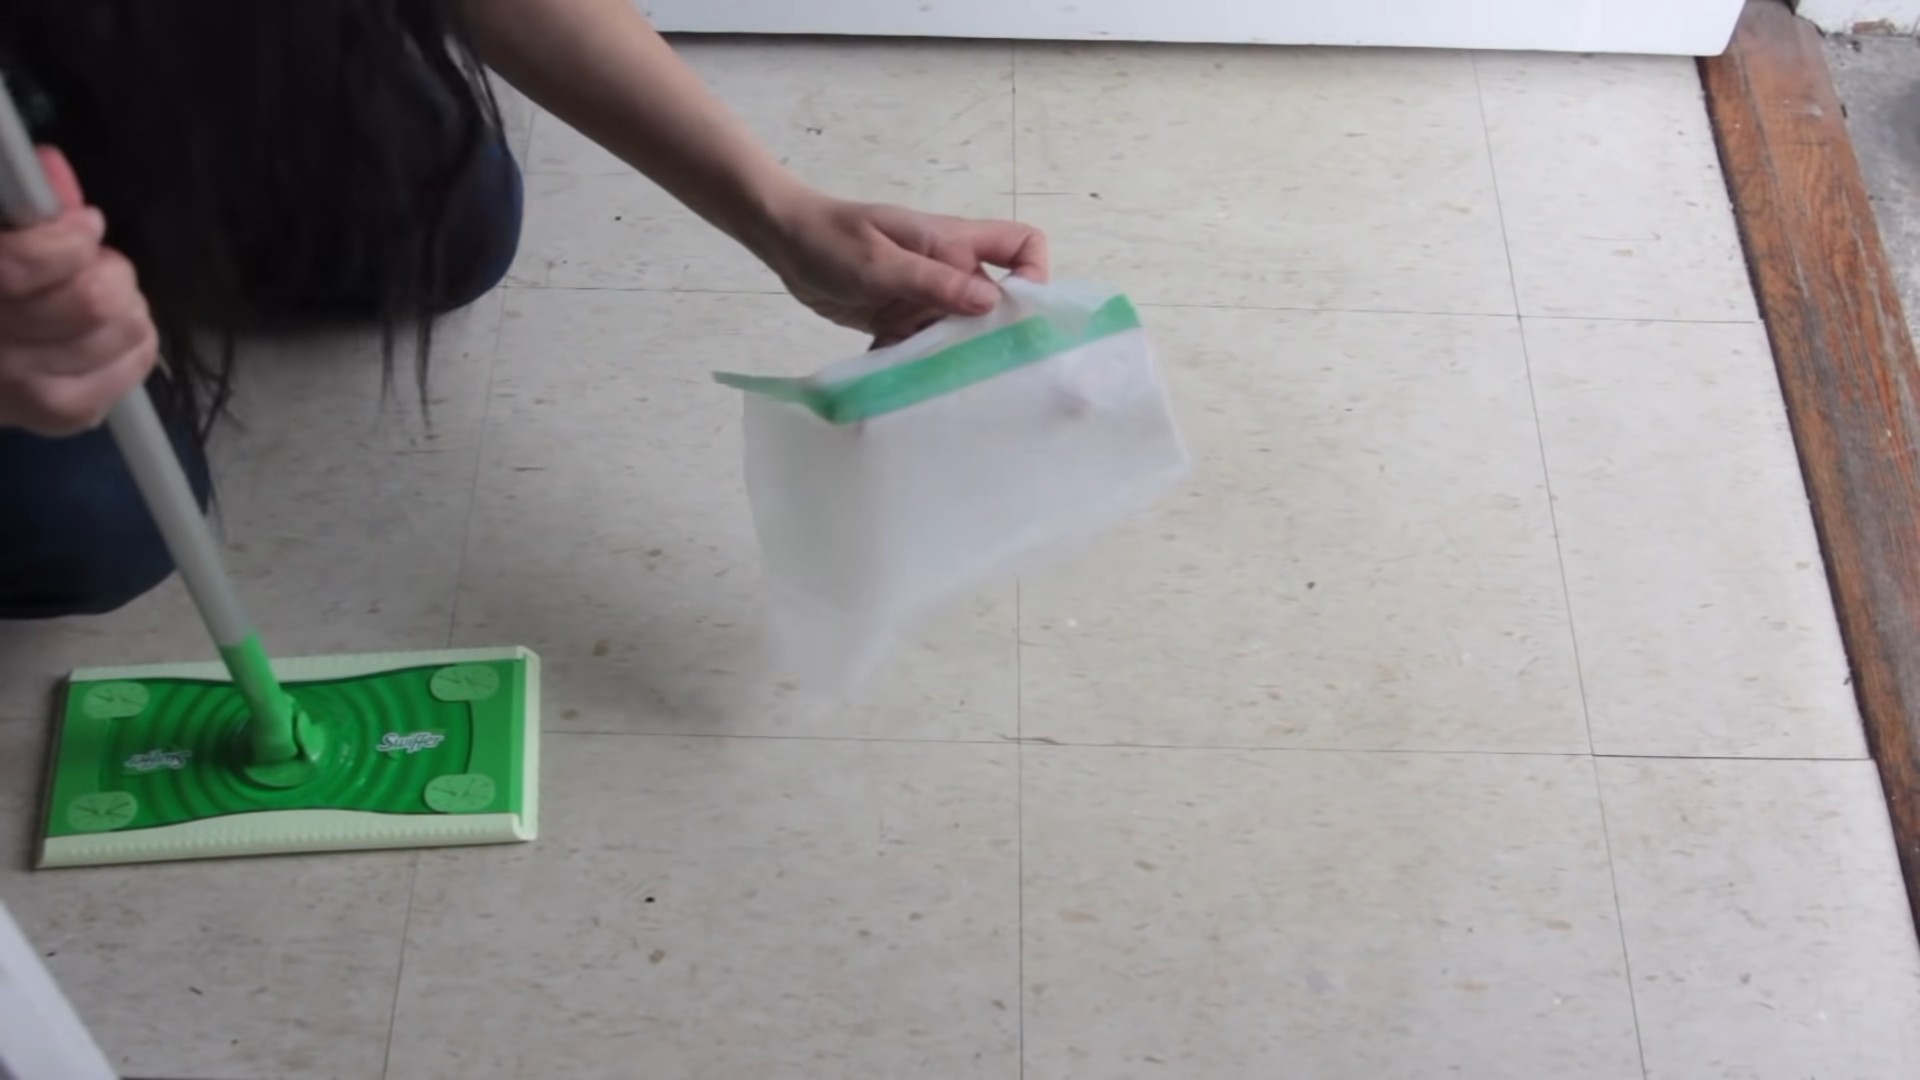
1. **Attach Cloth to Mop Head:** Take one of your pre-soaked cloths from the container and attach it to your mop head. Most mops have Velcro or clips to hold the cloth in place.
2. **Mop Your Floors:** Start mopping your floors as you normally would. Pay attention to areas that are particularly dirty or sticky.
3. **Rinse and Repeat (If Necessary):** If the cloth becomes too dirty, remove it from the mop head and replace it with a fresh one. You may need to use several cloths depending on the size and dirtiness of your floors.
4. **Wash and Reuse:** After you’re finished mopping, toss the used cloths in the washing machine. Wash them on a warm or hot cycle with your regular laundry detergent. Avoid using fabric softener, as it can reduce the absorbency of the cloths.
5. **Dry Thoroughly:** Dry the cloths completely in the dryer or hang them to air dry. Make sure they are completely dry before storing them to prevent mildew.
6. **Replenish Your Supply:** Once your cloths are clean and dry, you can reload them into your container with fresh cleaning solution and they’ll be ready for your next cleaning session!
Tips and Tricks for the Best Results
Here are a few extra tips to help you get the most out of your DIY wet mopping cloths:
* **Pre-Sweep or Vacuum:** Always sweep or vacuum your floors before mopping to remove loose dirt and debris. This will prevent the cloths from getting too dirty too quickly.
* **Don’t Over-Saturate:** Avoid making the cloths too wet, as this can leave streaks on your floors. If you accidentally add too much solution, simply squeeze out the excess before attaching the cloth to your mop head.
* **Change Cloths Frequently:** Don’t be afraid to change cloths frequently, especially when cleaning heavily soiled areas. A clean cloth will always do a better job than a dirty one.
* **Adjust the Solution:** Feel free to experiment with different cleaning solution recipes to find what works best for your floors and your preferences.
* **Consider Floor Type:** Different floor types require different cleaning solutions. For example, hardwood floors should be cleaned with a gentle solution that won’t damage the finish.
* **Essential Oil Blends:** Get creative with your essential oil blends! Try combining lemon and eucalyptus for a refreshing scent, or lavender and tea tree for a calming and disinfecting blend.
* **Label Your Container:** Label your container with the date you made the cloths and the type of cleaning solution you used. This will help you keep track of your supplies and avoid any confusion.
* **Deep Cleaning:** For a deeper clean, consider adding a small amount of borax to your cleaning solution. Borax is a natural mineral that helps to remove tough stains and odors.
* **Spot Cleaning:** Keep a small spray bottle filled with your cleaning solution for quick spot cleaning. This is great for spills and messes that need immediate attention.
* **Storage Solutions:** If you don’t have a lot of storage space, consider using a smaller container or even a resealable plastic bag to store your wet mopping cloths.
Troubleshooting
Sometimes things don’t go exactly as planned. Here are a few common issues you might encounter and how to fix them:
* **Streaky Floors:** If your floors are streaky after mopping, it could be due to a few things:
* **Too much cleaning solution:** Try using less solution or squeezing out the excess from the cloths.
* **Dirty cloths:** Make sure you’re using clean cloths and changing them frequently.
* **Hard water:** If you have hard water, try using distilled water in your cleaning solution.
* **Dull Floors:** If your floors look dull after mopping, it could be due to a buildup of soap or residue. Try using a cleaning solution with less dish soap or rinsing your floors with clean water after mopping.
* **Strong Vinegar Smell:** The vinegar smell will dissipate quickly, but
Conclusion
So, there you have it! Creating your own DIY wet mopping cloths is not just a cost-effective alternative to store-bought versions; it’s a game-changer for your cleaning routine. Think about it: no more last-minute runs to the store when you’re ready to mop, no more wondering about the harsh chemicals lurking in those pre-soaked pads, and complete control over the ingredients you’re using in your home.
The beauty of this DIY project lies in its simplicity and adaptability. You’re not locked into a single scent or cleaning solution. Feel free to experiment with different essential oils to create a custom aroma that invigorates your senses while you clean. Lavender for a calming effect, citrus for a burst of energy, or tea tree for its antibacterial properties – the possibilities are endless!
Beyond the scent, consider the cleaning power you need. For heavily soiled floors, a splash of white vinegar can work wonders. For a gentler clean, stick to the dish soap and water base. You can even tailor the type of cloth you use. Microfiber cloths are excellent for trapping dirt and grime, while old t-shirts or towels can be repurposed for a more sustainable approach.
This isn’t just about saving money; it’s about taking control of your cleaning process and creating a healthier home environment. By making your own wet mopping cloths, you’re reducing waste, minimizing your exposure to potentially harmful chemicals, and enjoying the satisfaction of a job well done – all while saving a few dollars in the process.
We wholeheartedly encourage you to give this DIY trick a try. It’s quick, easy, and the results speak for themselves. Imagine the satisfaction of knowing you’re cleaning your floors with a solution you created yourself, tailored to your specific needs and preferences.
Don’t just take our word for it, though! We’re eager to hear about your experiences. Did you try a different essential oil blend? Did you find a particularly effective cleaning solution? Share your tips, tricks, and variations in the comments below. Let’s build a community of DIY cleaning enthusiasts and help each other create sparkling clean homes, one homemade wet mopping cloth at a time. We believe that this simple change can make a big difference in your cleaning routine and your overall well-being. So, grab your supplies, get creative, and get ready to experience the joy of truly clean floors! We are confident that you will love this DIY wet mopping cloths trick.
Frequently Asked Questions (FAQ)
Q: What type of cloths are best for DIY wet mopping cloths?
A: Microfiber cloths are generally considered the best option due to their excellent absorbency and ability to trap dirt and grime. They are also durable and can be washed and reused multiple times. However, you can also repurpose old t-shirts, towels, or even flannel fabric. Just make sure the fabric is clean and lint-free before using it. Consider the texture of the cloth as well. A slightly textured cloth can provide better scrubbing power for stubborn stains.
Q: What kind of cleaning solution should I use?
A: A simple mixture of water and a few drops of dish soap is a great starting point. For extra cleaning power, you can add a splash of white vinegar. Vinegar is a natural disinfectant and helps to cut through grease and grime. You can also add essential oils for fragrance and added cleaning benefits. Lavender, tea tree, lemon, and eucalyptus are popular choices. Avoid using harsh chemicals like bleach or ammonia, as these can damage your floors and release harmful fumes. Always test your cleaning solution in an inconspicuous area first to ensure it doesn’t damage the flooring.
Q: How much cleaning solution should I use per cloth?
A: This depends on the size of your cloths and the type of flooring you’re cleaning. A good rule of thumb is to use enough solution to thoroughly dampen the cloth without making it soaking wet. You want the cloth to be damp enough to pick up dirt and grime, but not so wet that it leaves streaks or puddles on your floor. Start with a small amount of solution and add more as needed. If you’re using a spray bottle, a few spritzes per cloth should be sufficient.
Q: How do I store the DIY wet mopping cloths?
A: You can store the cloths in an airtight container or a resealable plastic bag. Make sure the cloths are slightly damp, but not dripping wet, before storing them. If the cloths are too wet, they may develop mold or mildew. You can also add a few drops of essential oil to the container to keep the cloths smelling fresh. Store the container in a cool, dry place away from direct sunlight.
Q: How often can I reuse the DIY wet mopping cloths?
A: You can reuse the cloths multiple times, depending on how dirty they get. After each use, rinse the cloth thoroughly with water and allow it to air dry. Once the cloth is visibly dirty or starts to smell, it’s time to wash it. You can wash the cloths in your washing machine with your regular laundry. Avoid using fabric softener, as it can reduce the absorbency of the cloths. Tumble dry on low heat or hang to dry.
Q: Can I use these DIY wet mopping cloths on all types of floors?
A: While these DIY wet mopping cloths are generally safe for most types of floors, it’s always a good idea to test the cleaning solution in an inconspicuous area first, especially if you have delicate or sensitive flooring like hardwood or natural stone. Avoid using vinegar on natural stone floors, as it can etch the surface. For hardwood floors, use a minimal amount of water and make sure to dry the floor thoroughly after mopping. Always follow the manufacturer’s recommendations for cleaning your specific type of flooring.
Q: What essential oils are safe to use around pets and children?
A: When using essential oils around pets and children, it’s important to choose safe and non-toxic options. Some essential oils, such as tea tree oil, can be harmful to pets if ingested. Lavender, chamomile, and frankincense are generally considered safe for both pets and children when used in diluted form. Always dilute essential oils properly before using them in your cleaning solution. Consult with a veterinarian or pediatrician if you have any concerns about using essential oils around your pets or children.
Q: Can I use these cloths on other surfaces besides floors?
A: Yes, you can use these DIY wet mopping cloths on other surfaces besides floors, such as countertops, cabinets, and even walls. Just be sure to use a gentle cleaning solution and test it in an inconspicuous area first to ensure it doesn’t damage the surface. These cloths are also great for cleaning up spills and messes quickly and easily.
Q: How does making my own wet mopping cloths help the environment?
A: Making your own wet mopping cloths is an environmentally friendly alternative to buying disposable wipes or pre-soaked pads. By using reusable cloths and making your own cleaning solution, you’re reducing waste and minimizing your reliance on single-use products. You’re also reducing your exposure to potentially harmful chemicals found in many commercial cleaning products. Plus, you can repurpose old t-shirts and towels, giving them a new life and further reducing waste. This simple change can make a positive impact on the environment.
Leave a Comment